ps制作非主流特效MM
发布时间:2015-05-12 来源:查字典编辑
摘要:photoshop教程原图最终效果图1、打开图片,复制背景图层。滤镜→模糊→高斯模糊,参数值4左右,如图1:图12、把图...
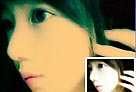
photoshop教程原图
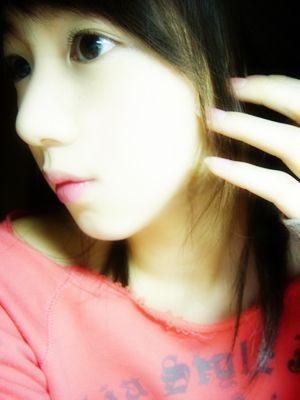
最终效果图
1、打开图片,复制背景图层。滤镜→模糊→高斯模糊,参数值4左右,如图1:
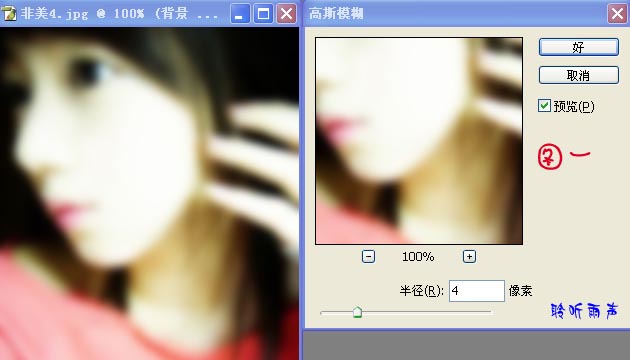
图1
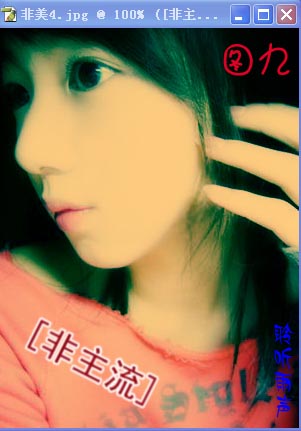
2、把图层的混合模式改为:滤色,效果如图2:
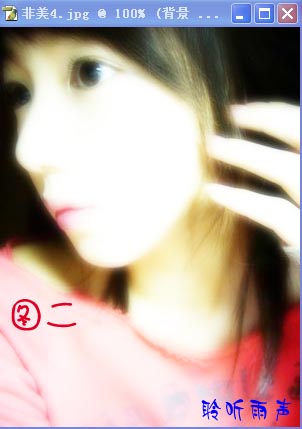
图2


photoshop教程原图
最终效果图
1、打开图片,复制背景图层。滤镜→模糊→高斯模糊,参数值4左右,如图1:
图1
2、把图层的混合模式改为:滤色,效果如图2:
图2