PhotoShop为室内人像照片调出经典的浮蓝色调
发布时间:2015-05-12 来源:查字典编辑
摘要:原片效果原片2效果2photoshop教程开始磨皮加锐化加暗角(在这里不在多说.你也可以做完效果后.在磨皮加锐化看自己喜好!!)
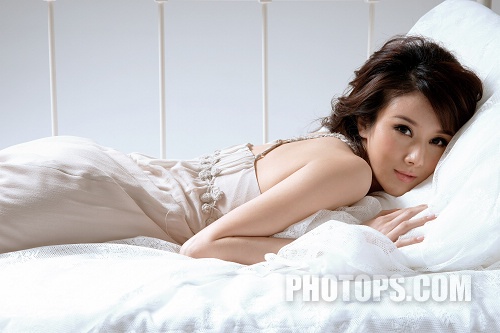
原片
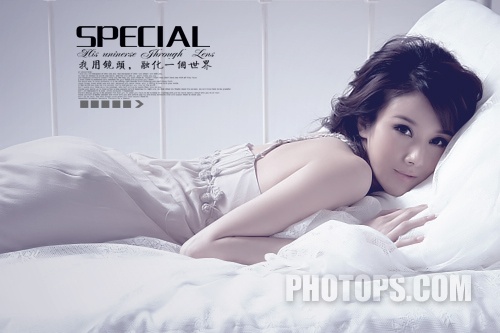
效果
原片2

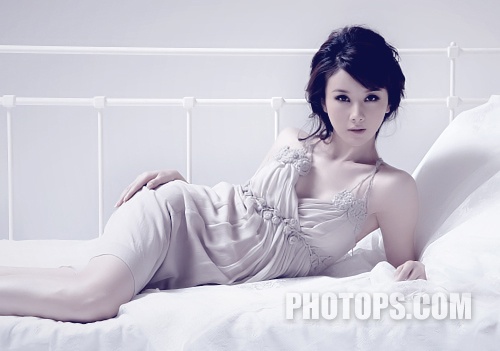
效果2
photoshop教程开始
磨皮加锐化加暗角(在这里不在多说.你也可以做完效果后.在磨皮加锐化看自己喜好!!)


原片
效果
原片2
效果2
photoshop教程开始
磨皮加锐化加暗角(在这里不在多说.你也可以做完效果后.在磨皮加锐化看自己喜好!!)