

Photoshop给树林人物照片加上朦胧的淡黄色技巧
发布时间:2015-05-12 来源:查字典编辑
摘要:朦胧色调色相对要简单一点,因为图片调亮及柔化后,需要处理的细节变少。处理的重点只需调出自己想要的主色,然后把暗部及整体调亮即可。原图教程最终...
朦胧色调色相对要简单一点,因为图片调亮及柔化后,需要处理的细节变少。处理的重点只需调出自己想要的主色,然后把暗部及整体调亮即可。
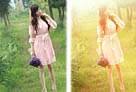
原图
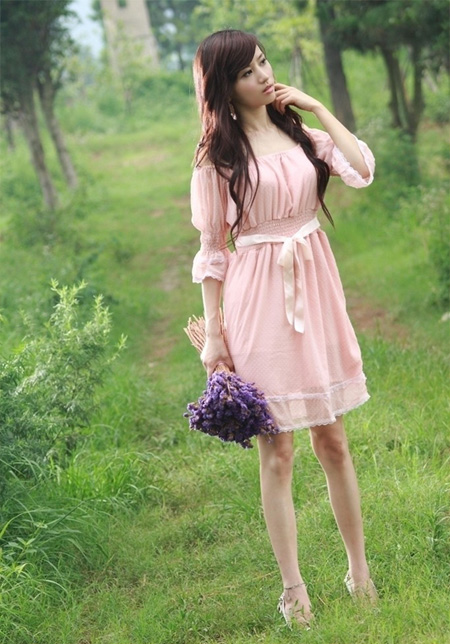
<点小图查看大图>
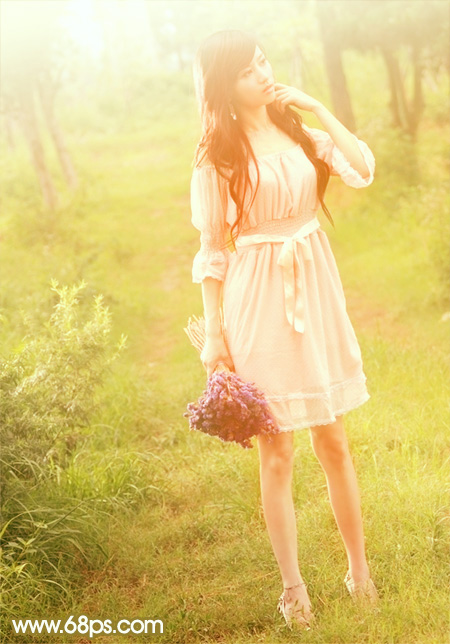
教程最终效果
1、打开素材图片,创建可选颜色调整图层,对黄,绿进行调整,参数设置如图1,2,确定后把图层不透明度改为:30%,效果如图3。这一步给图片增加一点绿色。
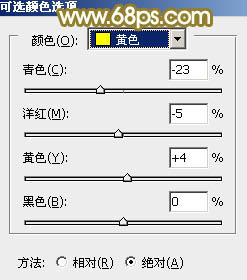
<图1>
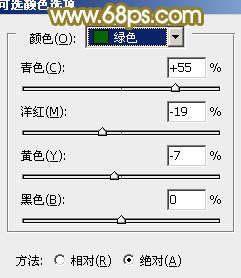
<图2>
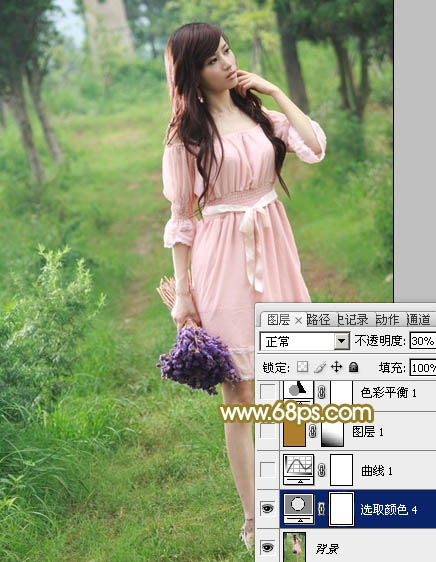
<图3>