Photoshop调出外景婚片色彩艳丽效果
发布时间:2015-05-12 来源:查字典编辑
摘要:感谢单凤眼提供的原照片:我的效果图:我练习的步骤:1。打开照片,拷贝图层。2。应用图像命令。主要是加强天空的压迫感和厚重。3。添加图层蒙版,...
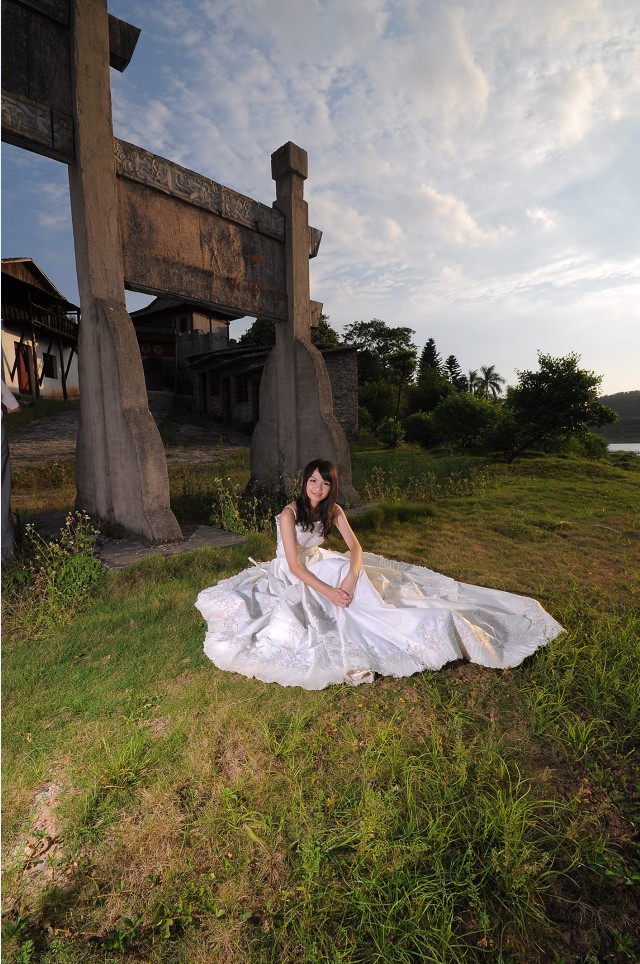
感谢单凤眼提供的原照片:
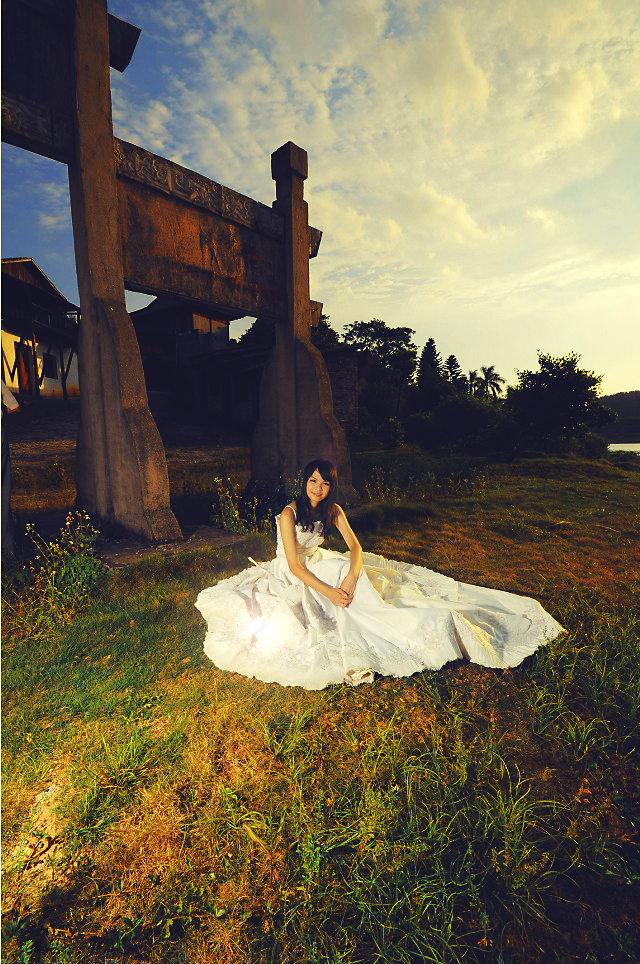
我的效果图:
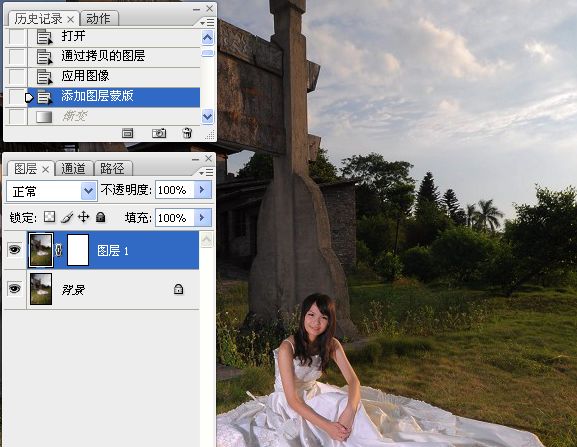
我练习的步骤:
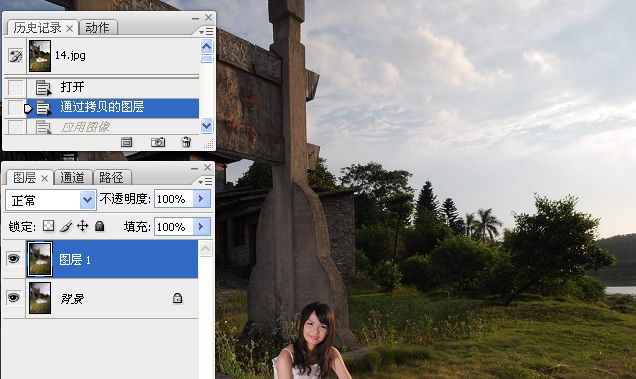
1。打开照片,拷贝图层。
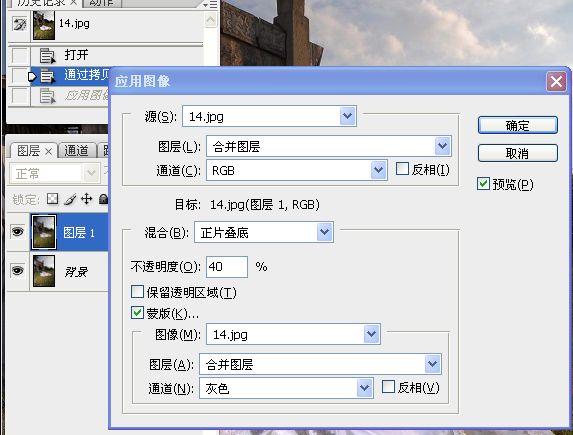
2。应用图像命令。主要是加强天空的压迫感和厚重。
3。添加图层蒙版,渐变工具。


感谢单凤眼提供的原照片:
我的效果图:
我练习的步骤:
1。打开照片,拷贝图层。
2。应用图像命令。主要是加强天空的压迫感和厚重。
3。添加图层蒙版,渐变工具。