Photoshop给外景人物照片加上清新色彩
发布时间:2015-05-12 来源:查字典编辑
摘要:调色基本上是用改变纯色图层混合模式来实现。这种方法最大的特点就是快捷,不过前提是自己美感要好,选的颜色要合适。三联PS教程群:1817541...
调色基本上是用改变纯色图层混合模式来实现。这种方法最大的特点就是快捷,不过前提是自己美感要好,选的颜色要合适。
三联PS教程群:181754111
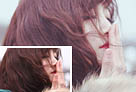
photoshop教程原图
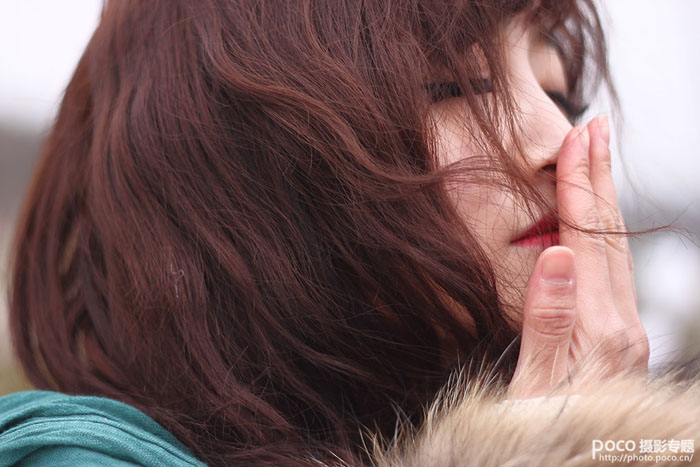
<点小图查看大图>
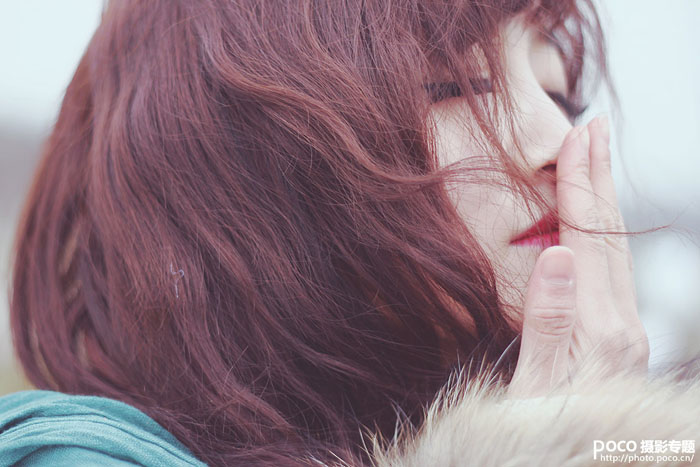
最终效果
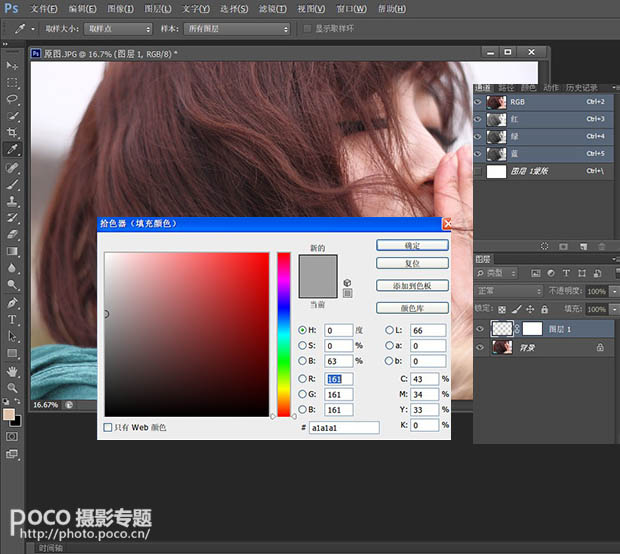
1、在ps中打开原图,新建图层1。为图层1添加蒙版,“编辑/填充”填充颜色,参数设置如下图所示。
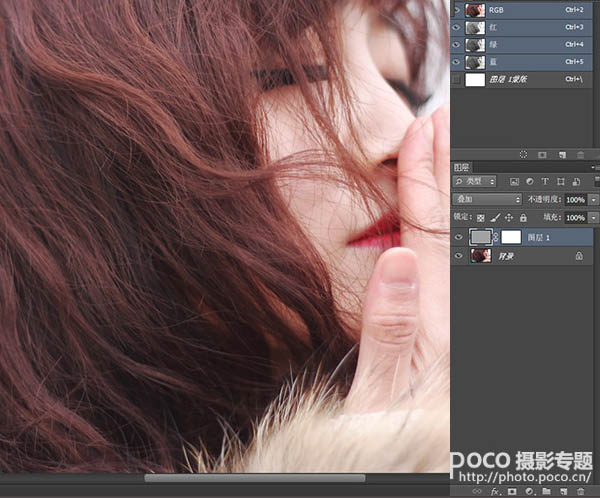
2、将图层模式设为叠加,效果如下图。
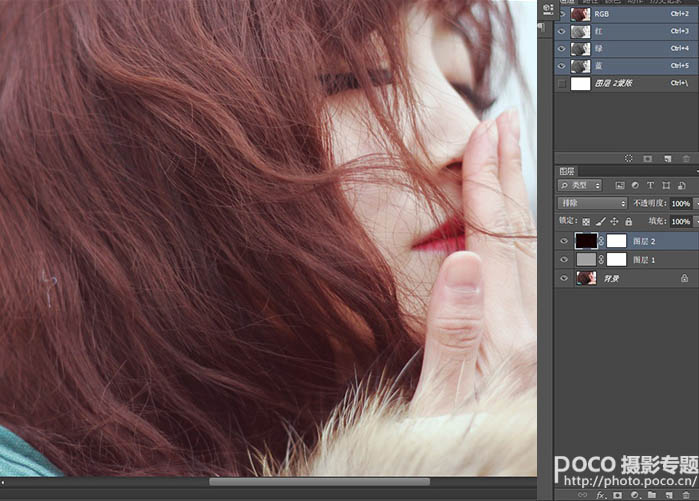
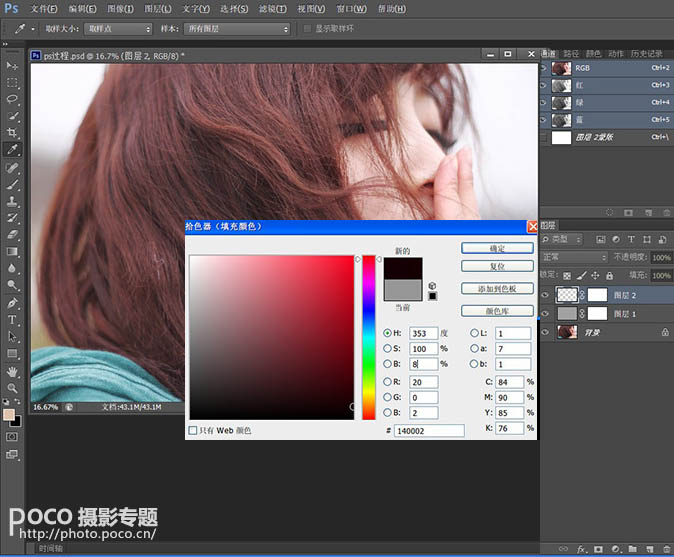
3、新建图层2,为图层2添加蒙版。“编辑/填充”填充颜色,参数设置如下图所示。
4、将图层模式设为排除,效果如下图。这一步大体调出素雅的冷色调,为空气感效果奠定基调。