

Photoshop给外景人物照片加中性青蓝色技巧
发布时间:2015-05-12 来源:查字典编辑
摘要:中性色图片调色方法有很多,最常用的就是直接降低图片的饱和度,得到接近灰色图片,然后给图片加上较淡的颜色,让图片看上去没那么单调。原图最终效果...

中性色图片调色方法有很多,最常用的就是直接降低图片的饱和度,得到接近灰色图片,然后给图片加上较淡的颜色,让图片看上去没那么单调。
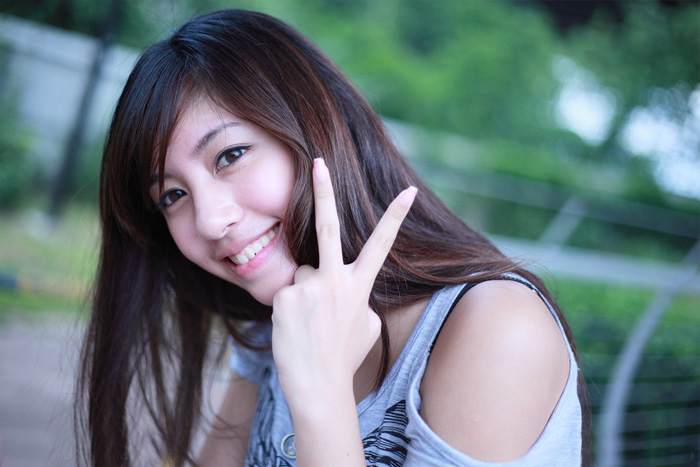
原图
<点小图查看大图>
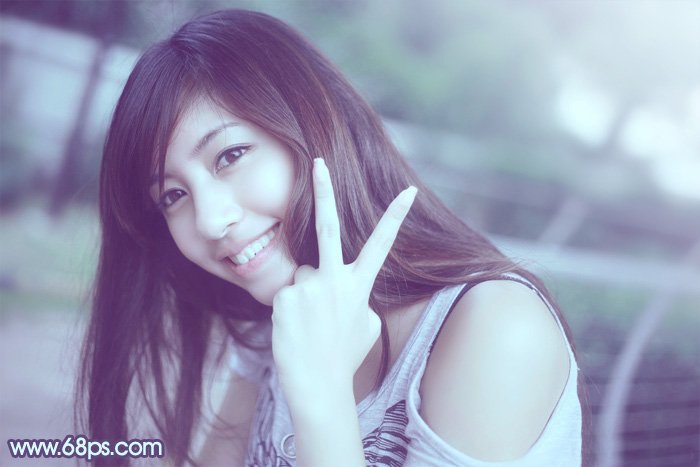
最终效果
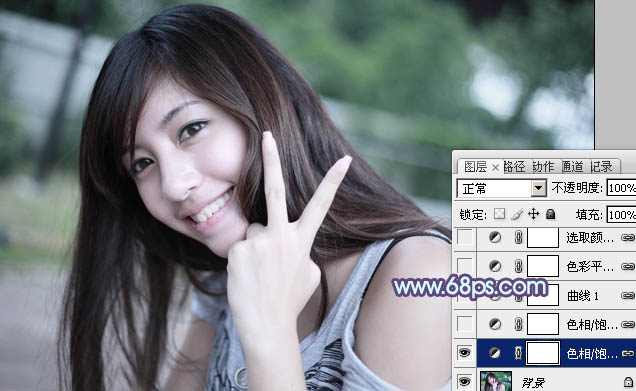
1、打开素材图片,创建色相/饱和度调整图层,适当降低全图饱和度,参数及效果如下图。

<图1>
<图2>
2、按Ctrl + J 把当前色相/饱和度调整图层复制一层,不透明度改为:40%,效果如下图。
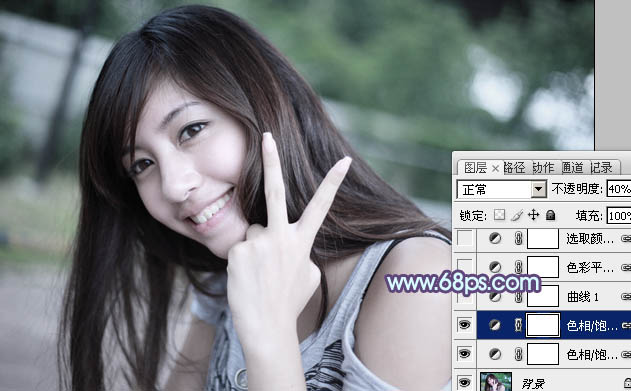
<图3>
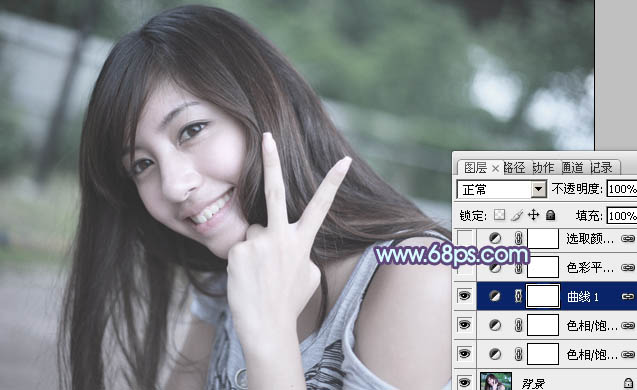
3、创建曲线调整图层,对RGB通道进行调整,参数及效果如下图。这一步增加图片暗部亮度。
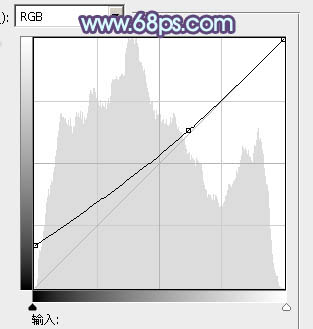
<图4>
<图5>
4、创建色彩平衡调整图层,对中间调,高光进行调整,参数设置如图6,7,效果如图8。这一步主要增强图片高光部分的颜色。
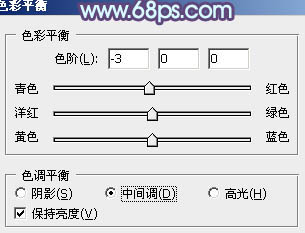
<图6>