Photoshop给特写照片加上清爽甜美的青紫色
发布时间:2015-05-12 来源:查字典编辑
摘要:图片美化看似简单,实际要掌握的技巧还是蛮多的。如下面的教程,作者为了达到完美的境界,图片增加了背景、光晕、光斑等,基本上看上去不完美的部分都...
图片美化看似简单,实际要掌握的技巧还是蛮多的。如下面的教程,作者为了达到完美的境界,图片增加了背景、光晕、光斑等,基本上看上去不完美的部分都进行了修饰,确实要花费一定的心思。
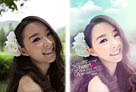
原图
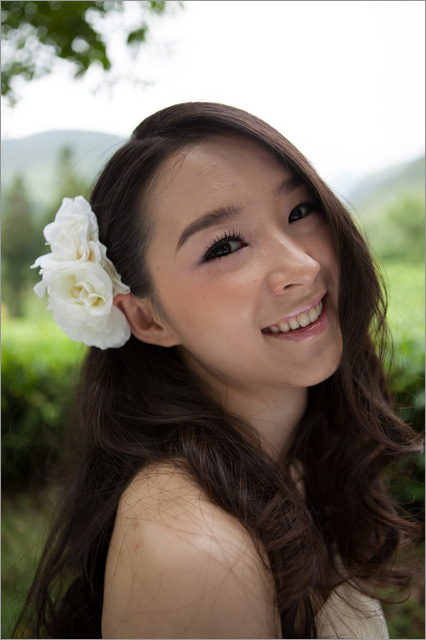
最终效果

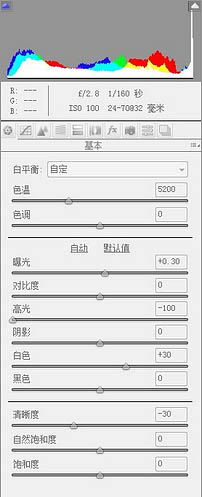
1、拍摄的原片为RAW原始格式,PhotoshopCS4以上的版本都带有转换RAW格式的Camera raw插件,这里我所使用的是PhotoshopCS6,PhotoshopCS6的插件选项会有一些变动和增减。
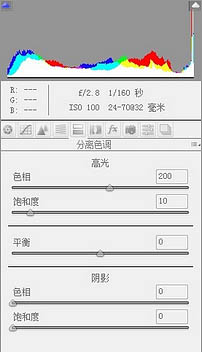
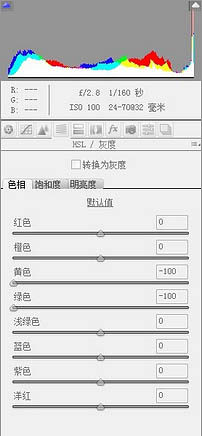
使用RAW转换格式的同时,对照片整体色彩进行调整。图中用蓝色标记的植物,发丝,头饰为补救并保留回来的内容;而红色标记的牙齿,眼白,高光为丢失的细节内容,Camera raw基于对前期不足以及照片整体进行调整,为了达到一定的效果在调整中丢失且不严重的细节部分可以通过后面的修调来还原;在进行整体色彩和细节的调整后使照片中的环境色彩变灰让照片看着柔和突出想要的主题,同时使片中人物的皮肤色彩变得通透来突出主体。