

Photoshop照片调色:背景和人物分开
发布时间:2015-05-12 来源:查字典编辑
摘要:雪景图片调色比较复杂,反光较大,很多细节部位都不太明显。不过调色的时候可以把背景和人物分开来调。这样层次会比较明显。原图最终效果1、打开原图...
雪景图片调色比较复杂,反光较大,很多细节部位都不太明显。不过调色的时候可以把背景和人物分开来调。这样层次会比较明显。
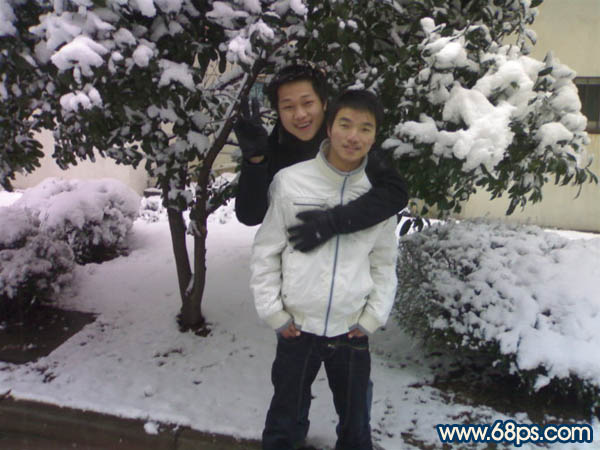
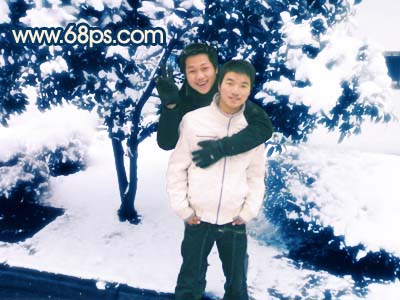
原图
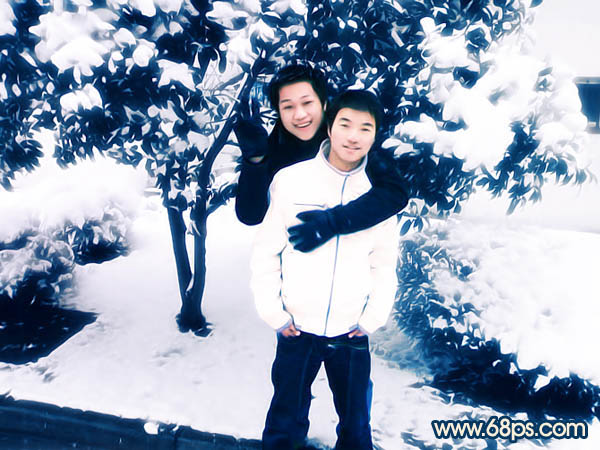
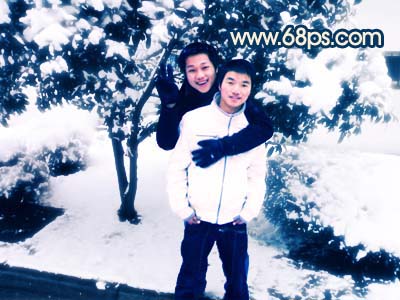
最终效果
1、打开原图,按Ctrl + J复制一层,把图层混合模式改为“滤色”。
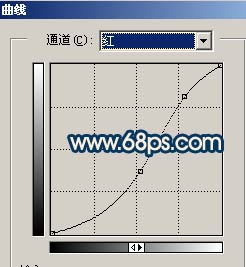
2、创建曲线调整图层,参数设置如图1,效果如图2。

<图1>

<图2>
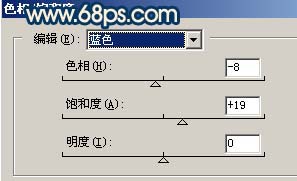
3、创建色相/饱和度调整图层,参数设置如图3,效果如图4。
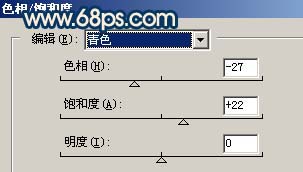
<图3>
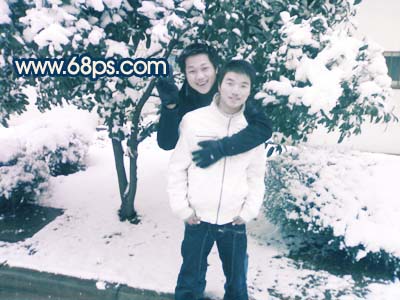
<图4>
4、创建色阶调整图层,参数设置如图5,效果如图6。

<图5>

<图6>
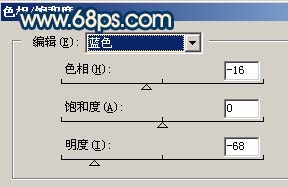
5、创建色相/饱和度调整图层,参数设置如图7。 确定后新建一个图层,按Ctrl + Alt + Shift + E盖印图层,执行:滤镜 > 模糊 > 高斯模糊,数值为5,然后把图层混合模式改为“变亮”,效果如图8。
<图7>

<图8>
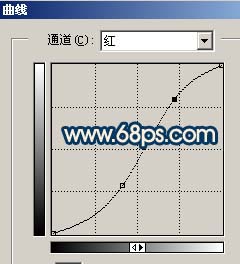
6、创建曲线调整图层,参数设置如图9,10,效果如图11。

<图9>
<图10>

<图11>
7、创建色相/饱和度调整图层,参数设置如图12,效果如图13。
<图12>

<图13>
8、回到背景图层,把人物勾出来,按Ctrl + Shift + ]移到图层最上面,适当的把人物条亮一点,然后按Ctrl + M调曲线,参数设置如图14,效果如图15。
<图14>
<图15>
9、把调好色的人物图层复制一层,图层混合模式改为“叠加”,然后把刚才操作的两个人物图层合并,效果如图16。
<图16>
10、适当的给人物磨皮,再按Ctrl + B调下色彩平衡,确定后合并所有图层,适当的锐化下,完成最终效果。
<图17>
注:更多请关注photoshop教程栏目,三联PS群:182958314欢迎你的加入