ps处理曝光过度照片
发布时间:2015-05-12 来源:查字典编辑
摘要:原图最终效果1、创建亮度/对比度调整图层,参数设置如下图。2、创建色相饱和度调整层,参数如图,然后盖印可见图层(ctrl+alt+shift...

原图
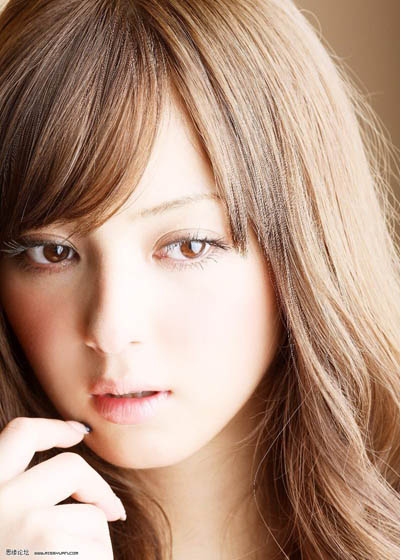
最终效果

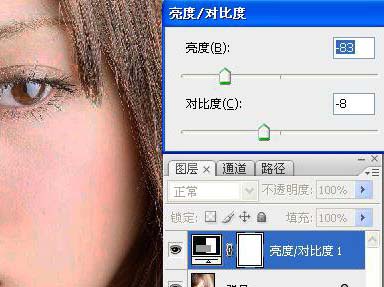
1、创建亮度/对比度调整图层,参数设置如下图。
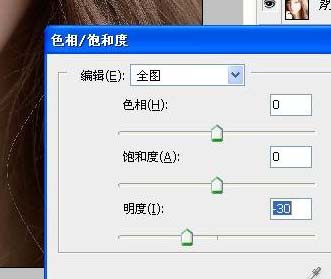
2、创建色相饱和度调整层,参数如图,然后盖印可见图层(ctrl+alt+shift+e),使用NEAT IMAGE磨皮注意嘴的细节部分。