PS简单几步创造冲击力震撼的动感效果
发布时间:2015-05-12 来源:查字典编辑
摘要:最终效果:开始吧!1、将原素材图片转换为智能对象:2、使用径向模糊滤镜滤镜→模糊→径向模糊,设置如下红色圆圈内数据:效果...

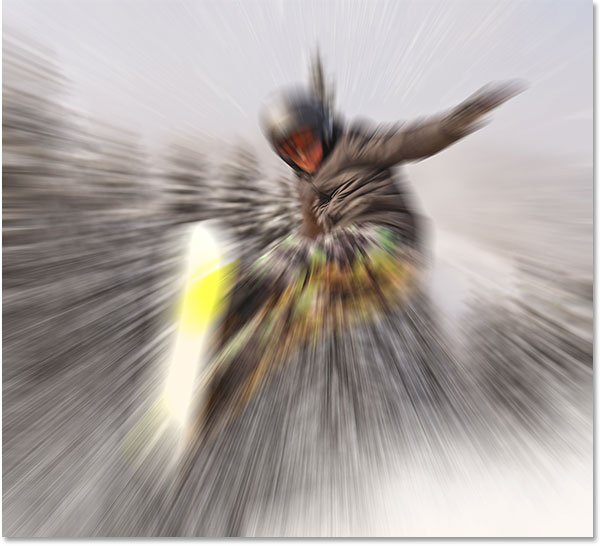
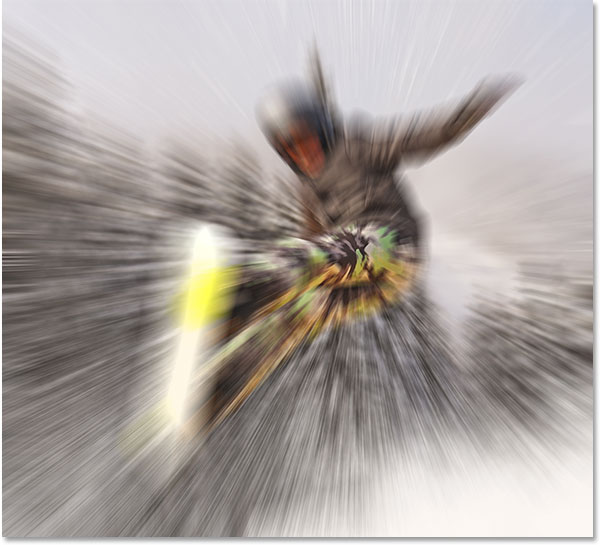
最终效果:

开始吧!
1、 将原素材图片转换为智能对象:

2、 使用径向模糊滤镜
滤镜→模糊→径向模糊,设置如下红色圆圈内数据:


效果如下:
3、 重新打开径向模糊做调整
上面的模糊似乎还不是很完美,打开面板把中心点往上调一点:
效果如下: