Photoshop还原照片的色彩和清晰度
发布时间:2015-05-12 来源:查字典编辑
摘要:本实例教程主要应用色彩平衡、色相/饱和度、色阶、USM锐化功能,本教程对于PS初学者来说,是一个挺好的教程,但是如果第一步,那就要在色彩方面...
本实例教程主要应用色彩平衡、色相/饱和度、色阶、USM锐化功能,本教程对于PS初学者来说,是一个挺好的教程,但是如果第一步,那就要在色彩方面要多加工夫。
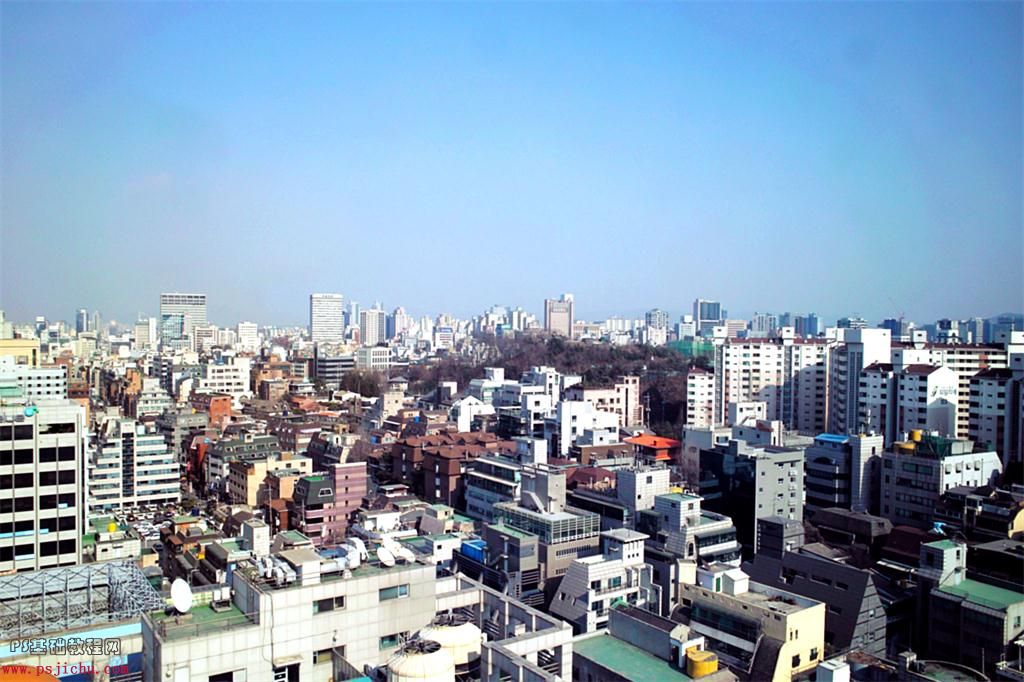
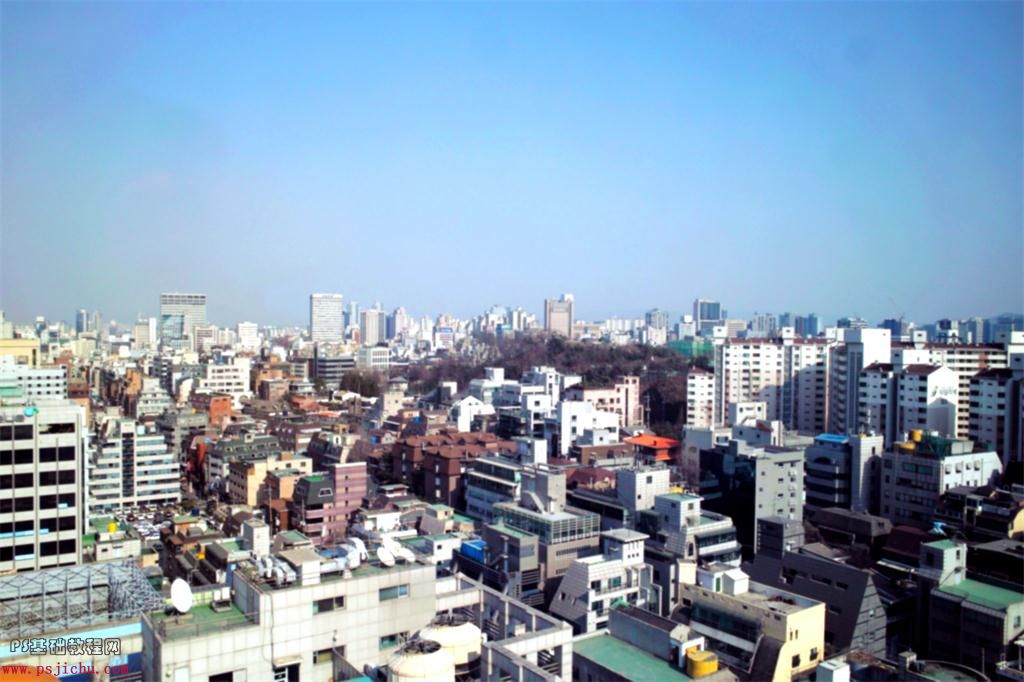
效果图

原图
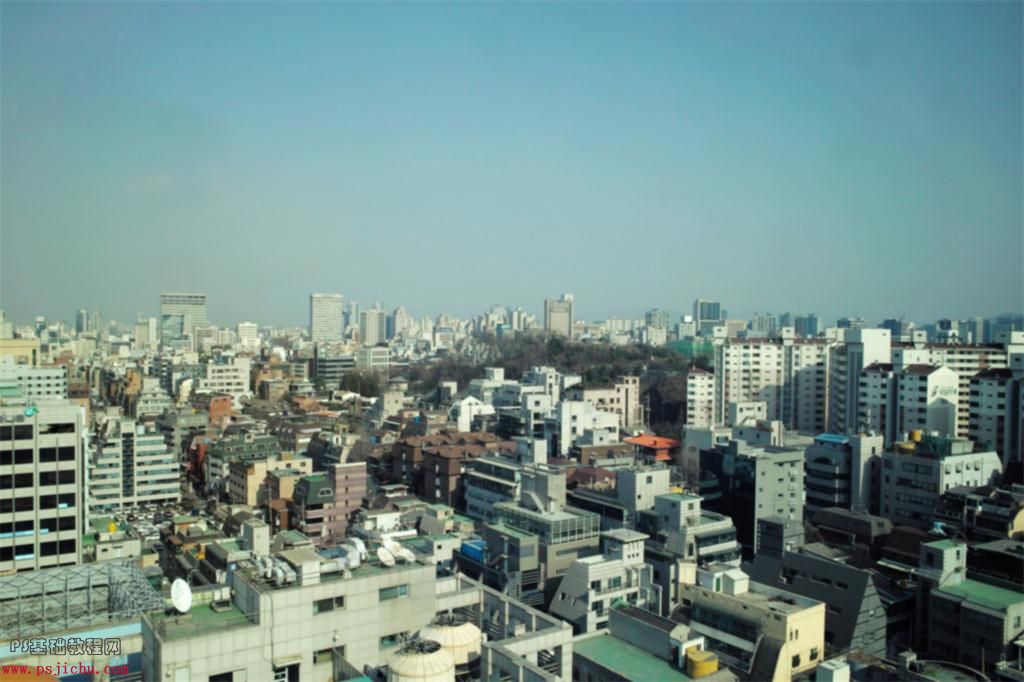
第一步,添加调整---色彩平衡,把中间调和高光按照下面参数调。
调节色彩平衡,刚拿到的图是略带青色的,我们在中间调补充红色,由于天空是蓝色的,所以,我们可以在高光区加入一点蓝色,同时调节洋红和青色,使图像略显蓝,而不带黄色。


得到效果
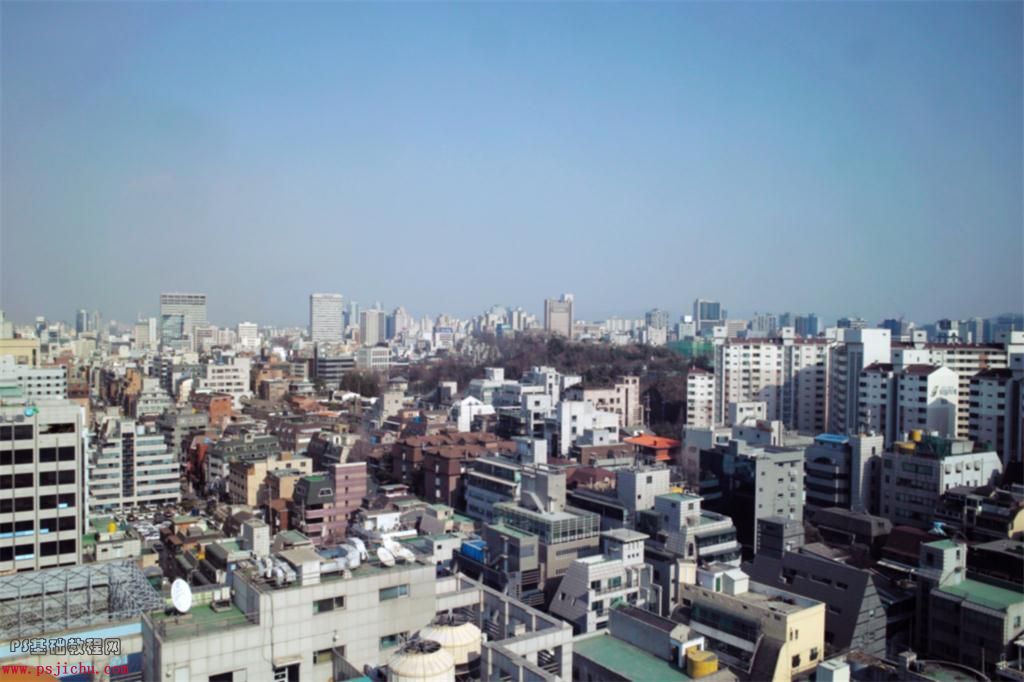
第二步,调节饱和度,选择添加调整---色相/饱和度,把饱和度增加 16,是画面色彩更饱和

得到效果
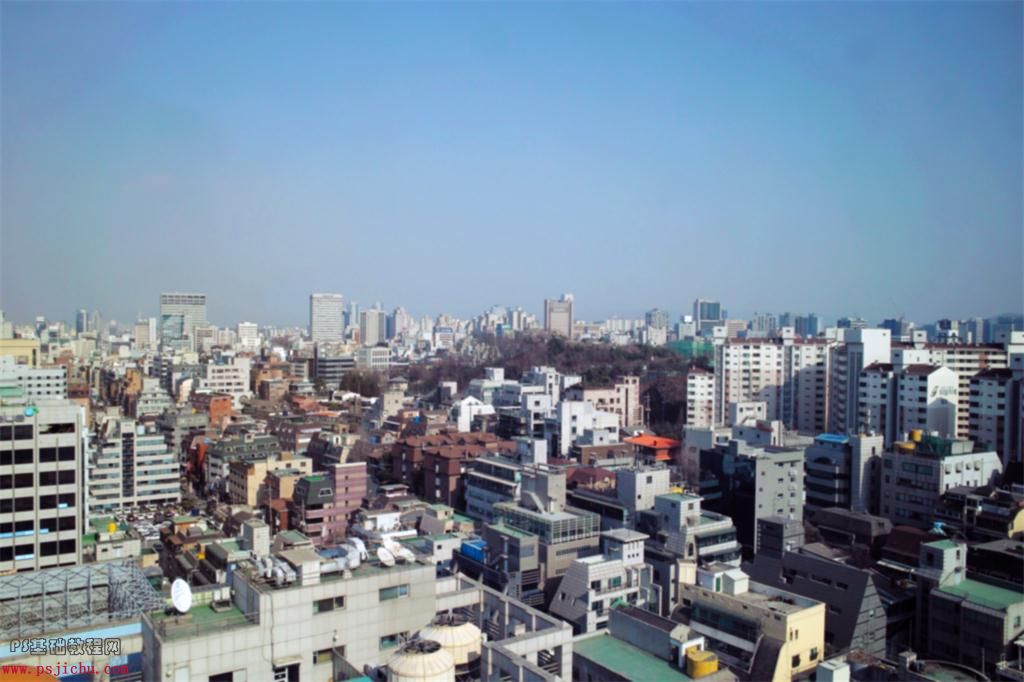
第三步,调整色阶,选择添加调整---色阶,把参数调成以下参数值,调整色阶是为了暗调部分和高光部分的颜色亮度得到调整后,图像变得更好看。
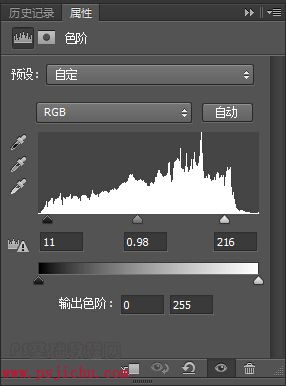
得到效果
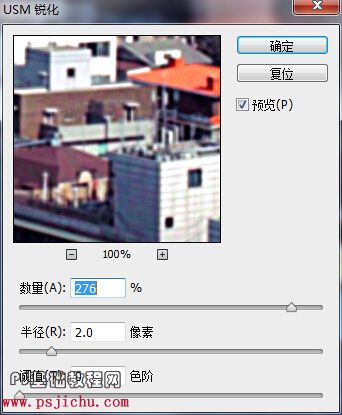
第四步,选择滤镜---锐化---USM锐化
锐化,顾名思义它的功能就是使图像变得清晰,但是有个弊端就是,可能会使照片不真实。
得到最终效果