

ps多人溶图教程
发布时间:2015-05-12 来源:查字典编辑
摘要:原图:教主好美哦,哈哈~首先打开ps,然后创建一个画布:500x150背景色随意。创好画布。用鼠标点击左上角的文件。然后点置入图片1嗯,差不...

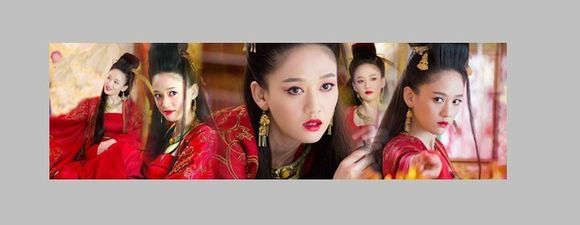
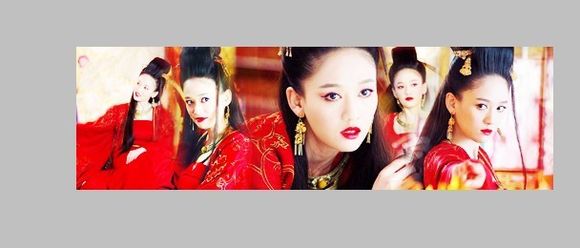
原图:


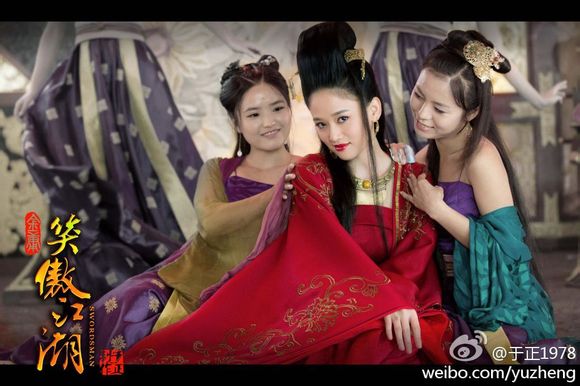
教主好美哦,哈哈~
首先打开ps,然后创建一个画布:500x150 背景色随意。
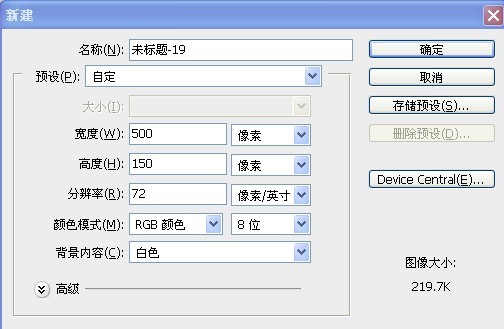
创好画布。


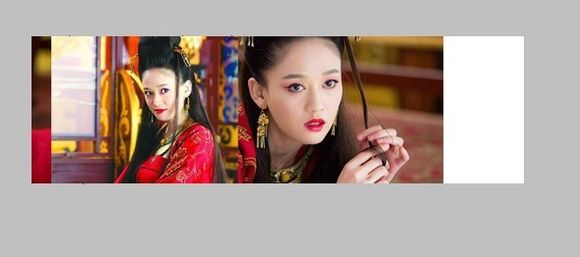
用鼠标点击左上角的文件。
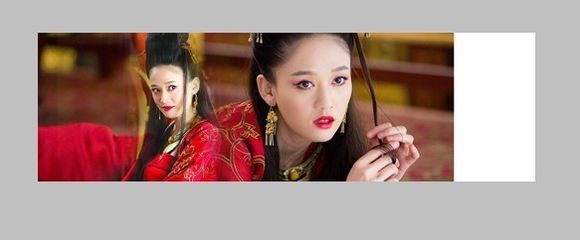
然后点置入图片1


嗯,差不多就成这个样子。
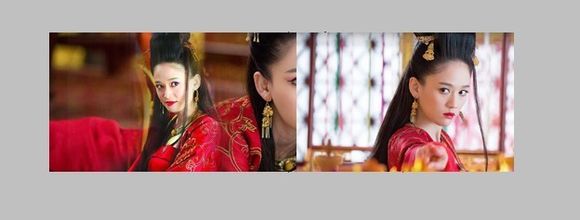
接下来我们置入图二

置入以后:
下面我们就要开始溶图了。
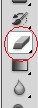
点击橡皮擦。
我的不透明度是70

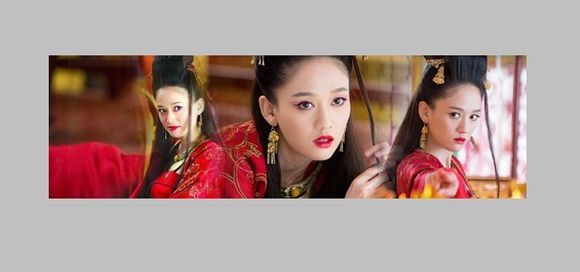
溶好图就是这样↑
接下来置入图三:

置入完了是这样的:
溶图完毕:
下面我们来置入图四:


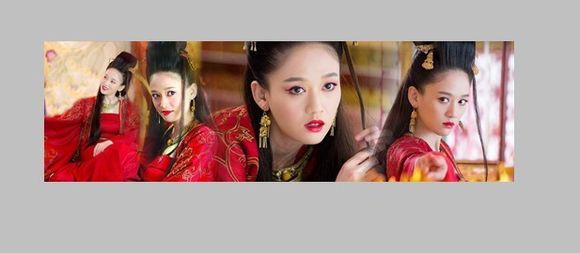
溶图完毕↑
置入图五


溶图完毕↑
点击图层-合并可见图层
下面开始调色啦啦。
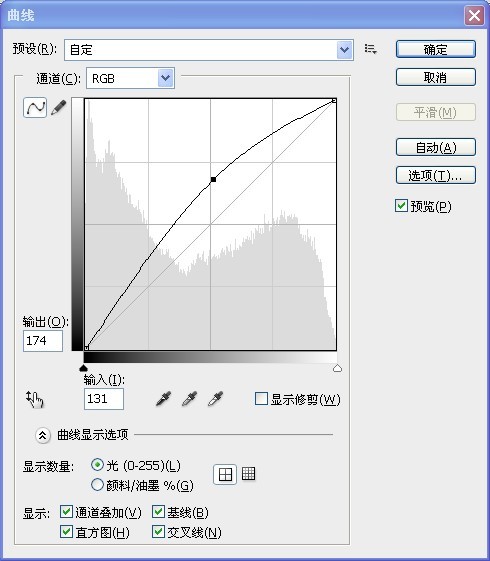
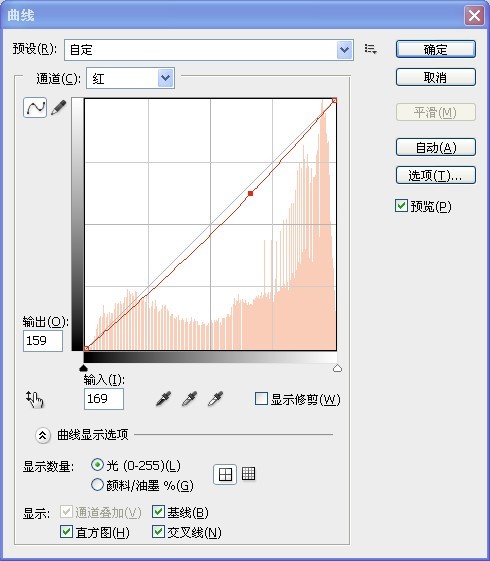
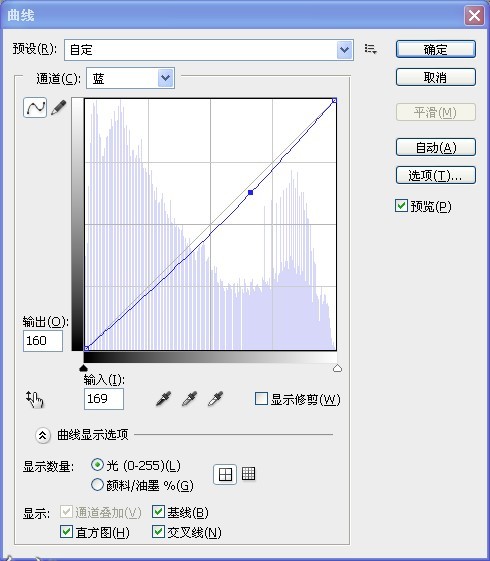
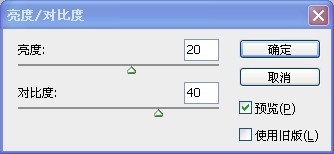
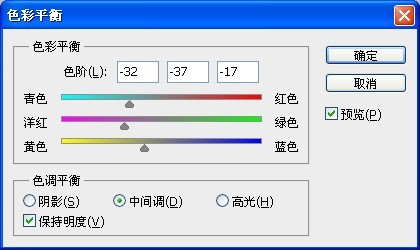
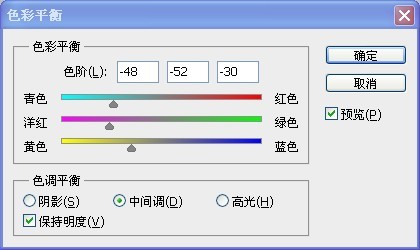
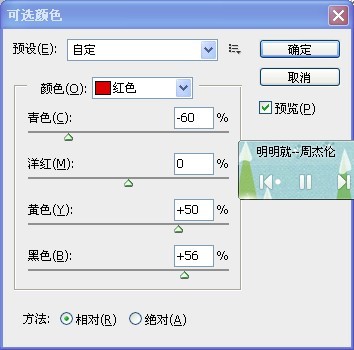
调色完毕。
滤镜-锐化-智能锐化-
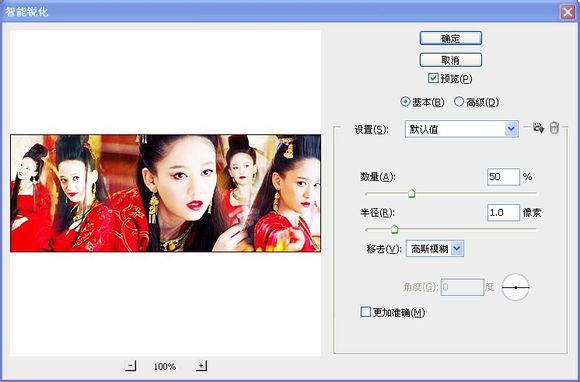
我的数量是50
图层-复制图层-滤镜-模糊-高斯模糊
数值随意。
擦出人物。
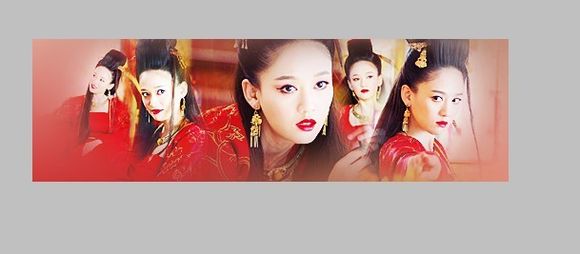
磨皮,署名。ok~