

Photoshop简单制作图片渐变效果
发布时间:2015-05-12 来源:查字典编辑
摘要:ppt的图片渐变功能已经很强大了,今天我再介绍一种用ps做图片渐变的方法,简单易懂,轻松学会。打开Photoshop软件,并且打开你所要操作...
ppt的图片渐变功能已经很强大了,今天我再介绍一种用ps做图片渐变的方法,简单易懂,轻松学会。
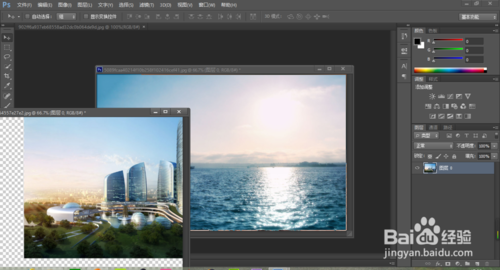
打开Photoshop软件,并且打开你所要操作的所有图片。
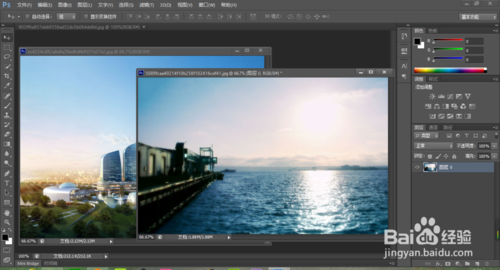
先从其中的两幅图片开始做起~~
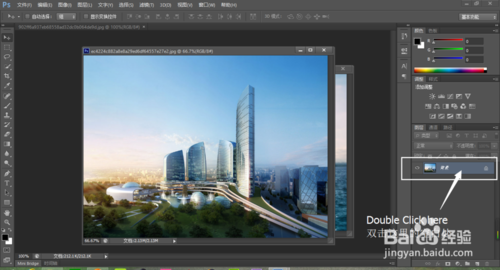
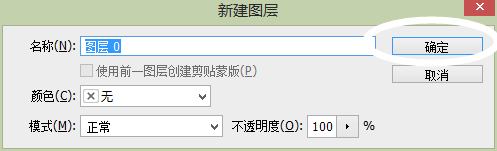
1.将图片的背景图层转化为普通图层,操作如图(具体的看我的经验3讲如何操作)。
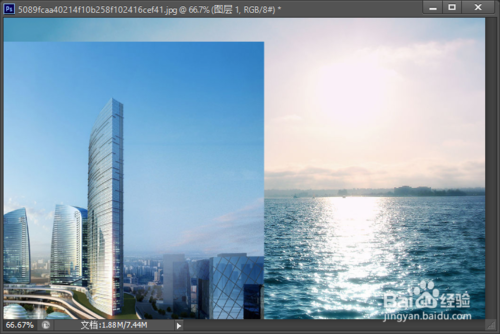
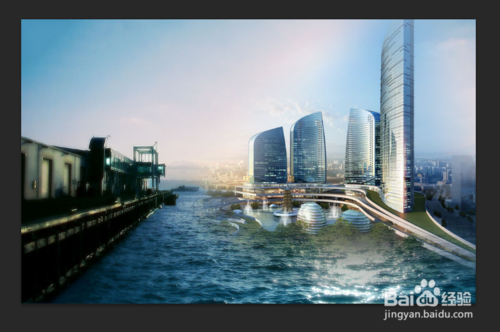
将图中楼房的图层拖拽到背景图层中!拖拽的方法就是按住鼠标左键,然后将楼房图层直接拖拽到背景图层框内,松开鼠标即可~
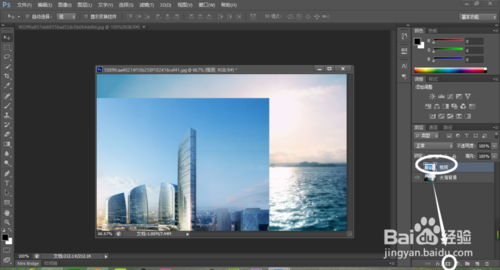
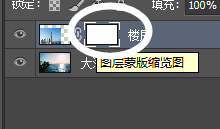
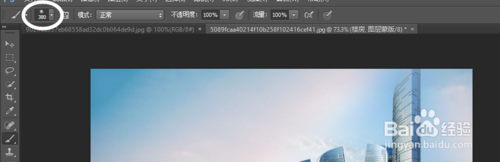
选中图层窗口中的楼房图层,然后按一下途中最下边小圈圈里的“蒙版”开关,看到在楼房图层的右边多了一个白色的小框。
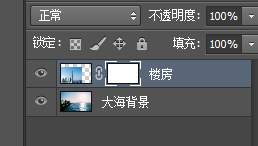
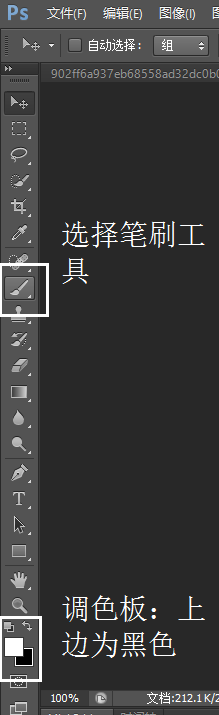
选中楼房图层右边的那个小框。然后选中笔刷工具,顺便将调色板的前景色选择为黑色(选择前景色和背景色的快捷键为 按键盘上的x键一次)
笔刷工具的选择:一定要选对正确的笔刷,不然做出来的很突兀~笔刷的选择见图(注意不透明度的调整可以使得你的图片更逼真!)
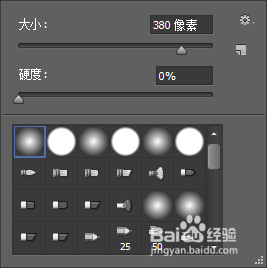

然后在图上随意的抹就好,尽量把笔刷大小设置的大一些~~
注意啊:前景色为黑色可以抹去图片,前景色为白色可以将抹去的内容找回来,自己领悟(具体的见我本系列其他经验)
我们先看看效果~很赞吧~
细节的修正,和其他的内容的添加方法都基本一样,开始你的操作吧!