

Painter绘制《3Q的联想》绘画教程
发布时间:2015-05-12 来源:查字典编辑
摘要:前段时间,网上一场刚平息的商业大战,留下了不少话题,也是不错的绘画创作题材。在画正式稿之前,先画一些草图,确定基本的构图和造型设计。(1)在...
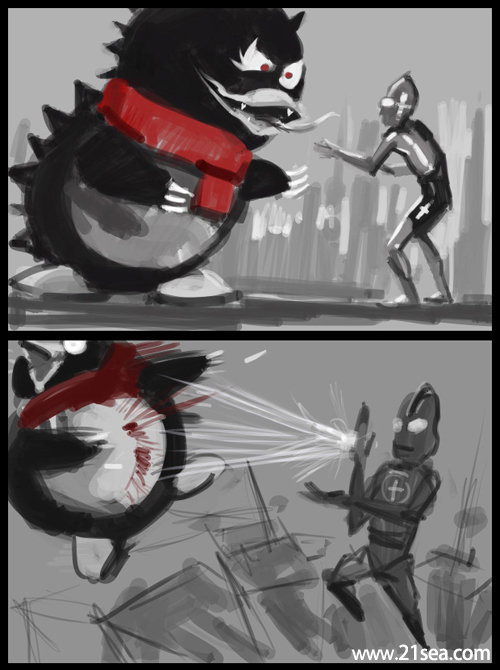
前段时间,网上一场刚平息的商业大战,留下了不少话题,也是不错的绘画创作题材。在画正式稿之前,先画一些草图,确定基本的构图和造型设计。
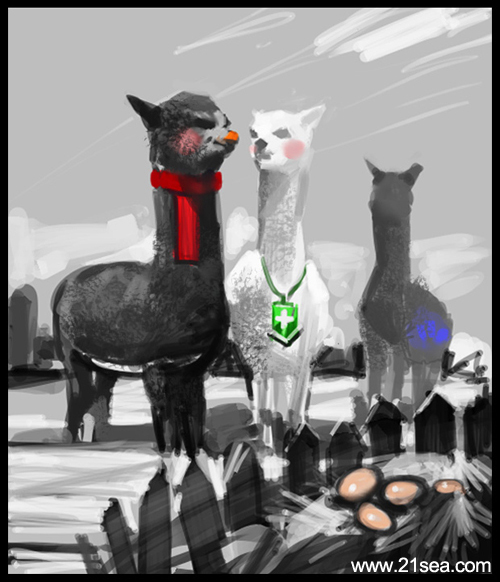
(1)在Painter 11中,选择其中一张草图,重新定义图像尺寸,增大画面。虽然会有像素的损失,但会通过之后的覆盖绘画改善。新建一层,设为Colorize的模式,用Airbrushes/Digital Airbrush的笔刷变体,作初步的上色渲染。
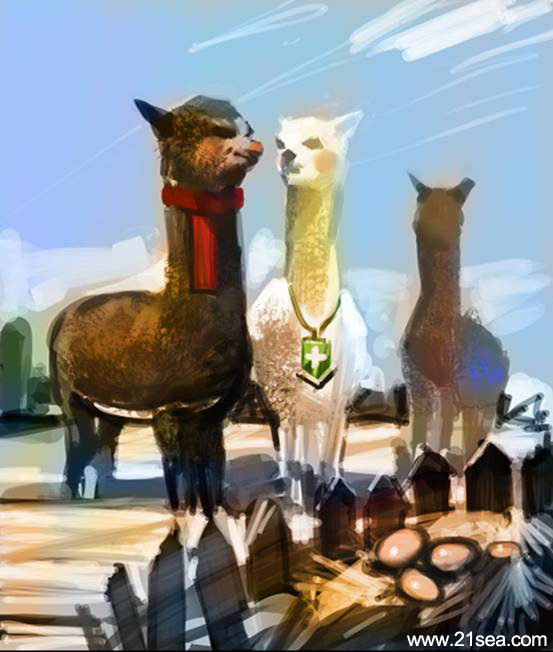
(2)新建一层在最上面,使用Pens/Thick n Thin Pen 5,调大笔刷尺寸,调节笔刷不透明度到50%左右,进行覆盖绘画,开始修正一些形状的边缘关系。
(3)描绘出更多的色彩变化,用来表现阳光明媚的感觉。光和影的色彩对比可以适当强烈一些。
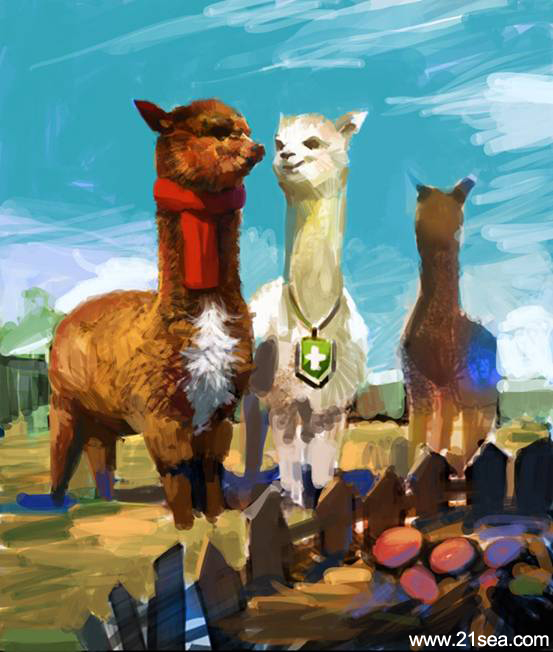
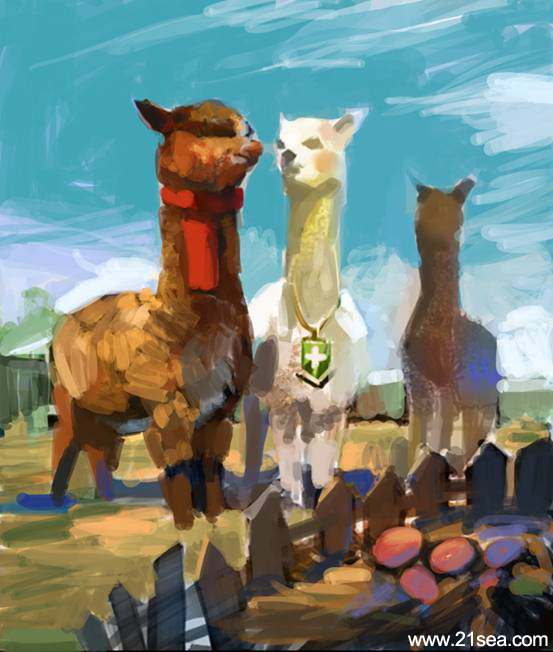
(4)刻画羊驼的绒毛质感,注意用笔和毛发生长方向一致,有些短绒的部分,用笔需要随机应变。
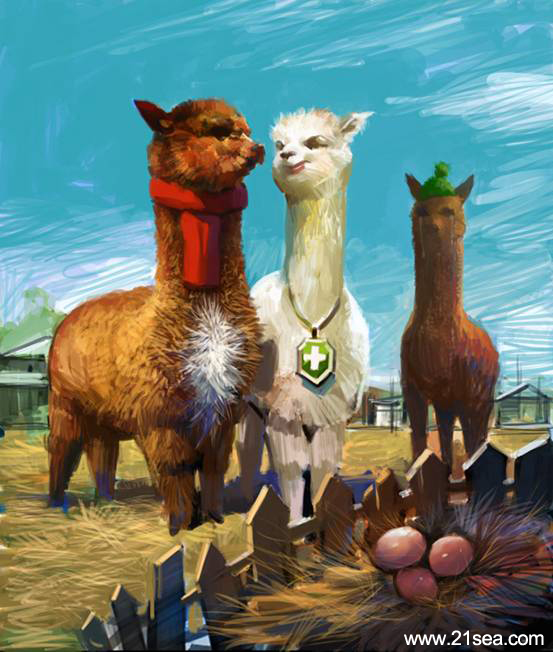
(5)再建一层,继续深入刻画。

(6)新建一层,使用Chalks/Square Chalk,结合Artist Rough Paper的指纹,添加一些粗纹颗粒笔触,用来丰富羊驼的绒毛质感。

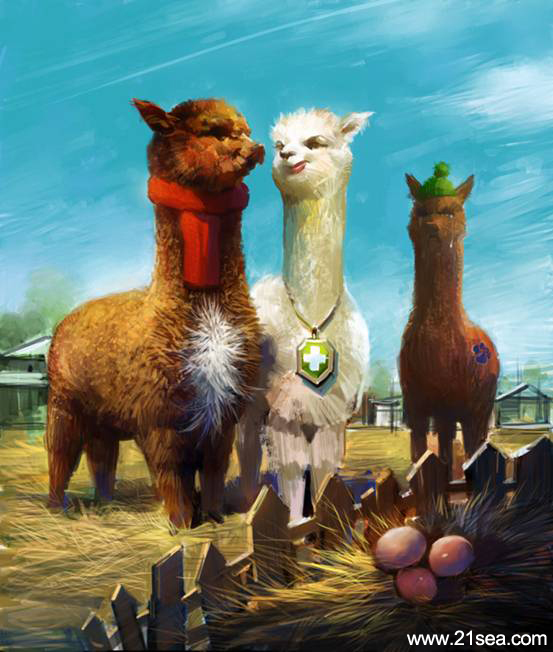
(7)最后作一些整体调整,新建一个Screen模式的图层,使用FX/Glow的画笔,用来添加眩光的增强效果。
完成图
注:更多精彩教程请关注三联设计教程 栏目,