

Illustrator制作多边形背景图
发布时间:2015-05-12 来源:查字典编辑
摘要:效果图1:打开文件-新建画板,480*640PX,颜色模式为RGB2:选择【矩形工具】画一个480*640PX大小的矩形,对齐画板,选择渐变...
效果图

1:打开文件-新建画板,480*640PX,颜色模式为RGB

2:选择【矩形工具】画一个480*640PX大小的矩形,对齐画板,选择渐变颜色,角度为45度, 数值如下图:

3:选择多边形工具,绘制一个多边形,参数如图所示:
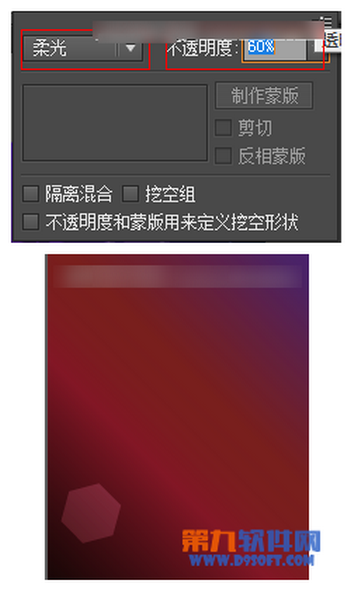
4:复制多边形设置参数如图所示:

5:相同方法复制多个多边形,有的取消填充色模式自己推敲,直到自己满意为止:

6:选择光晕工具,拖拽之自己满意为止,效果如图所示::

7:最后选择合适的字体置于右下角,调整整体的版式,如图所示:
