微信小程序 audio音频播放
audio
audio为音频组件,我们可以轻松的在小程序中播放音频。
| id | String | video 组件的唯一标识符, | |
| src | String | 要播放音频的资源地址 | |
| loop | Boolean | false | 是否循环播放 |
| controls | Boolean | true | 是否显示默认控件 |
| poster | String | 默认控件上的音频封面的图片资源地址,如果 controls 属性值为 false 则设置 poster 无效 | |
| name | String | 未知音频 | 默认控件上的音频名字,如果 controls 属性值为 false 则设置 name 无效 |
| author | String | 未知作者 | 默认控件上的作者名字,如果 controls 属性值为 false 则设置 author 无效 |
| binderror | EventHandle | 当发生错误时触发 error 事件,detail = {errMsg: MediaError.code} | |
| bindplay | EventHandle | 当开始/继续播放时触发play事件 | |
| bindpause | EventHandle | 当暂停播放时触发 pause 事件 | |
| bindtimeupdate | EventHandle | 当播放进度改变时触发 timeupdate 事件,detail = {currentTime, duration} | |
| bindended | EventHandle | 当播放到末尾时触发 ended 事件 |
错误返回码:MediaError.code
返回错误码描述
| MEDIA_ERR_ABORTED | 获取资源被用户禁止 |
| MEDIA_ERR_NETWORD | 网络错误 |
| MEDIA_ERR_DECODE | 解码错误 |
| MEDIA_ERR_SRC_NOT_SUPPOERTED | 不合适资源 |
wx.createAudioContext(audioId)
创建并返回audio上下文audioContext对象,控制音频的播放暂停与跳转。
| play | 无 | 播放 |
| pause | 无 | 暂停 |
| seek | position | 跳转到指定位置,单位 s |
wxml
<!-- poster:音频封面图片 name:歌名 author:歌手 src:音频地址 controls:是否显示默认控件,也就是下面这个东东 loop:是否循环播放 id:标注唯一组件以this.audioCtx = wx.createAudioContext('myAudio')获取控制组件的对象。 bindplay:播放时触发该事件 bindpause:停止时触发该事件 bindtimeupdate:时间改变时触发,该函数携带有参数detail={currentTime, duration}当前时间,持续播放时间 bindended:播放结束时触发 binderror;播放错误时调用,携带参数detail = {errMsg: MediaError.code} --> <audio poster="{{poster}}" name="{{name}}" author="{{author}}" src="{{src}}" id="myAudio" controls loop bindplay="funplay" bindpause="funpause" bindtimeupdate="funtimeupdate" bindended="funended" binderror="funerror"></audio> <button type="primary" bindtap="audioPlay">播放</button> <button type="primary" bindtap="audioPause">暂停</button> <button type="primary" bindtap="audio14">设置当前播放时间为14秒</button> <button type="primary" bindtap="audioStart">回到开头</button>
js
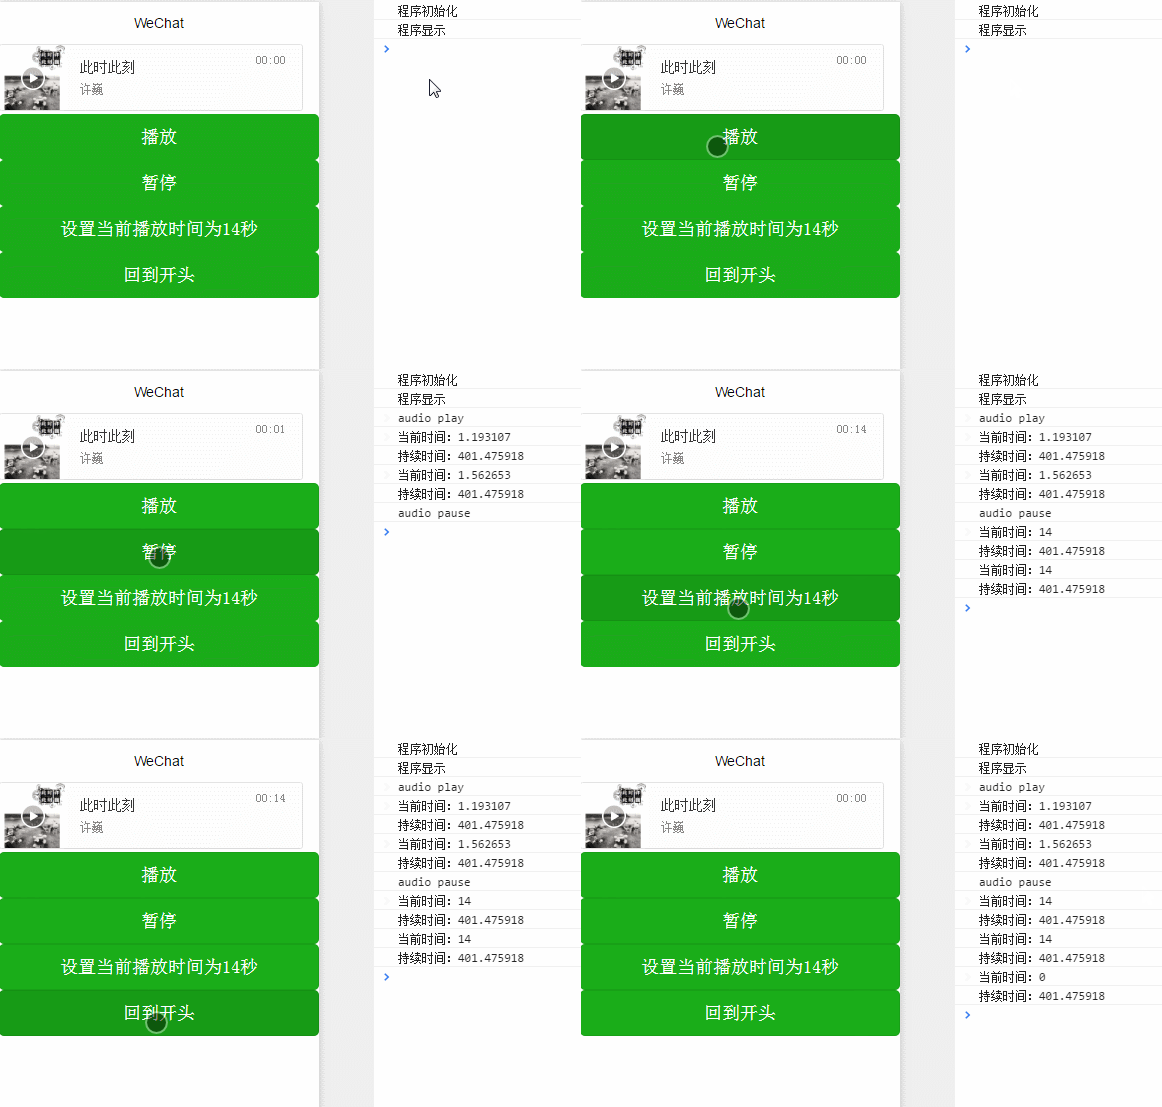
Page({ onReady: function (e) { // 使用 wx.createAudioContext 获取 audio 上下文 context this.audioCtx = wx.createAudioContext('myAudio') }, data: { poster: 'http://y.gtimg.cn/music/photo_new/T002R300x300M000003rsKF44GyaSk.jpg?max_age=2592000', name: '此时此刻', author: '许巍', src: 'http://ws.stream.qqmusic.qq.com/M500001VfvsJ21xFqb.mp3?guid=ffffffff82def4af4b12b3cd9337d5e7&uin=346897220&vkey=6292F51E1E384E06DCBDC9AB7C49FD713D632D313AC4858BACB8DDD29067D3C601481D36E62053BF8DFEAF74C0A5CCFADD6471160CAF3E6A&fromtag=46', }, audioPlay: function () { this.audioCtx.play() }, audioPause: function () { this.audioCtx.pause() }, audio14: function () { this.audioCtx.seek(14) }, audioStart: function () { this.audioCtx.seek(0) }, funplay: function(){ console.log("audio play"); }, funpause: function(){ console.log("audio pause"); }, funtimeupdate: function(u){ console.log(u.detail.currentTime); console.log(u.detail.duration); }, funended: function(){ console.log("audio end"); }, funerror: function(u){ console.log(u.detail.errMsg); } })
效果

今天早上发现微信小程序的官方文档在实时跟新,之前的有些标签或者方法不见了。以上是控制audio组件的方法是根据组件的唯一id生成相应的实例对象,通过对象的各种发放来控制组件。我现在看到的官方文档是通过有个action属性,给属性指定特定的值组件就会执行特定的动作。
| play | 播放 | |
| pause | 暂停 | |
| setPlaybackRate | 调整速度 | 倍速 |
| setCurrentTime | 设置当前时间 | 播放时间 |
.wxml
<audio poster="{{poster}}" name="{{name}}" author="{{author}}" src="http://qqma.tingge123.com:823/mp3/2015-06-13/1434188181.mp3" action="{{action}}" controls loop></audio> <button type="primary" bindtap="audioPlay">播放</button> <button type="primary" bindtap="audioPause">暂停</button> <button type="primary" bindtap="audioPlaybackRateSpeedUp">调为2倍速</button> <button type="primary" bindtap="audioPlaybackRateNormal">调为1倍速</button> <button type="primary" bindtap="audioPlaybackRateSlowDown">调为0.5倍速</button> <button type="primary" bindtap="audio14">设置当前播放时间为14秒</button> <button type="primary" bindtap="audioStart">回到开头</button>
.js
Page({ data: { poster: 'http://pic.pimg.tw/pam86591/1408719752-3322564110_n.jpg', name: 'Sugar', author: 'Maroon 5' }, audioPlay: function () { this.setData({ action: { method: 'play' } }); }, audioPause: function () { this.setData({ action: { method: 'pause' } }); }, audioPlaybackRateSpeedUp: function () { this.setData({ action: { method: 'setPlaybackRate', data: 2//加快速度 } }); }, audioPlaybackRateSlowDown: function () { this.setData({ action: { method: 'setPlaybackRate', data: 0.5//小于零放慢速度 } }); }, audio14: function () { this.setData({ action: { method: 'setCurrentTime', data: 14 } }); }, audioStart: function () { this.setData({ action: { method: 'setCurrentTime', data: 0 } }); } })
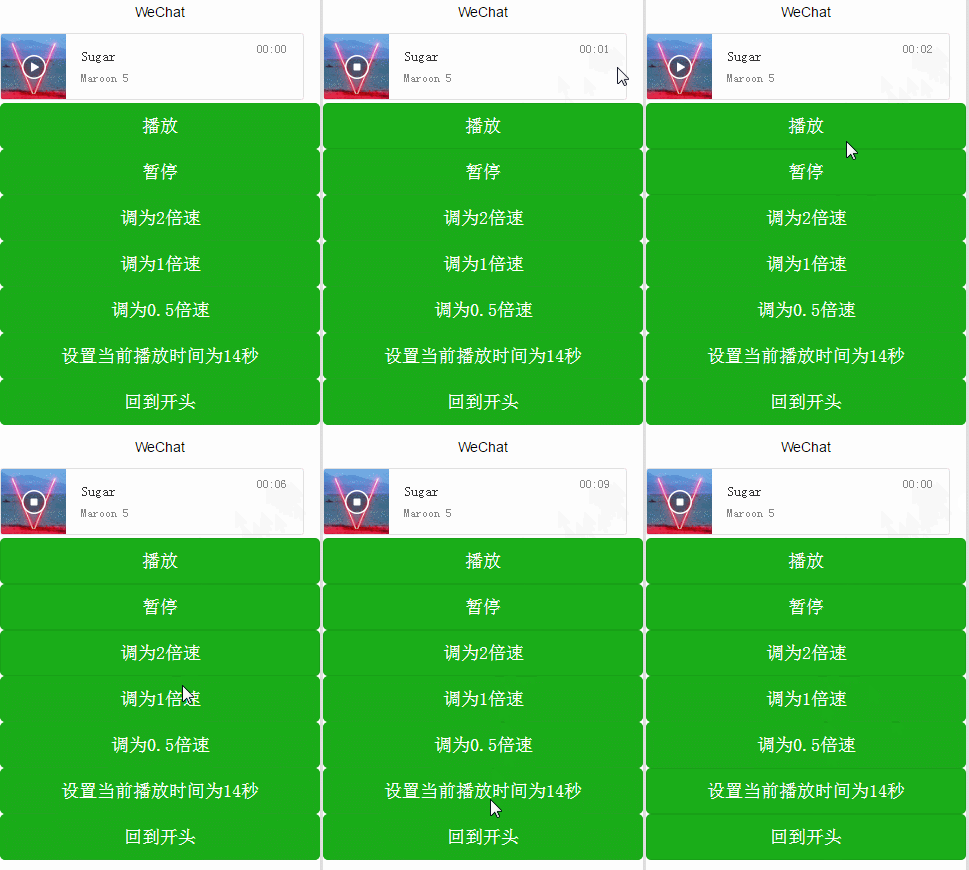
效果

上一种方法好像没有不能控制播放速度,这种方法相比上一种比较方便,并且效率上应该也比较高。
感谢阅读,希望能帮助到大家,谢谢大家对本站的支持!


