

本文实例讲述了jQuery+css实现的切换图片功能代码。分享给大家供大家参考,具体如下:
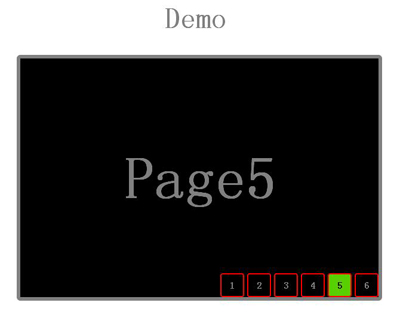
运行效果截图如下:
具体代码如下:
<!DOCTYPE html> <html> <head> <title>demo</title> <script type="text/javascript" src="jquery.js"></script> <style type="text/css" > body { margin:0; padding:0; } .container { border:6px solid gray; background:black; width:600px; height:400px; position:relative; left:50%; margin-left:-300px; border-radius:6px; -webkit-border-radius:6px; -moz-border-radius:6px; overflow:hidden; } .text-center { text-align:center; } h1 { font-size:50px; color:gray; font-weight:bolder; } .imgUL { width:100%; height:100%; margin:0px; padding:0px; list-style:none; } .imgUL li { float:left; margin:0px; padding:0px; height:100%; color:gray; font-weight:bolder; text-align:center; font-size:100px; line-height:400px; } .pageUL { position:relative; top:-40px; height:40px; list-style:none; margin:0px; padding:0px; float:right; } .pageUL li { float:left; display:block; width:36px; height:36px; border:2px solid red; margin-left:5px; border-radius:4px; -webkit-border-radius:4px; text-align:center; -moz-border-radius:4px; line-height:36px; color:gray; font-weight:bolder; cursor:pointer; } .pageUL li:hover { background:#5ACF00; color:black; } .pageUL li.active { background:#5ACF00; color:black; } </style> <script type="text/javascript" > $(document).ready(function(){ var autoInterval = null, imgUL = $(".imgUL"), imgliList = imgUL.children("li"), liListLength = imgliList.length, pageUL = $('.pageUL'), pageLiList = pageUL.children('li'), pageLiListLength = pageLiList.length, // initialize activePageLi = $(pageLiList[0]); activePageLi.addClass('active'); imgliList.width(600); imgUL.width(liListLength * 600); $(".pageUL li").mouseover(function(){ mouseoverAnimate(this); }).mouseout(function(){ createInterval(); }); createInterval(); function mouseoverAnimate(_this){ clearInterval(autoInterval); activePageLi.removeClass('active'); activePageLi = $(_this); var pageNo = parseInt(activePageLi.html()); activePageLi.addClass('active'); imgUL.animate({ 'marginLeft': -600 * (pageNo - 1) }, 10); } function createInterval(){ autoInterval = setInterval(function(){ var pageNo = parseInt(activePageLi.html()); pageNo++; if(pageNo > pageLiListLength) { pageNo = 1; } activePageLi.removeClass('active'); activePageLi = $(pageLiList[pageNo - 1]); activePageLi.addClass('active'); imgUL.animate({ 'marginLeft': -600*(pageNo - 1) }, 1100); }, 1500); } }); </script> </head> <body> <h1>Demo</h1> <div id="container"> <ul> <li>Page1</li> <li>Page2</li> <li>Page3</li> <li>Page4</li> <li>Page5</li> <li>Page6</li> </ul> <ul> <li>1</li> <li>2</li> <li>3</li> <li>4</li> <li>5</li> <li>6</li> </ul> </div> </body> </html>
希望本文所述对大家jQuery程序设计有所帮助。