

本文实例讲述了JS实现3D图片旋转展示效果代码。分享给大家供大家参考。具体如下:
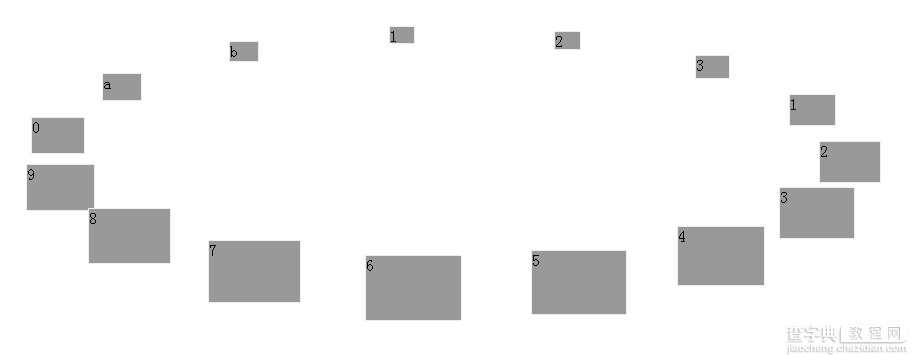
这是一段JavaScript代码,围绕成3D模型样式的JavaScript图片旋转展示代码,这里为了演示方便,将图片替换成了数字,预留出了图片的位置,这样速度快些,会HTML的朋友都知道用时候该怎么做。本图片旋转需要手功控制,每点击一下,图片旋转一次,很方便。
运行效果截图如下:
在线演示地址如下:
http://demo.jb51.net/js/2015/js-3d-pic-scroll-show-style-codes/
具体代码如下:
<!DOCTYPE html PUBLIC "-//W3C//DTD XHTML 1.0 Transitional//EN" "http://www.w3.org/TR/xhtml1/DTD/xhtml1-transitional.dtd"> <html xmlns="http://www.w3.org/1999/xhtml"> <head> <meta http-equiv="Content-Type" content="text/html; charset=utf-8" /> <title>图片旋转展示</title> <style> #show{position:relative;margin:20px auto;width:800px;border:1px solid #999999;} .item{position:absolute;height:40px;width:60px;background:#999999;border:1px solid #eeeeee;cursor:pointer;} </style> <script> var len; var showerObj; var listObj; var showerWidth=800; var showerHeight=400; var r; var cR=0; var ccR=0; var timer=0; window.onload=function(){ showerObj=document.getElementById("show"); listObj=showerObj.getElementsByTagName("div"); len=listObj.length; r=Math.PI/180*360/len; for(var i=0;i<len;i++){ var item=listObj[i]; item.style.top=showerHeight/2+Math.sin(r*i)*showerWidth/2-20+"px"; item.style.left=showerWidth/2+Math.cos(r*i)*showerWidth/2-30+"px"; item.rotate=(r*i+2*Math.PI)%(2*Math.PI); item.onclick=function(){ cR=Math.PI/2-this.rotate; timer || (timer=setInterval(rotate,10)); } } var rX=showerObj.offsetLeft+showerWidth/2; var ry=showerObj.offsetTop+showerHeight/2; var rotate=function(){ ccR=(ccR+2*Math.PI)%(2*Math.PI); if(cR-ccR<0) cR=cR+2*Math.PI; if(cR-ccR<Math.PI){ ccR=ccR+(cR-ccR)/19; }else{ ccR=ccR-(2*Math.PI+ccR-cR)/19; } if(Math.abs((cR+2*Math.PI)%(2*Math.PI)-(ccR+2*Math.PI)%(2*Math.PI))<Math.PI/720){ ccR=cR; clearInterval(timer); timer=0; } for(var i=0;i<len;i++){ var item=listObj[i]; var w,h; var sinR=Math.sin(r*i+ccR); var cosR=Math.cos(r*i+ccR); w=60+0.6*60*sinR; h=(40+0.6*40*sinR); item.style.cssText +=";width:"+w+"px;height:"+h+"px;top:"+parseInt(showerHeight/2+sinR*showerWidth/2/3-w/2)+"px;left:"+parseInt(showerWidth/2+cosR*showerWidth/2-h/2)+"px;z-index:"+parseInt(showerHeight/2+sinR*showerWidth/2/3-w/2)+";"; } } document.getElementById("l").onclick=function(){ cR=(cR+r+2*Math.PI)%(2*Math.PI); timer || (timer=setInterval(rotate,10)); } document.getElementById("r").onclick=function(){ cR=(cR-r+2*Math.PI)%(2*Math.PI); timer || (timer=setInterval(rotate,10)); } rotate(); } </script> </head> <body> <input id="l" type="button" value="left" > <input id="r" type="button" value="right" > <div id="show"> <div>1</div> <div>2</div> <div>3</div> <div>4</div> <div>5</div> <div>6</div> <div>7</div> <div>8</div> <div>9</div> <div>0</div> <div>a</div> <div>b</div> <div>1</div> <div>2</div> <div>3</div> </div> </body> </html>
希望本文所述对大家的JavaScript程序设计有所帮助。