

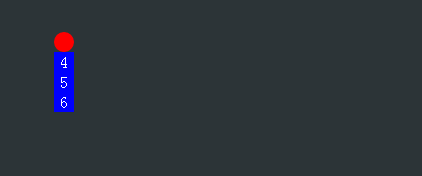
效果演示图:
源 码 查 看
【HTML代码说明】
<ul id="list"> <li>1</li> <li>2</li> <li>3</li> <li>4</li> <li>5</li> <li>6</li> </ul>
【CSS代码说明】
.in{ height: 20px; line-height: 20px; width: 20px; background-color: blue; text-align: center; color: white; }
【JS代码说明】
<script> var oList = document.getElementById('list'); //新增一个li元素 var oAdd = document.createElement('li'); //设置新增元素的css样式 oAdd.className = "in"; oAdd.style.cssText = 'background-color:red;border-radius:50%'; //1s后oAdd替换第0个li setTimeout(function(){ oList.replaceChild(oAdd,document.getElementsByTagName('li')[0]); //1s后执行incrementNumber函数 setTimeout(incrementNumber,1000); },1000); function incrementNumber(){ //获取oList中第1个li var oLi1 = document.getElementsByTagName('li')[1]; //若存在则进行替换处理 if(oLi1){ oList.replaceChild(oAdd,oLi1); setTimeout(incrementNumber,1000); } } </script>
以上内容给大家分享了基于replaceChild制作简单的吞噬特效,希望大家喜欢。