

前端开发的时候,有好多地方用到拖拽效果,当然 http://jqueryui.com/draggable/ 是个不错的选择,but 我是个打破砂锅问到底的人,抽点时间用js小小的实现了类似的插件,话不多说。
first:html和css
复制代码 代码如下:
<head>
<meta http-equiv="Content-Type" content="text/html; charset=utf-8" />
<title></title>
<style>
* {
margin: 0;
padding: 0;
}
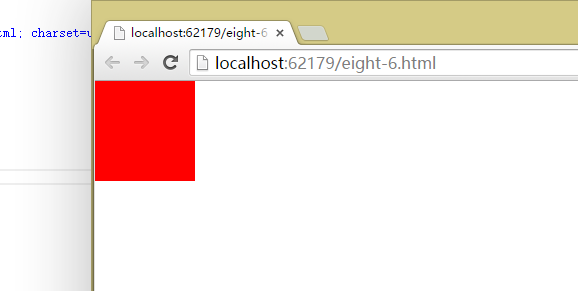
#div1 {
position: absolute;
width: 100px;
height: 100px;
cursor: move;
background-color: red;
}
</style>
</head>
<body>
<div id="div1">
</div>
</body>
</html>
now,先把主要算法实现一下:
复制代码 代码如下:
<script>
window.onload = function () {
//获取需要拖拽的div
var div1 = document.getElementById("div1");
//添加鼠标按下事件
div1.onmousedown = function (evt) {
var oEvent = evt || event;
//获取按下鼠标到div left top的距离
var distanceX = oEvent.clientX - div1.offsetLeft;
var distanceY = oEvent.clientX - div1.offsetTop;
//添加doc滑动时间
document.onmousemove = function (evt) {
var oEvent = evt || event;
//重新计算div的left top值
var left = oEvent.clientX - distanceX;
var top = oEvent.clientY - distanceY;
//left 当小于等于零时,设置为零 防止div拖出document之外
if (left <= 0) {
left = 0;
}
//当left 超过文档右边界 设置为右边界
else if (left >= document.documentElement.clientWidth - div1.offsetWidth) {
left = document.documentElement.clientWidth - div1.offsetWidth;
}
if (top <= 0) {
top = 0;
}
else if (top >= document.documentElement.clientHeight - div1.offsetHeight) {
top = document.documentElement.clientHeight - div1.offsetHeight;
}
//重新给div赋值
div1.style.top = top + "px";
div1.style.left = left + "px";
}
//添加鼠标抬起事件
div1.onmouseup = function () {
//清空事件
document.onmousemove = null;
div1.onmouseup = null;
}
}
}
</script>
yeah,使用面向对象实现一下
复制代码 代码如下:
<style>
* {
margin:0;
padding:0;
}
#div1 {
width: 100px;
height: 100px;
background-color: red;
}
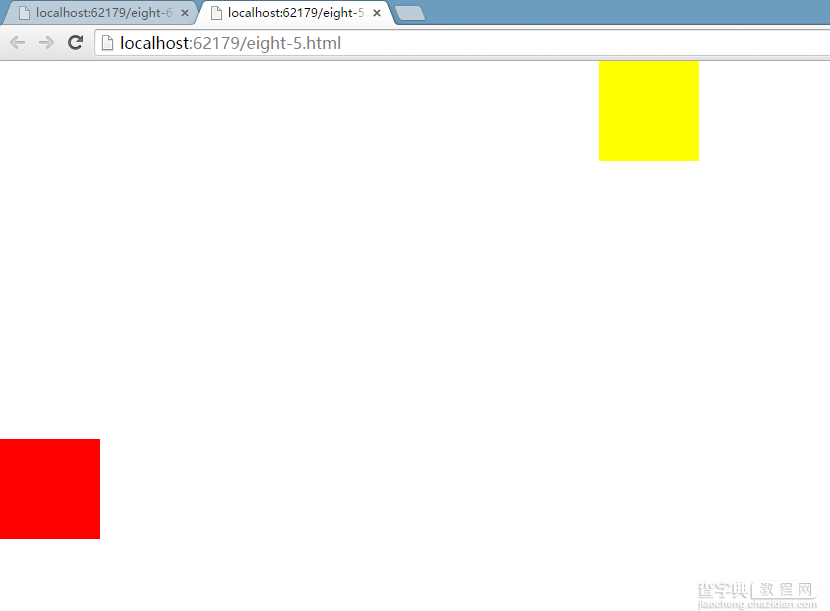
#div2 {
background-color:yellow;
width:100px;
height:100px;
}
</style>
<div id="div1"></div>
<div id="div2"></div>
js Draggle class:
复制代码 代码如下:
function Drag(id) {
this.div = document.getElementById(id);
if (this.div) {
this.div.style.cursor = "move";
this.div.style.position = "absolute";
}
this.disX = 0;
this.disY = 0;
var _this = this;
this.div.onmousedown = function (evt) {
_this.getDistance(evt);
document.onmousemove = function (evt) {
_this.setPosition(evt);
}
_this.div.onmouseup = function () {
_this.clearEvent();
}
}
}
Drag.prototype.getDistance = function (evt) {
var oEvent = evt || event;
this.disX = oEvent.clientX - this.div.offsetLeft;
this.disY = oEvent.clientY - this.div.offsetTop;
}
Drag.prototype.setPosition = function (evt) {
var oEvent = evt || event;
var l = oEvent.clientX - this.disX;
var t = oEvent.clientY - this.disY;
if (l <= 0) {
l = 0;
}
else if (l >= document.documentElement.clientWidth - this.div.offsetWidth) {
l = document.documentElement.clientWidth - this.div.offsetWidth;
}
if (t <= 0) {
t = 0;
}
else if (t >= document.documentElement.clientHeight - this.div.offsetHeight) {
t = document.documentElement.clientHeight - this.div.offsetHeight;
}
this.div.style.left = l + "px";
this.div.style.top = t + "px";
}
Drag.prototype.clearEvent = function () {
this.div.onmouseup = null;
document.onmousemove = null;
}
at last:最终实现:
复制代码 代码如下:
window.onload = function () {
new Drag("div1");
new Drag("div2");
}
效果如下:
以上所述就是本文的全部内容了,希望能对大家更加熟练的掌握javascript有所帮助。