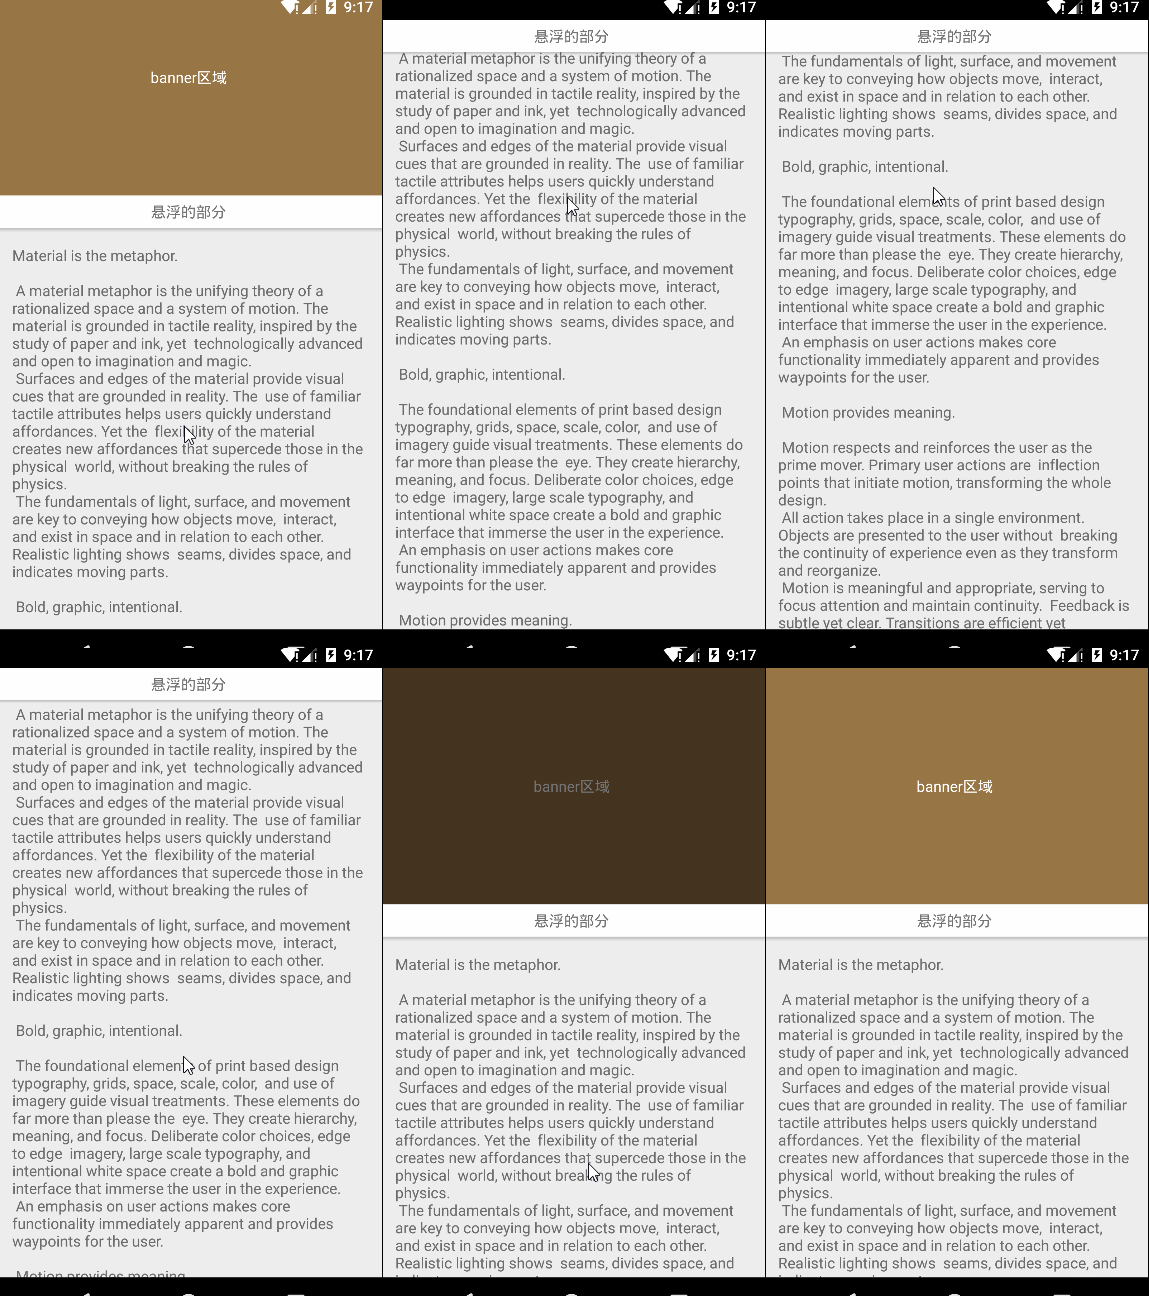
先来看下要实现效果图:

查阅资料后,发现网上大部分都是用这种方法实现的:
多写一个和需要悬浮的部分一模一样的layout,先把浮动区域的可见性设置为gone。当浮动区域滑动到顶部的时候,就把浮动区域B的可见性设置为VISIBLE。这样看起来就像悬浮在顶部不动了。
这里介绍的是另外一种方式:
使用design包中的控件
<android.support.design.widget.CoordinatorLayout xmlns:android="http://schemas.android.com/apk/res/android" xmlns:app="http://schemas.android.com/apk/res-auto" xmlns:tools="http://schemas.android.com/tools" android:layout_width="match_parent" android:layout_height="match_parent" android:fitsSystemWindows="true" tools:context="com.peipei.app.MainActivity"> <android.support.design.widget.AppBarLayout android:layout_width="match_parent" android:layout_height="250dp"> <android.support.design.widget.CollapsingToolbarLayout app:layout_scrollFlags="scroll" app:contentScrim="#000000" android:layout_width="match_parent" android:layout_height="220dp"> <TextView android:text="banner区域" android:gravity="center" android:textColor="#ffffff" android:background="#987545" android:layout_width="match_parent" android:layout_height="220dp"/> </android.support.design.widget.CollapsingToolbarLayout> <TextView android:gravity="center" android:layout_width="match_parent" android:layout_height="30dp" android:text="悬浮的部分"/> </android.support.design.widget.AppBarLayout> <android.support.v4.widget.NestedScrollView android:layout_width="match_parent" android:layout_height="match_parent" app:layout_behavior="@string/appbar_scrolling_view_behavior"> <TextView android:layout_width="wrap_content" android:layout_height="wrap_content" android:layout_margin="@dimen/text_margin" android:text="@string/large_text"/> </android.support.v4.widget.NestedScrollView> </android.support.design.widget.CoordinatorLayout>
实现步骤:
1、将需要悬浮的layout放到CollapsingToolbarLayout之外,AppBarLayout之内
2、将CollapsingToolbarLayout的app:layout_scrollFlags设置为scroll
3、给滚动的NestedScroolView设置
app:layout_behavior="@String/appbar_scrolling_view_behavior"
就大功告成了(记得根布局要是CoordinatorLayout)
最终效果:

总结
以上就是关于Android滑动到顶部悬停效果的全部内容,大家都学会了吗?希望这篇文章对大家的学习或者工作带来一定的帮助,如果有疑问大家可以留言交流。


