

ViewStub可以在运行时动态的添加布局。帮助文档给定的定义是:
"A ViewStub is an invisible, zero-sized View that can be used to lazily inflate layout resources at runtime. When a ViewStub is made visible, or when inflate() is invoked, the layout resource is inflated. The ViewStub then replaces itself in its parent with the inflated View or Views. Therefore, the ViewStub exists in the view hierarchy until setVisibility(int) or inflate() is invoked. The inflated View is added to the ViewStub's parent with the ViewStub's layout parameters. Similarly, you can define/override the inflate View's id by using the ViewStub's inflatedId property.”
总之是:ViewStub可以给其他的view事先占据好位置,当需要的时候调用inflater()或者是setVisible()方法显示这些View组件。
layout.xml:
<LinearLayout xmlns:android="http://schemas.android.com/apk/res/android" xmlns:tools="http://schemas.android.com/tools" android:layout_width="match_parent" android:layout_height="match_parent" android:orientation="vertical" tools:context=".MainActivity" > <LinearLayout android:layout_width="match_parent" android:layout_height="wrap_content" android:orientation="horizontal" > <Button android:id="@+id/showBtn" android:layout_width="match_parent" android:layout_height="50dip" android:layout_weight="1" android:text="show" /> <Button android:id="@+id/deleteBtn" android:layout_width="match_parent" android:layout_height="50dip" android:layout_weight="1" android:text="delete" /> </LinearLayout> <LinearLayout android:layout_width="wrap_content" android:layout_height="wrap_content" > <ViewStub android:id="@+id/viewstub" android:layout_width="wrap_content" android:layout_height="wrap_content" android:layout="@layout/next" /> </LinearLayout> </LinearLayout>
next.xml:
<"1.0" encoding="utf-8"?> <LinearLayout xmlns:android="http://schemas.android.com/apk/res/android" android:layout_width="match_parent" android:layout_height="match_parent" android:orientation="vertical" > <ProgressBar android:id="@+id/progressBar1" android:layout_width="wrap_content" android:layout_height="wrap_content" /> </LinearLayout>
Main.java:
package com.example.android_viewstub1; import android.os.Bundle; import android.annotation.SuppressLint; import android.app.Activity; import android.view.Menu; import android.view.View; import android.view.View.OnClickListener; import android.view.ViewStub; import android.widget.Button; public class MainActivity extends Activity { Button btn1, btn2; ViewStub viewStub; @Override protected void onCreate(Bundle savedInstanceState) { super.onCreate(savedInstanceState); setContentView(R.layout.activity_main); btn1 = (Button) this.findViewById(R.id.showBtn); btn2 = (Button) this.findViewById(R.id.deleteBtn); viewStub = (ViewStub) this.findViewById(R.id.viewstub); btn1.setOnClickListener(new OnClickListener() { @SuppressLint("NewApi") @Override public void onClick(View arg0) { viewStub.setVisibility(View.VISIBLE); } }); btn2.setOnClickListener(new OnClickListener() { @SuppressLint("NewApi") @Override public void onClick(View arg0) { viewStub.setVisibility(View.INVISIBLE); } }); } }
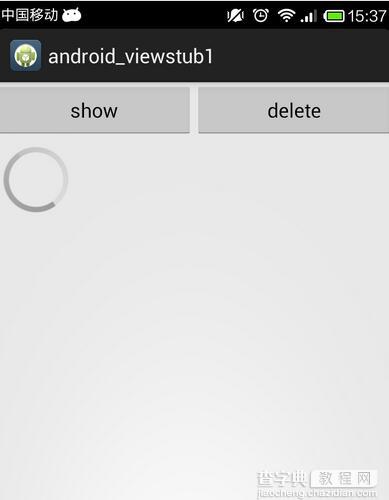
效果:
以上就是本文的全部内容,希望对大家的学习有所帮助,也希望大家多多支持查字典教程网。