

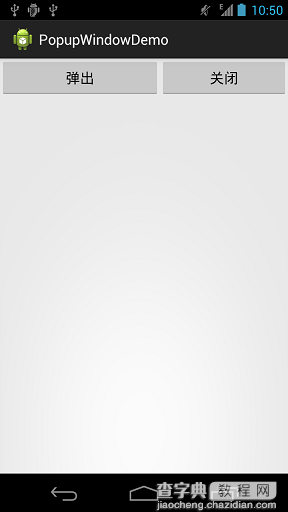
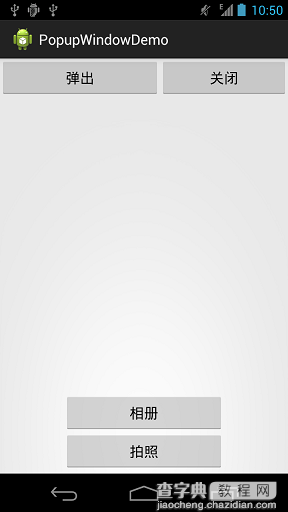
示例效果如下:
MainActivity.xml
package sn.qdj.popupwindowdemo; import android.support.v7.app.ActionBarActivity; import android.os.Bundle; import android.view.Gravity; import android.view.View; import android.view.View.OnClickListener; import android.widget.Button; import android.widget.PopupWindow; /** * PopupWindow使用 * @author qingdujun * */ public class MainActivity extends ActionBarActivity { @Override protected void onCreate(Bundle savedInstanceState) { super.onCreate(savedInstanceState); setContentView(R.layout.activity_main); /** * popup.xml 为弹出界面布局 */ View root = getLayoutInflater().inflate(R.layout.popup, null); /** * 弹出界面 * 宽度:400 * 高度:200 */ final PopupWindow popup = new PopupWindow(root, 400,200); Button btn = (Button)findViewById(R.id.btn); Button close = (Button)findViewById(R.id.close); btn.setOnClickListener(new OnClickListener() { @Override public void onClick(View v) { // TODO Auto-generated method stub /** * 在指定位置弹出 * * 第一个参数指定PopupWindow的锚点view,即依附在哪个view上。 * 第二个参数指定起始点为parent的右下角 * 第三个参数设置以btn的下方为原点,向左、上各偏移0像素。 */ popup.showAtLocation(findViewById(R.id.btn), Gravity.BOTTOM, 0, 0); } }); close.setOnClickListener(new OnClickListener() { @Override public void onClick(View v) { // TODO Auto-generated method stub /** * 关闭PopupWindow */ popup.dismiss(); } }); } }
activity_main.xml
<RelativeLayout xmlns:android="http://schemas.android.com/apk/res/android" xmlns:tools="http://schemas.android.com/tools" android:layout_width="match_parent" android:layout_height="match_parent" > <Button android:id="@+id/btn" android:layout_width="200dp" android:layout_height="wrap_content" android:layout_alignParentTop="true" android:text="弹出" /> <Button android:id="@+id/close" android:layout_width="200dp" android:layout_height="wrap_content" android:layout_toRightOf="@id/btn" android:text="关闭" /> </RelativeLayout>
popup.xml
<"1.0" encoding="utf-8"?> <LinearLayout xmlns:android="http://schemas.android.com/apk/res/android" android:layout_width="match_parent" android:layout_height="match_parent" android:orientation="vertical" > <Button android:id="@+id/btn1" android:layout_width="match_parent" android:layout_height="wrap_content" android:text="相册" /> <Button android:id="@+id/btn2" android:layout_width="match_parent" android:layout_height="wrap_content" android:text="拍照" /> </LinearLayout>