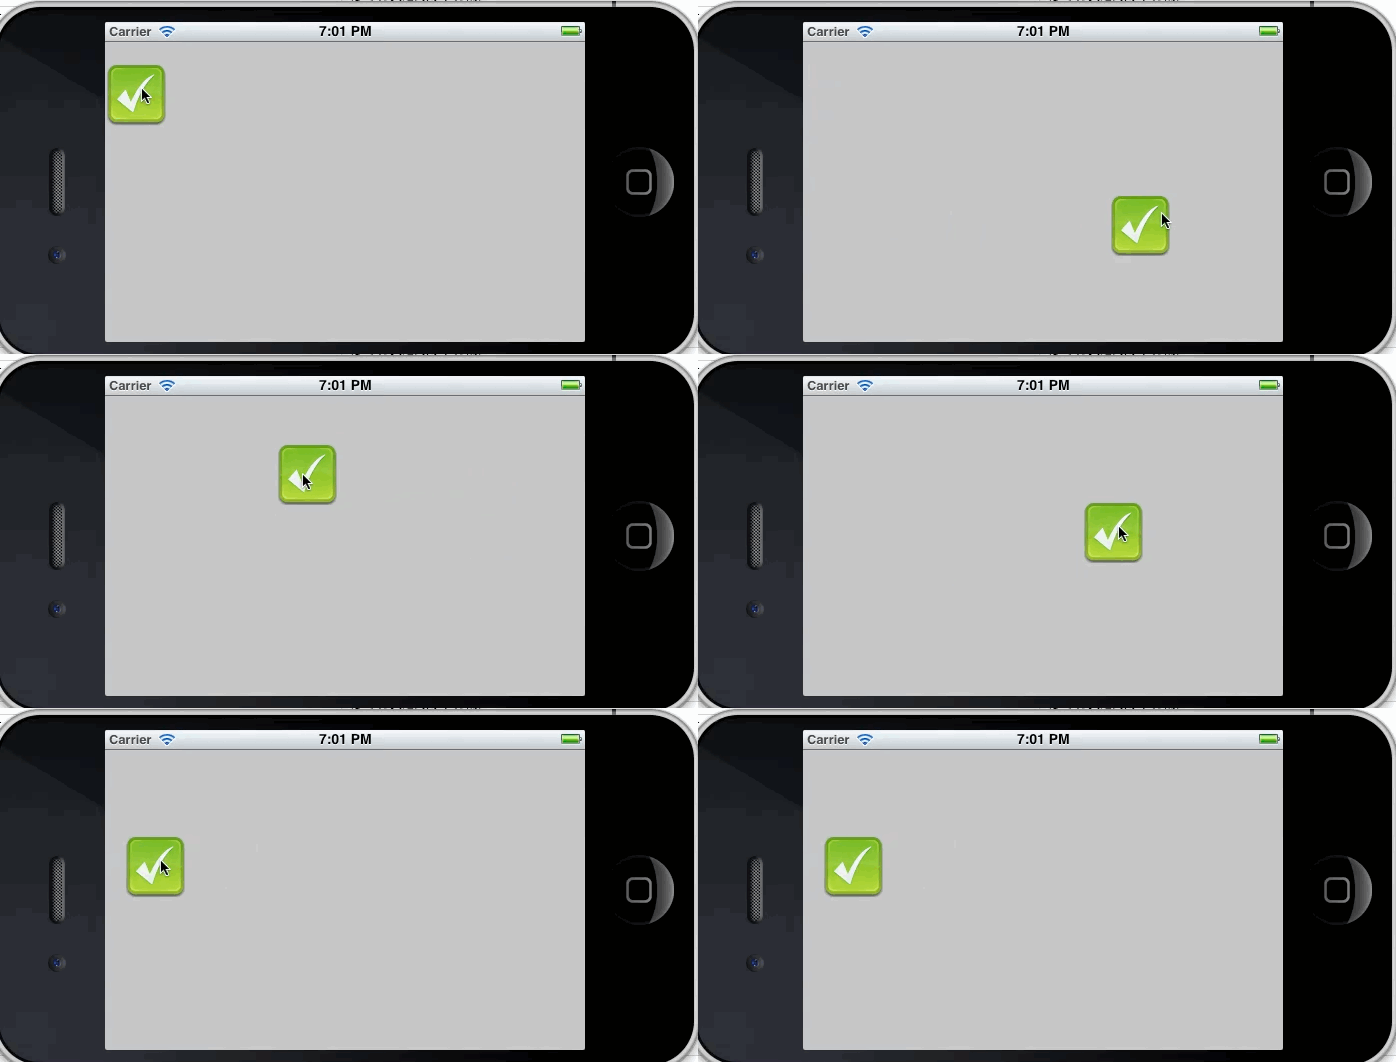
预备知识
iOS处理屏幕上的触摸动作,主要涉及到以下几个方法:
复制代码 代码如下:
touchesBegan:withEvent: //触摸屏幕的最开始被调用
touchesMoved:withEvent: //移动过程中被调用
touchesEnded:withEvent: //动作结束时被调用
touchesCancelled:WithEvent:
从方法的命名可以清晰的看出该方法何时被调用,最后一个比较特殊。touchesCancelled:WithEvent:在Cocoa Touch必须响应持续触摸事件的系统中断时调用。
我们只要重写这些方法,来作我们想要作的事情就可以了。
如何实现拖动视图?
1.设置userInteractionEnabled属性为YES,允许用户交互。
2.在触摸动作开始时记录起始点。
3.在移动过程中,计算当前位置坐标与起始点的差值,即偏移量,并且移动视图中心点至偏移量大小的地方。
4.分别限制x坐标、与y坐标,保证用户不可将视图托出屏幕
备注:分别限制x坐标与y坐标的原因是,即使向右拖动不了了,仍需保证可以向下拖动。
其实,功能比较简单,就是iOS手势动画中的拖动。来看一下基本的写法:
1.注册拖动动画
复制代码 代码如下:
UIPanGestureRecognizer * panGestureRecognizer = [[UIPanGestureRecognizer alloc] initWithTarget:self
action:@selector(doHandlePanAction:)];
[self.vLight addGestureRecognizer:panGestureRecognizer];
注:vLight就是要加入拖动的View子类。
2.拖动处理函数
复制代码 代码如下:
- (void) doHandlePanAction:(UIPanGestureRecognizer *)paramSender{
CGPoint point = [paramSender translationInView:self.view];
NSLog(@"X:%f;Y:%f",point.x,point.y);
paramSender.view.center = CGPointMake(paramSender.view.center.x + point.x, paramSender.view.center.y + point.y);
[paramSender setTranslation:CGPointMake(0, 0) inView:self.view];
}
实现代码
以子类化UIImageView为例
复制代码 代码如下:
#import <UIKit/UIKit.h>
@interface GragView : UIImageView
{
CGPoint startPoint;
}
@end
#import "GragView.h"
@implementation GragView
- (id)initWithFrame:(CGRect)frame
{
self = [super initWithFrame:frame];
if (self) {
// Initialization code
//允许用户交互
self.userInteractionEnabled = YES;
}
return self;
}
- (id)initWithImage:(UIImage *)image
{
self = [super initWithImage:image];
if (self) {
//允许用户交互
self.userInteractionEnabled = YES;
}
return self;
}
- (void) touchesBegan:(NSSet *)touches withEvent:(UIEvent *)event
{
//保存触摸起始点位置
CGPoint point = [[touches anyObject] locationInView:self];
startPoint = point;
//该view置于最前
[[self superview] bringSubviewToFront:self];
}
-(void) touchesMoved:(NSSet *)touches withEvent:(UIEvent *)event
{
//计算位移=当前位置-起始位置
CGPoint point = [[touches anyObject] locationInView:self];
float dx = point.x - startPoint.x;
float dy = point.y - startPoint.y;
//计算移动后的view中心点
CGPoint newcenter = CGPointMake(self.center.x + dx, self.center.y + dy);
/* 限制用户不可将视图托出屏幕 */
float halfx = CGRectGetMidX(self.bounds);
//x坐标左边界
newcenter.x = MAX(halfx, newcenter.x);
//x坐标右边界
newcenter.x = MIN(self.superview.bounds.size.width - halfx, newcenter.x);
//y坐标同理
float halfy = CGRectGetMidY(self.bounds);
newcenter.y = MAX(halfy, newcenter.y);
newcenter.y = MIN(self.superview.bounds.size.height - halfy, newcenter.y);
//移动view
self.center = newcenter;
}
/*
// Only override drawRect: if you perform custom drawing.
// An empty implementation adversely affects performance during animation.
- (void)drawRect:(CGRect)rect
{
// Drawing code
}
*/
@end


