MAYA金属材质,MAYA玻璃材质、的制作方法是在MAYA学习中比较常见而且在实际应用中也经常出现的两个难题,今天我们就来学习如何用MAYA打造旧金属材质,由于比较简单而且图片比较丰富,这里就不作翻译了,相信大家都能看的懂。
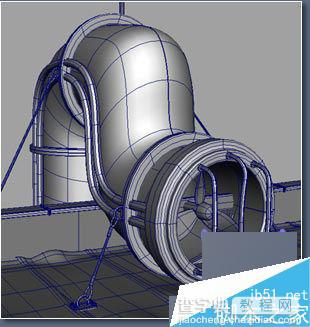
效果图:

02贴图
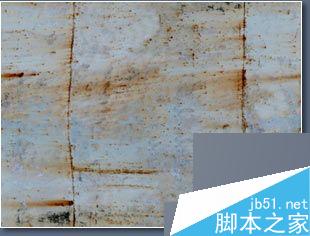
03I used a "2D placement node" for the tube so that the texture conforms to the shape of the tube.
The same map was used for color and bump.

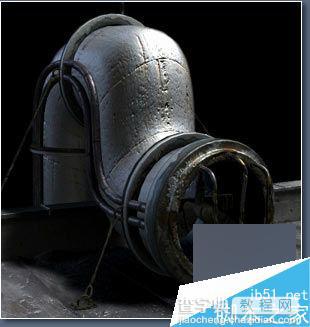
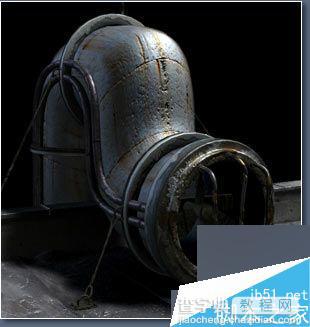
04This is what I have so far a simple looking metal shader, next we work on the highlight.
05材质属性
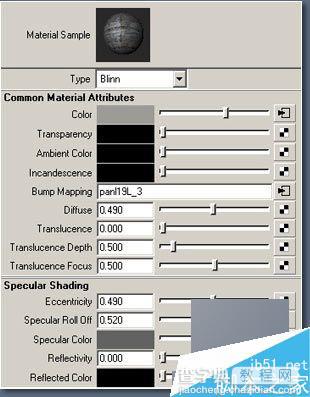
06Next I map the "Specular Color". We make a duplicate of the file texture "With Connections to Network". This way I only need one texture placement node. Then I connect the duplicate with the Specular Color of the shader.
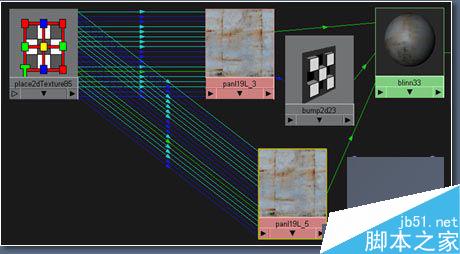
07Now the highlight looks a little more interesting.
Next I will try some variations on the Specular color by connecting a Ramp to the "Color Remap" of the "Specular Color" file.
08In the file of the "Specular Color" under Effects click the "Insert" button next to "Color Remap".
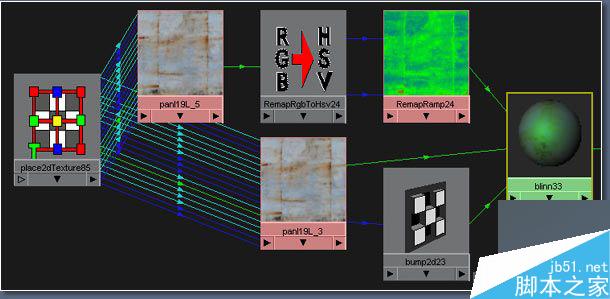
09This is my final network for the tube shader, all that's left is editing the "Ramp" to get the disired look.
With the help of the IPR it's easy to check out different settings. Now open the "Remap Ramp" and experiment. Below are some Testrenders with their appropriate "Ramps".
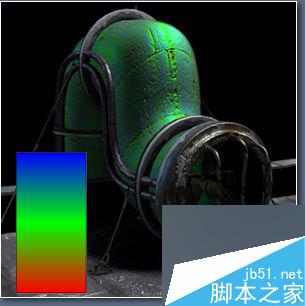
10通过调整ramp以后所得到的不同效果
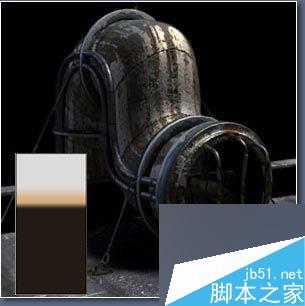
11继续调整ramp

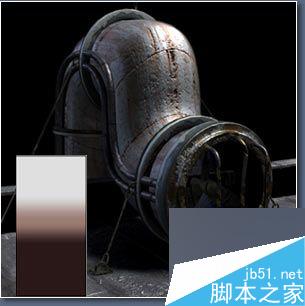
OK,到这里就结束了,方法很简单但是效果很好,以上就是用MAYA打造旧金属材质教程,希望大家喜欢!


