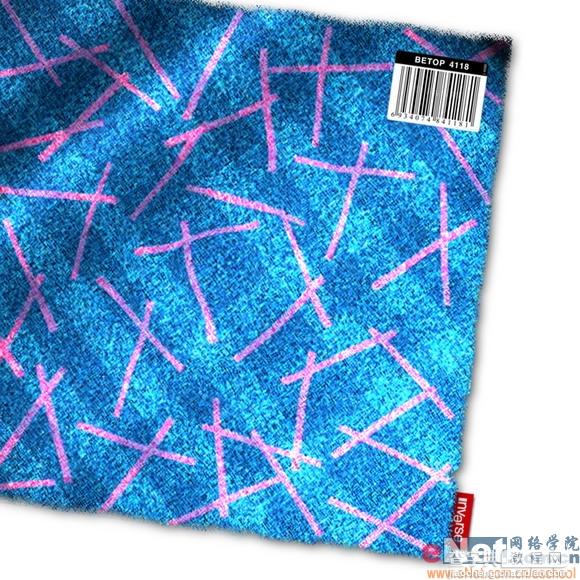
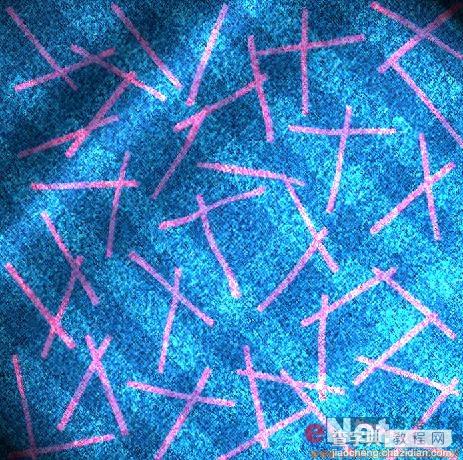
1、打开一幅矢量布纹图片,效果如图01所示。

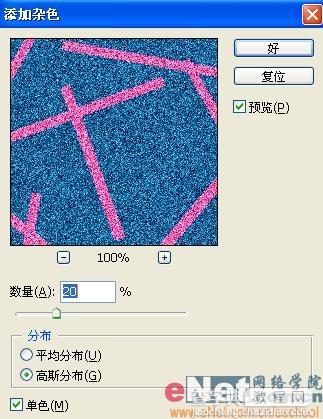
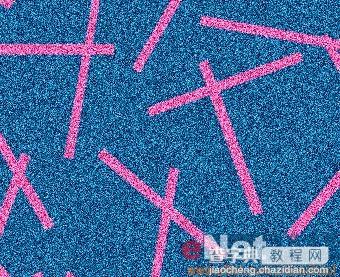
2、执行菜单栏中的“滤镜”“杂色”“添加杂色”命令,设置数量为20%,高斯分布,单色,如图02所示,图像效果如图03所示。
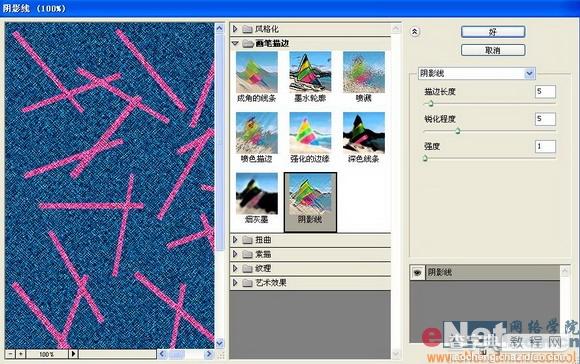
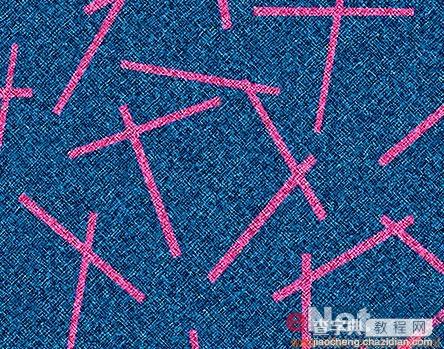
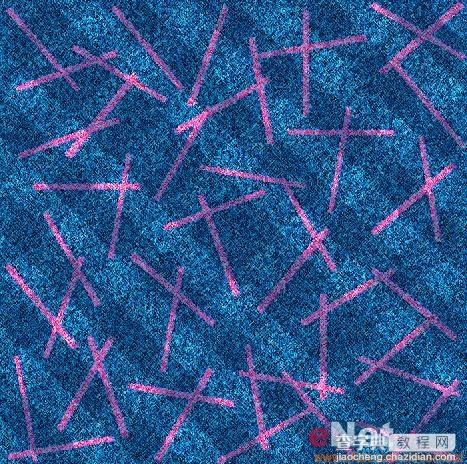
3、执行菜单栏中的“滤镜”“画笔描边”“阴影线”命令,设置参数如图04所示,图像效果如图05所示。
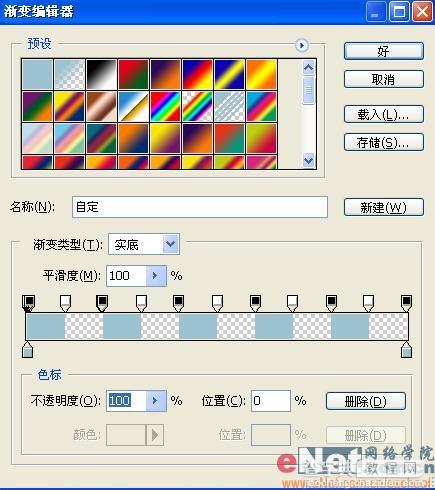
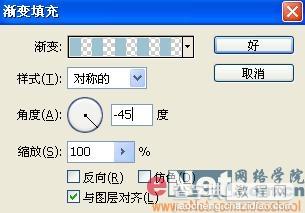
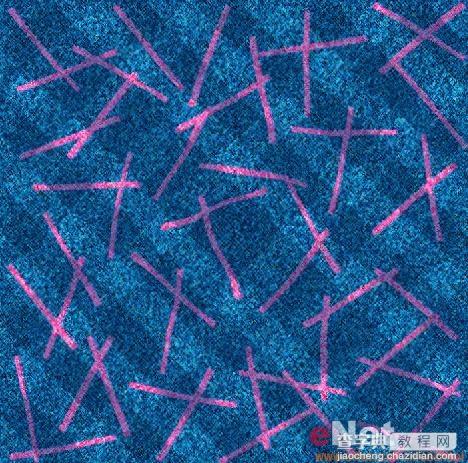
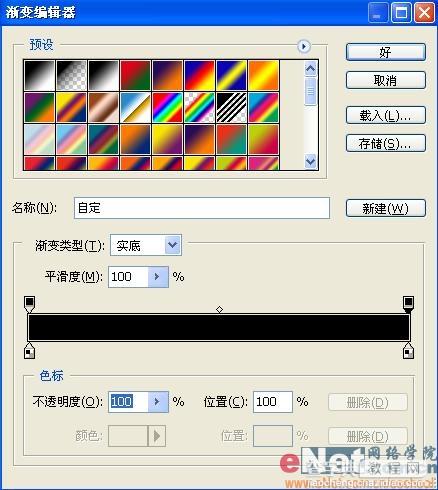
4、单击图层面板下方的“创建新的填充或调整图层”按钮,选择“渐变”项,打开“渐变填充”对话框,如图06所示,单击渐变条打开渐变编辑器对话框,指定颜色,分别双击两侧的色标,打开拾色器对话框,设置颜色,单击不透明色标,将不透明度设置为0%,位置分别输入0、10...90、100%。单击不透明性色标,将不透明度设置为100%,并将位置分别设置为0、10...90、100%,从而制作单色反复图案,效果如图07所示。


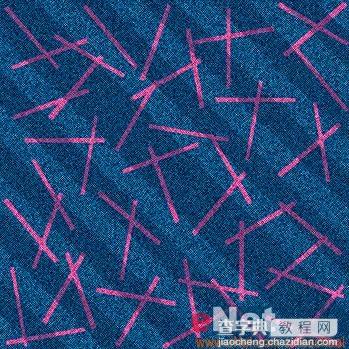
6、复制渐变填充1图层为渐变填充1副本,然后双击渐变填充1副本图层缩览图,打开渐变填充对话框,设置角度为-45度,效果如图10所示。
7、在编辑器中打开色标,设置两侧的颜色变得淡一些,单击好。
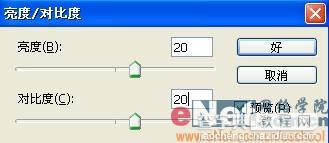
8、选择背景图层,执行“图像”“调整”“亮度/对比度”命令,设置参数如图11所示,图像效果如图12所示。
9、复制背景图层为背景副本图层。然后链接渐变填充1和渐变填充副本1图层,按Ctrl+E合并链接图层为图层1。
10、设置前景色为白色,按Alt+Delete键填充背景层,然后将文件存储为PSD文件。
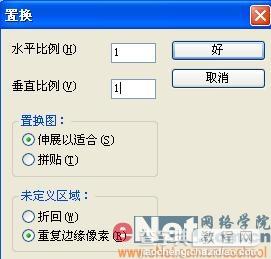
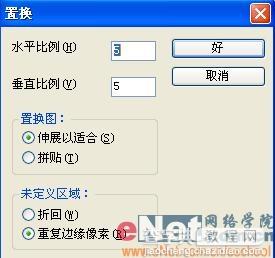
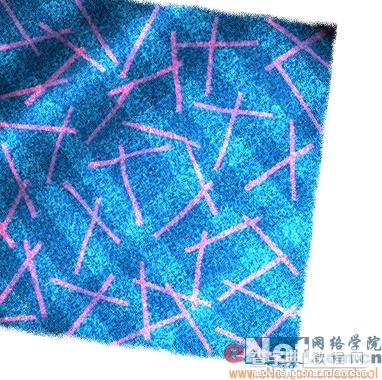
11、执行菜单栏中的“滤镜”“扭曲”“置换”命令,在对话框中设置参数如图13所示。在置换框中单击好,打开选择一个置换图对话框,选择之前保存的PSD文件,图像效果如图14所示。
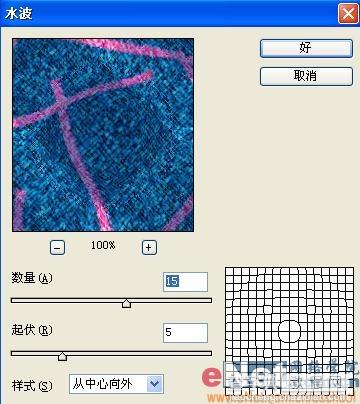
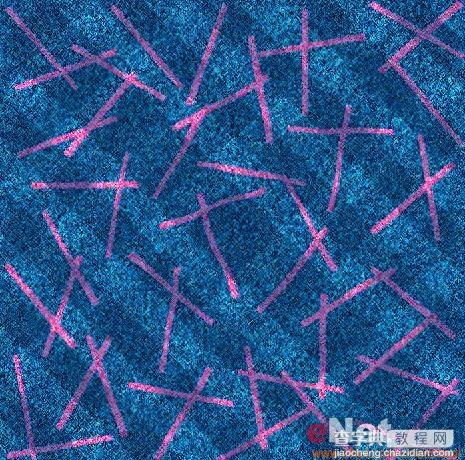
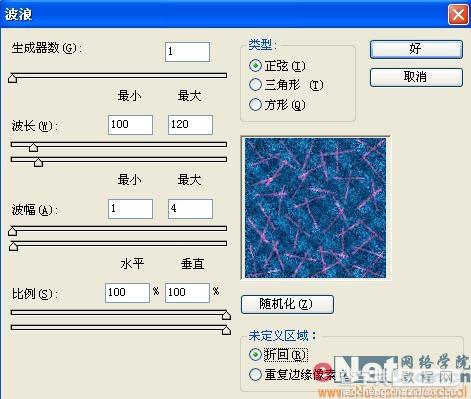
13、执行菜单栏中的“滤镜”“扭曲”“波浪”命令,设置参数如图17所示,图像效果如图18所示。
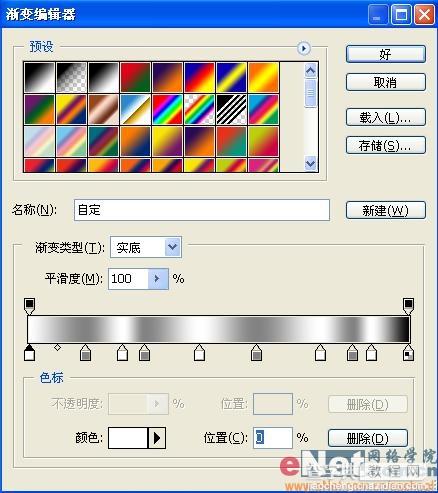
14、选择工具箱中的渐变工具,并在选项栏中单击渐变条,打开渐变编辑器对话框,在不透明性色标的位置0%和100%点上将不透明度设置为100%,效果如图19所示。颜色设置如图20所示。
15、切换到通道面板中,单击“创建新通道”按钮生成新通道Alpha 1通道。在通道中以对角线方向赋予渐变效果,如图21所示。

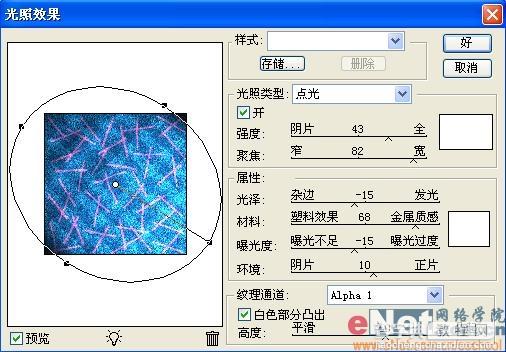
16、返回到图层面板中,选择图层1,执行菜单栏中的“滤镜”“渲染”“光照效果”命令,设置参数如图22所示,图像效果如图23所示。

18、回到图层面板中,选择图层1,按Ctrl+Shift+I键反选选区,按Delete键删除选区内的部分,效果如图26所示。
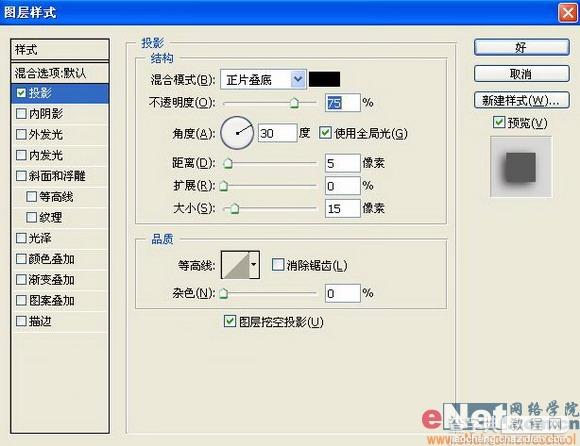
19、双击图层1,打开图层样式对话框,选择“投影”样式,设置参数如图27所示,图像最终效果如图28所示。