

Photoshop制作超炫的发光环绕文字
发布时间:2016-01-16 来源:查字典编辑
摘要:本例教程主要为大家介绍使用Photoshop制作一款超炫的发光环绕字体,在制作过程中主要使用了路径,画笔,外发光等工具。最终效果:1、首先创...
本例教程主要为大家介绍使用Photoshop制作一款超炫的发光环绕字体,在制作过程中主要使用了路径,画笔,外发光等工具。
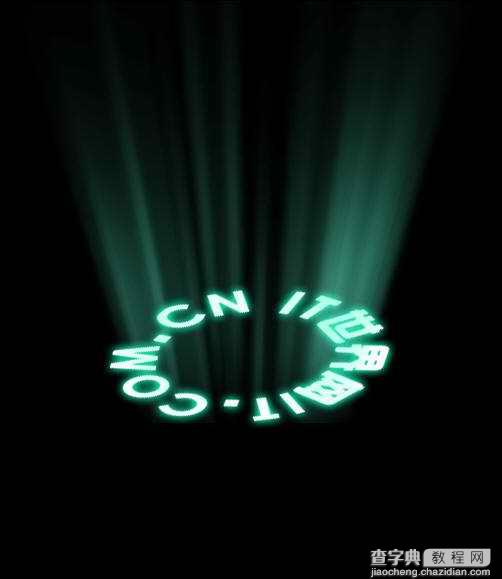
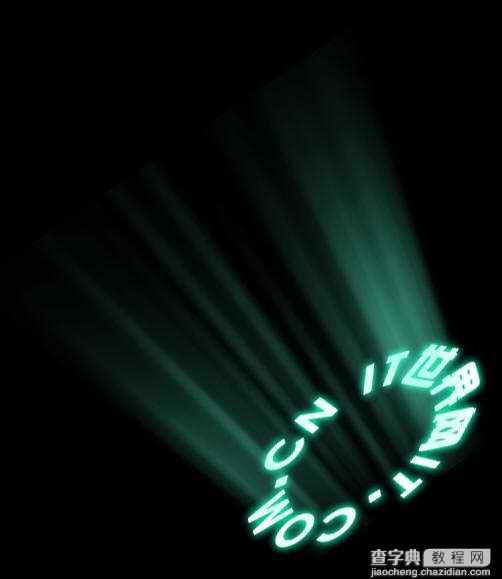
最终效果:

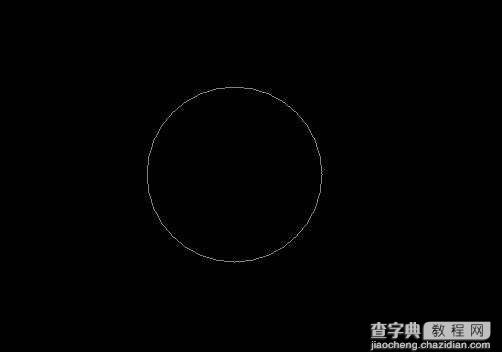
1、首先创建一个新文档,填充黑色,然后使用“椭圆工具”画出一个圆形的路径,如图所示。
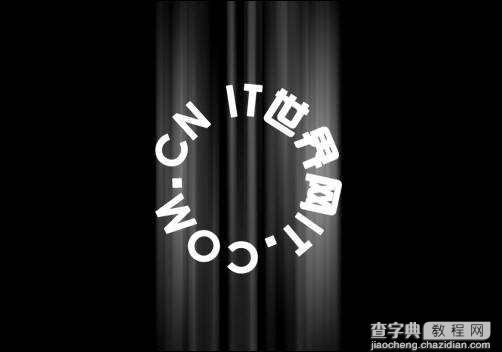
2、使用横排文字工具在圆形路径上输入文字,并调整文字的大小,如图所示。

3、右键单击文字图层,设置删格化,如图所示。

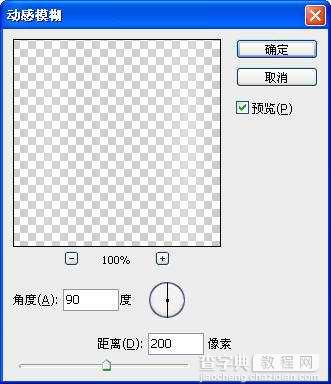
3、调整文字图层的大小,然后按下Ctrl+J复制出副本图层,接着选择“滤镜―模糊―动感模糊”命令,设置如图所示。得到光线图层。
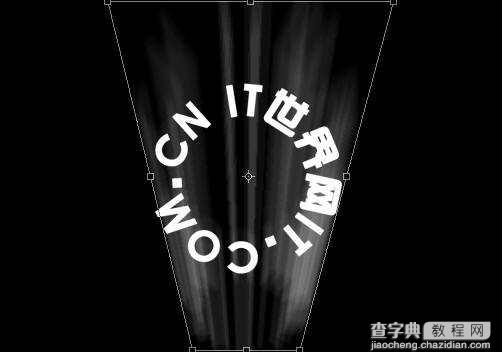
4、选择“编辑―变换―透视”命令,设置透视效果,如图所示。
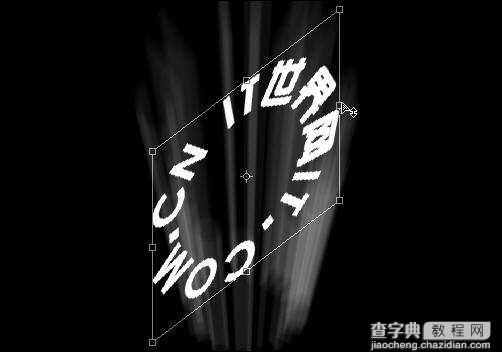
5、选择文字图层,执行“编辑―变换―斜切”命令,设置方法如图所示。
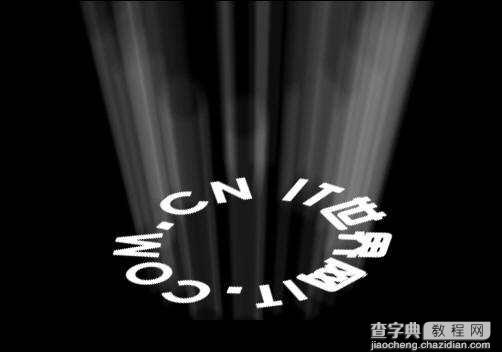
6、分加调整文字图层和光线图层的位置和大小,使用它他组一个文字发光的效果。
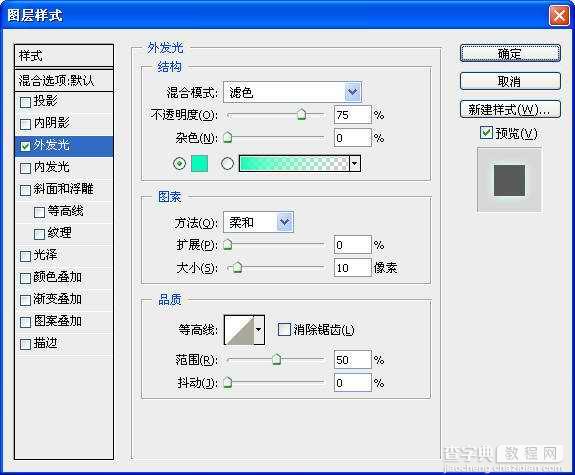
7、分别对文字图层和光线图层设置外发光效果,如图所示。
8、选择“图像―画布大小”可以设置画布的大小,按下Ctrl+T快捷可以调整文字和光线的位置,效果如图所示。
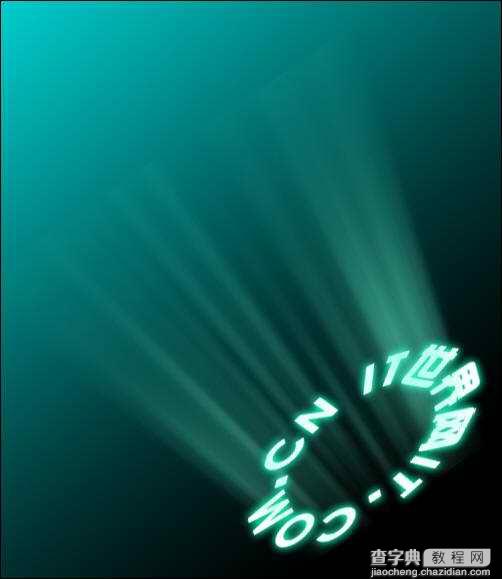
9、选择背景图层,设置前景色为绿色。背景色为黑色,然后使用渐变工具,在属性栏设置从前景色到背景色的渐变效果,在背景图层上创建渐变如图所示。
10、使用钢笔工具创建一条对角线的路径,如图所示。

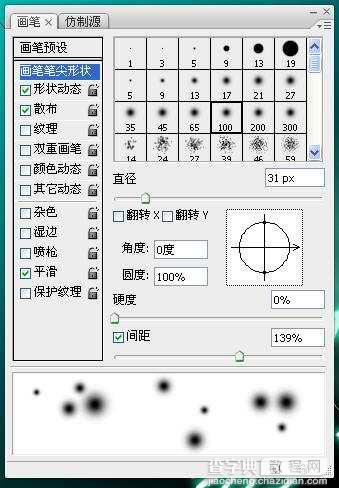
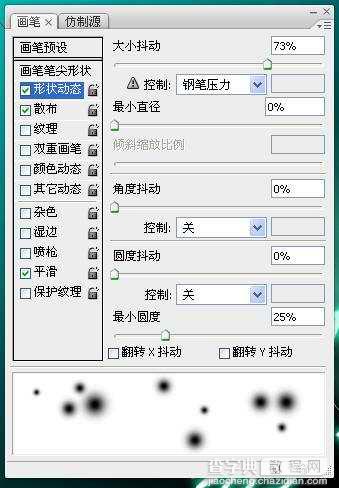
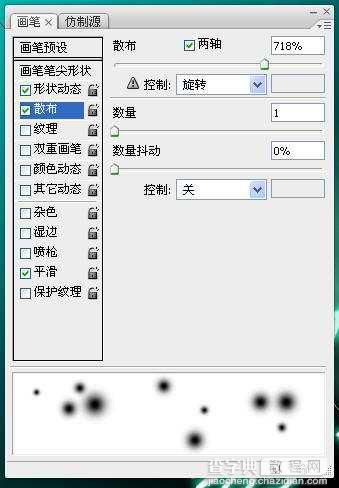
11、选择画笔工具,在菜单栏中选择“窗口―画笔”打开画笔面板,设置如下图所示。
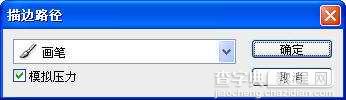
12、打开路径面板,右键单击对角线的路径,选择描边路径,设置如下图所示。
最终效果如图所示。