PHOTOSHOP打造三角形酷炫像素BANNER教程
发布时间:2015-06-16 来源:查字典编辑
摘要:使用软件:PhotoshopCS5(当然较旧版本也可以)第1步准备一张作为banner背景的照片,下面我们以下图作为演示。第2步复制两次背景...
使用软件:Photoshop CS5(当然较旧版本也可以)
第1步
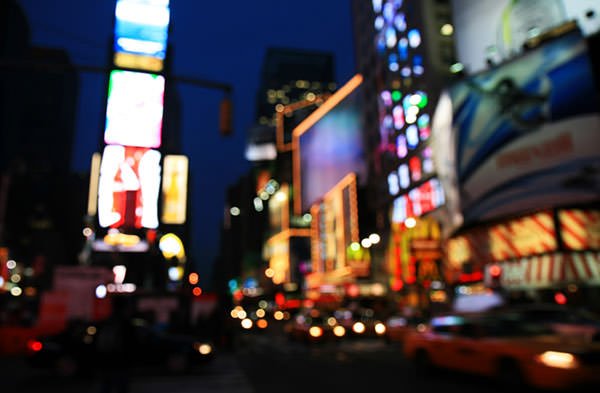
准备一张作为banner背景的照片,下面我们以下图作为演示。
第2步
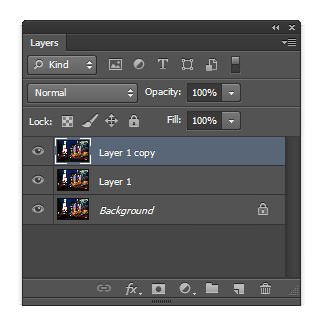
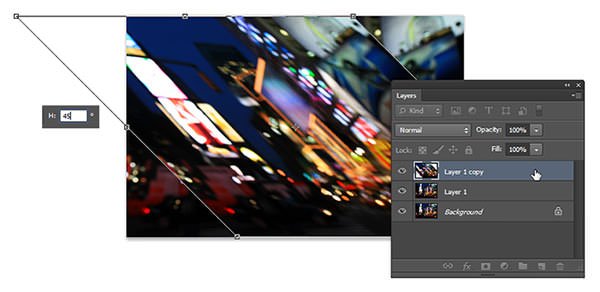
复制两次背景层。
第3步
使用自由变换工具(Ctrl + T 或选择主菜单”编辑”>”自由变换”)让图像水平倾斜45度。
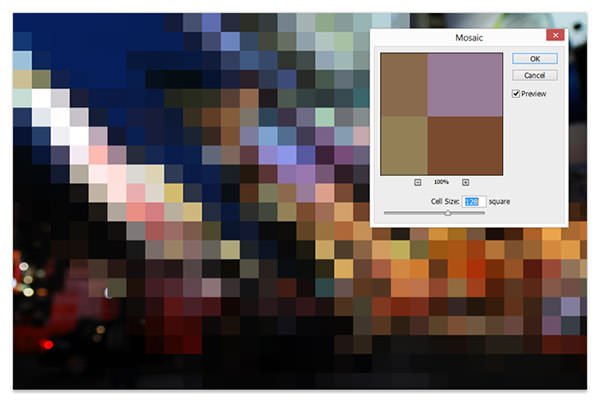
第4步
主菜单”滤镜”>”像素化”>”马赛克”,调整单元格的大小,大小根据你的banner图像大小来设置,这里是3888x2554px,所以我们设置为128px大小。
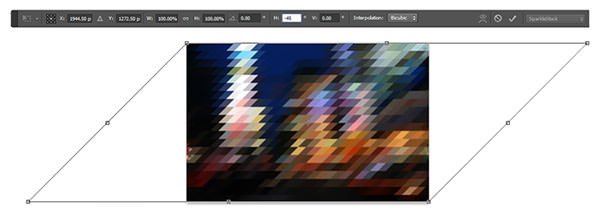
第5步
使用自由变换工具(主菜单”编辑”>”自由变换”)让图像水平倾斜「-45度」。(其实就是第3步的相反方向)
第6步
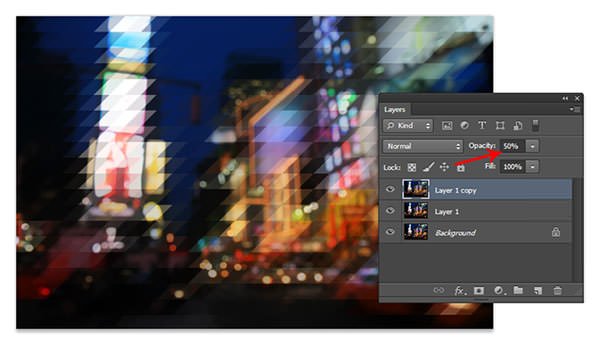
设置此图层的不透明度为50%」。