本教程主要使用Photoshop结合C4D制作立体效果的木纹字,立体效果非常的震撼,感兴趣的朋友让我们一起来学习吧。
最终效果

1、创建场景
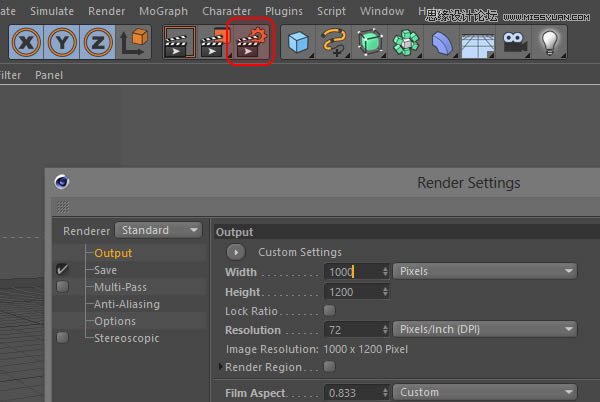
(1)打开C4D,创建一个新文件,打开渲染设置,参数设置如下:
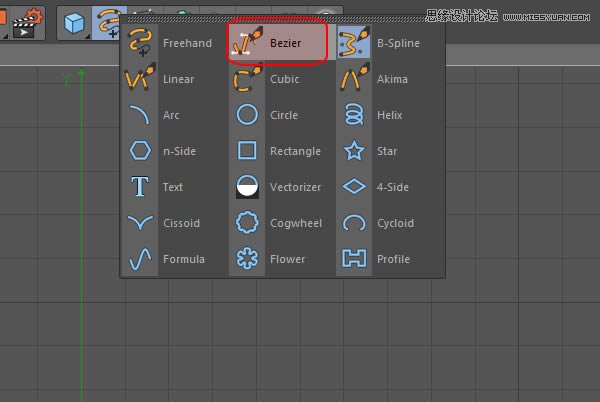
(2)选择贝塞尔曲线
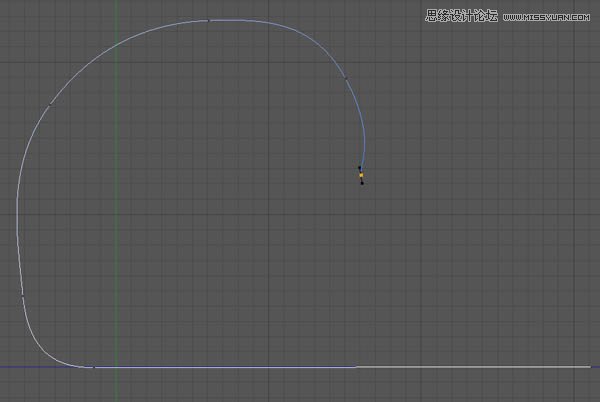
(3)转到侧视图,绘制一条样条曲线,类似于一个C形摄影棚
(4)复制样条线

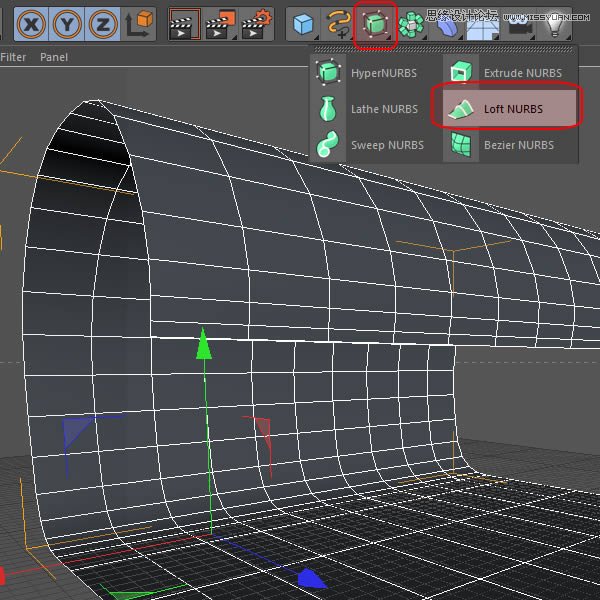
(5)给两条样条线,施加放样曲线效果
(6)新建一个区域光源,放置在场景顶部
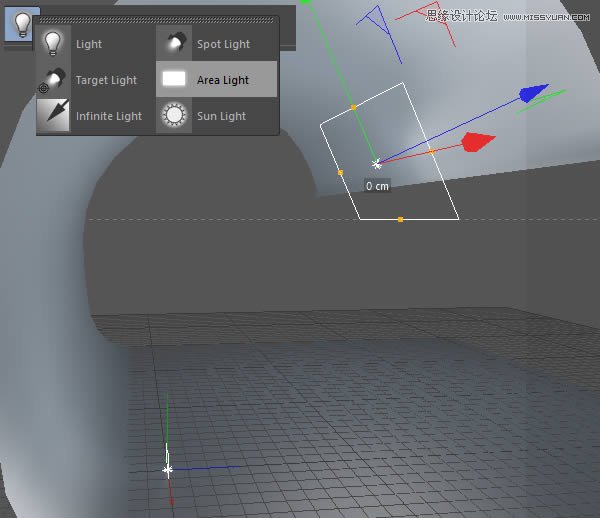
(7)分别放置两个区域光在场景两侧

(8)创建一个摄像机,设置参数如下

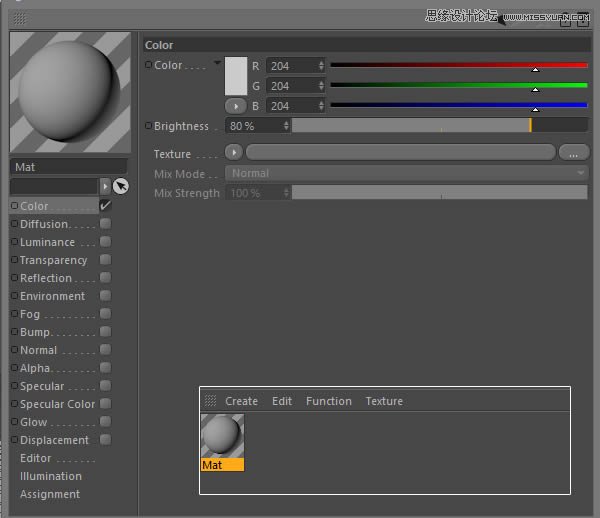
(9)创建一个新材质赋予场景,至此就完成了场景的搭建
2、创建基本形状
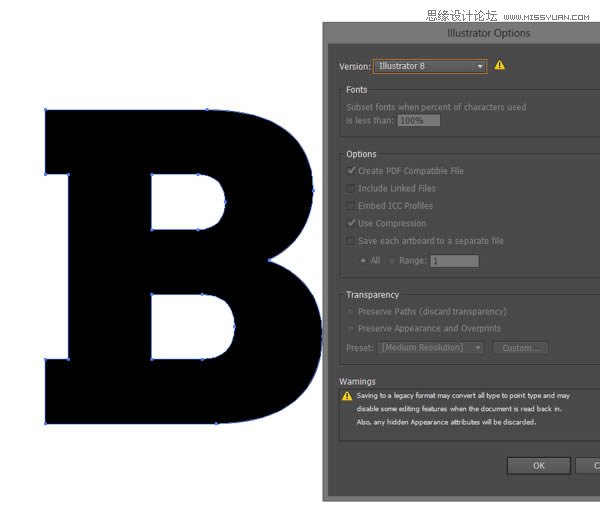
(1)打开Illustrator,使用你选择的字体键入一个字母,将其转换为轮廓,并保存为Illustrator 8的版本
(2)回到C4D界面,打开刚刚保存的Ai文件,复制到你的场景,将它放置在视图中心

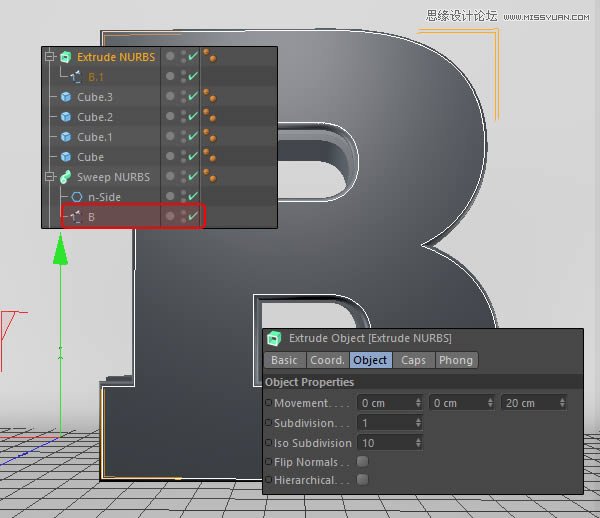
(3)对路径添加挤出曲线效果,设置参数如下
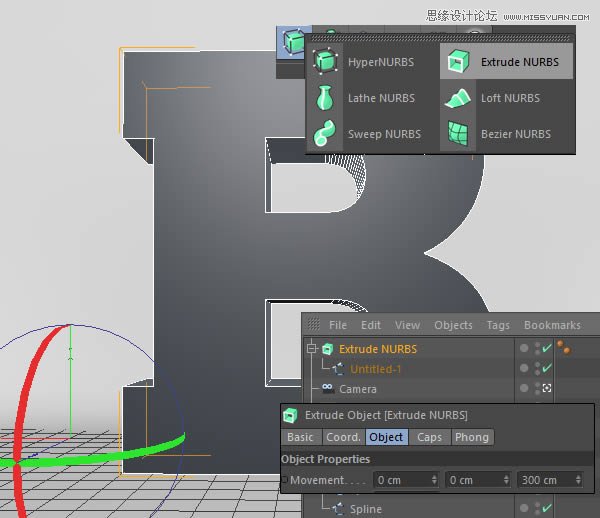
(4)设置封顶参数如下
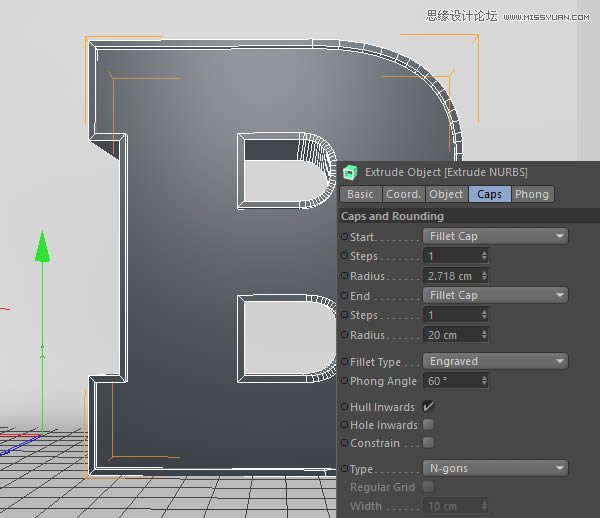
(5)复制刚才挤出的样条B,并隐藏显示,留做备用
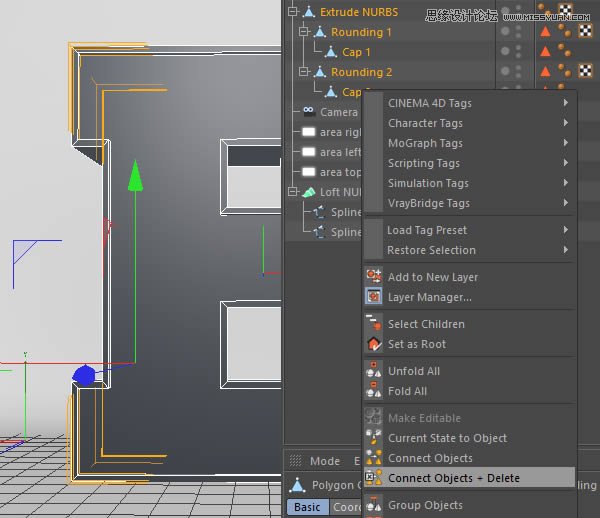
(6)将挤出的物体转换为可编辑对象,并删除合并对象
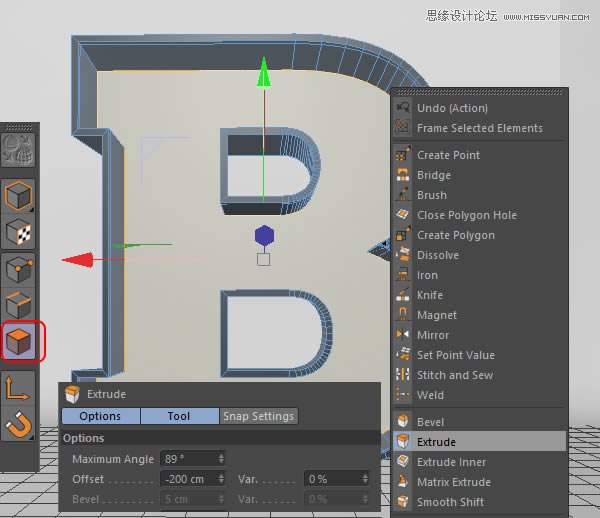
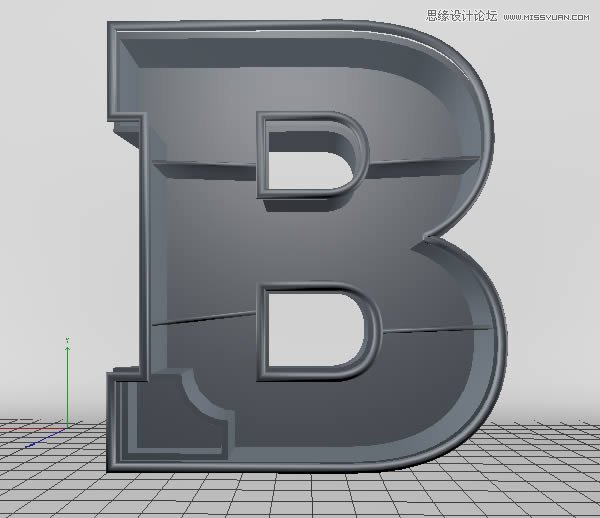
(7)选中面,右键选择挤出工具,拖动鼠标,得到下图效果
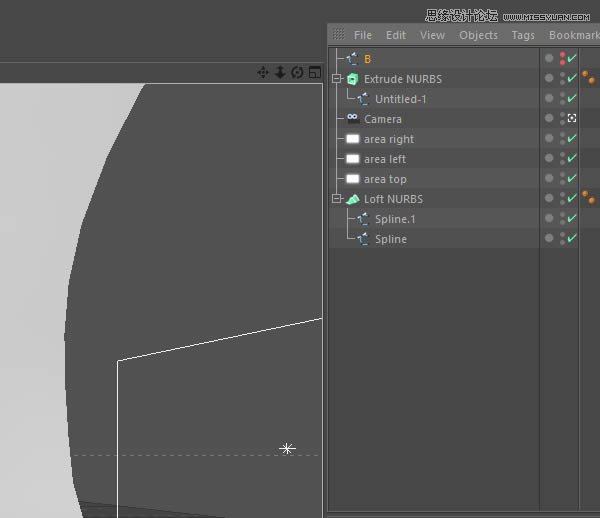
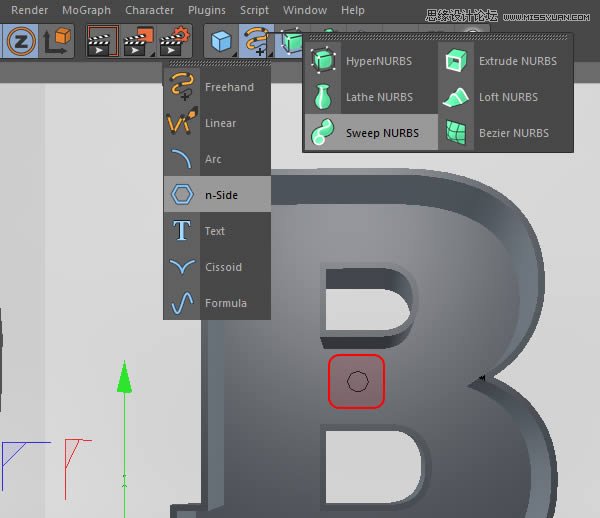
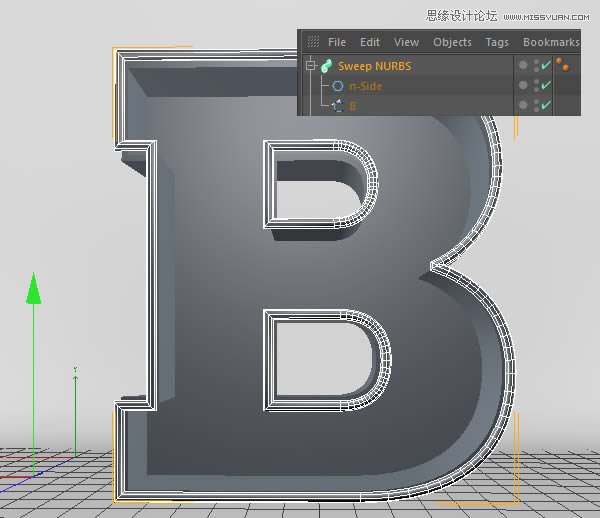
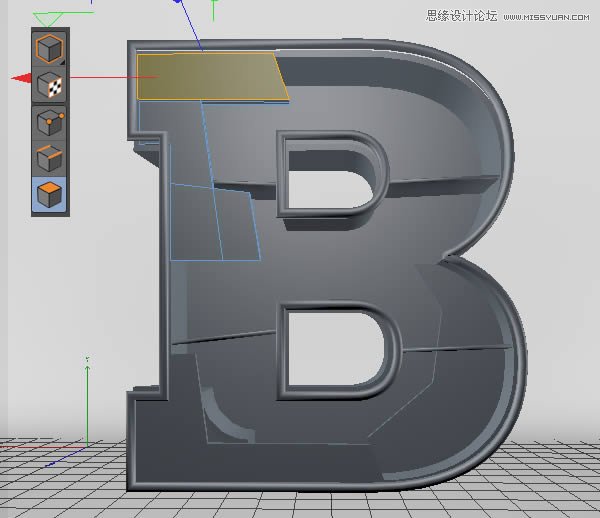
(8)显示B样条线,创建一个n-side曲线,并选中这两条曲线,添加扫描曲线效果
(9)调整管子的大小,得到下图效果
3、物体细节
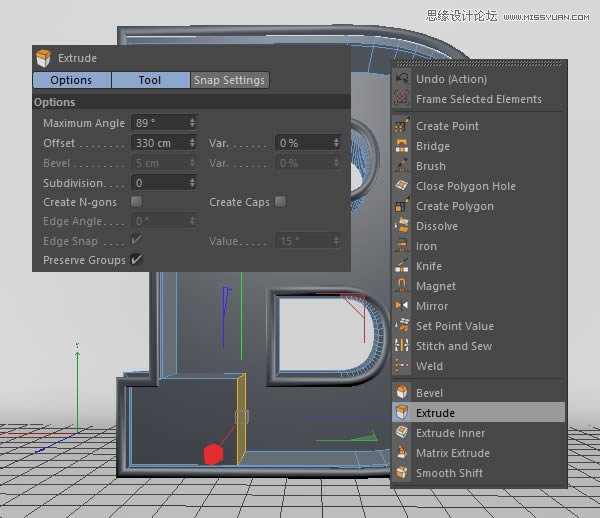
(1)选择物体底部一个内面

(2)右键单击,选择挤出工具,设置参数得到下图效果
(3)选择顶部边缘的边,右键选择倒角工具,调整参数得到下图效果
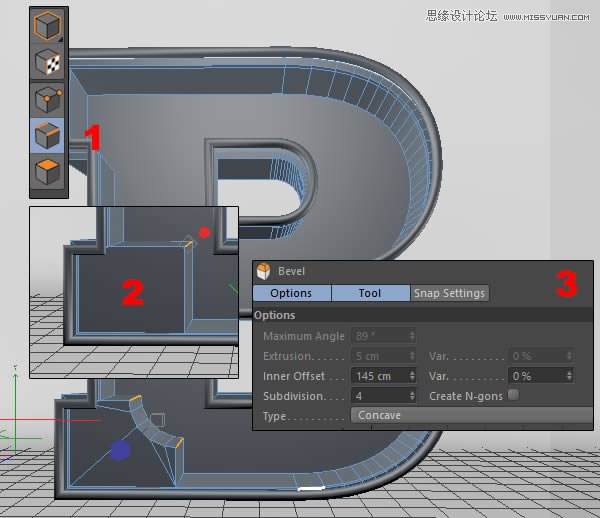
(4)选择前部的面,右键选择向内挤压工具,拖动鼠标得到下图效果
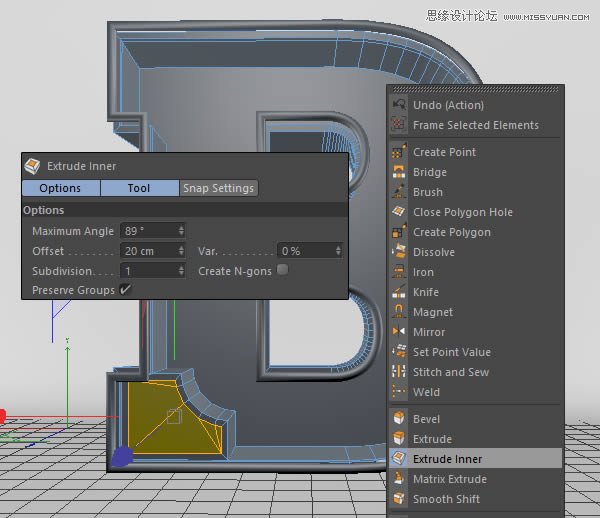
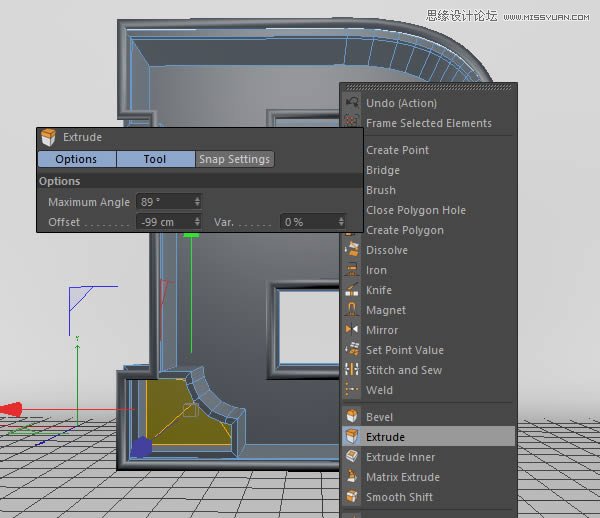
(5)继续右键选择挤出工具,向内挤压
(6)给物体增加一些短木板,丰富细节
(7)复制,调整角度,放置更多地木板
(8)继续复制样条B曲线,添加挤出曲线效果,设置参数如下,并右键执行合并删除对象命令
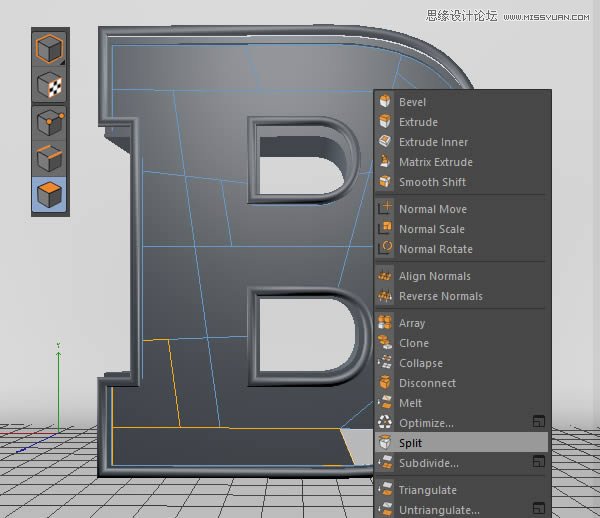
(9)选中面,右键选择切刀工具
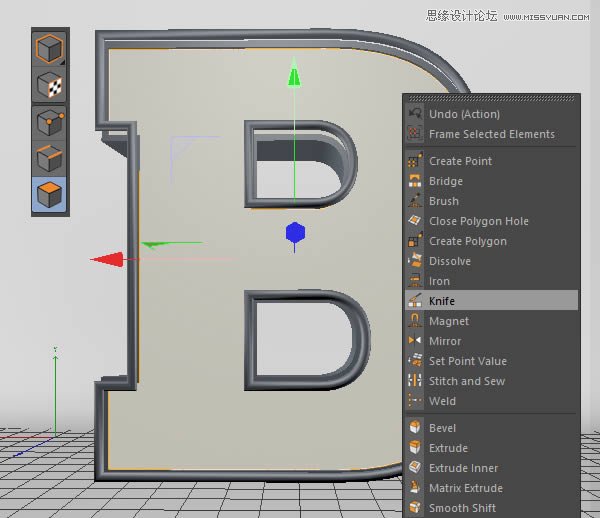
(10)自由发挥,将木板切碎,大概如下图所示
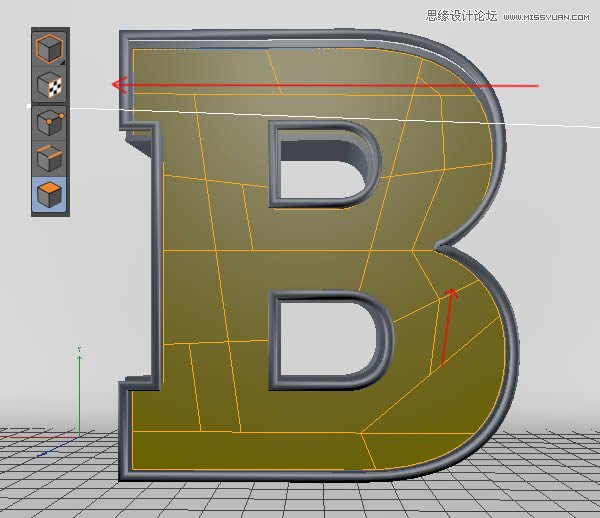
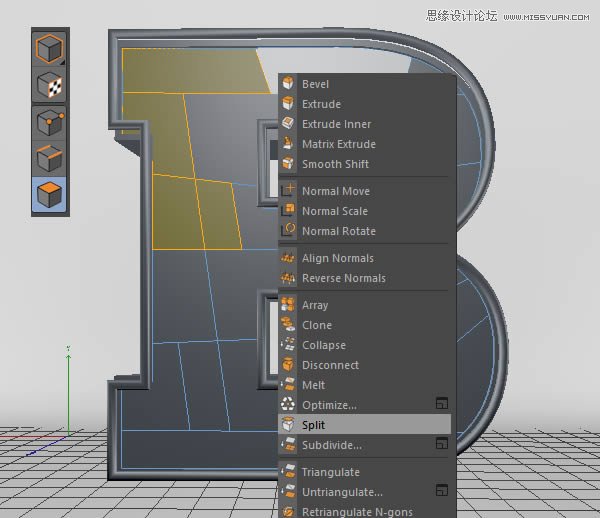
(11)选中你想保留的几个多边形面,右键选择拆分,就会创建一个新的对象
(12)重复上一过程,得到你想要留下的对象

(13)再次重复
(14)删除原来的对象
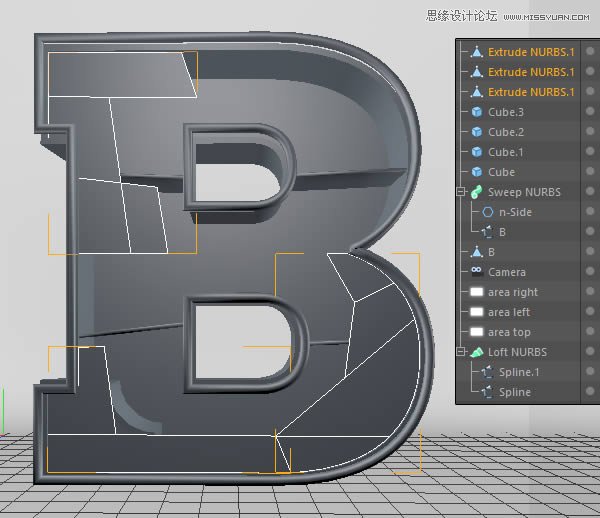
(15)选择留下的三个对象,使用挤出工具,挤出大概20cm即可
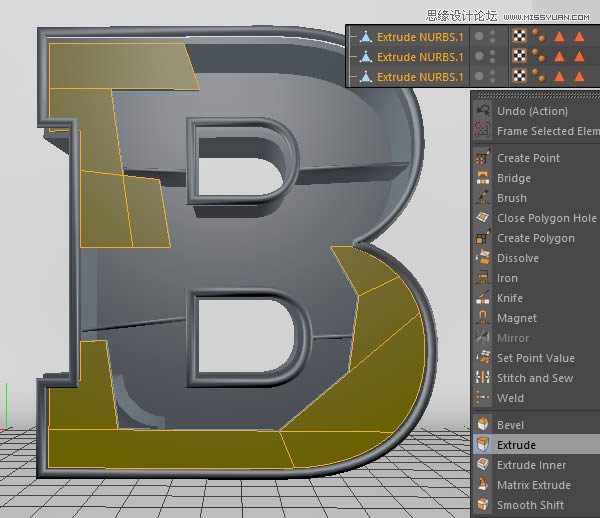
(16)现在选择单一的一个多边形面,挤出一点,这能让木板高低不平,从而丰富细节
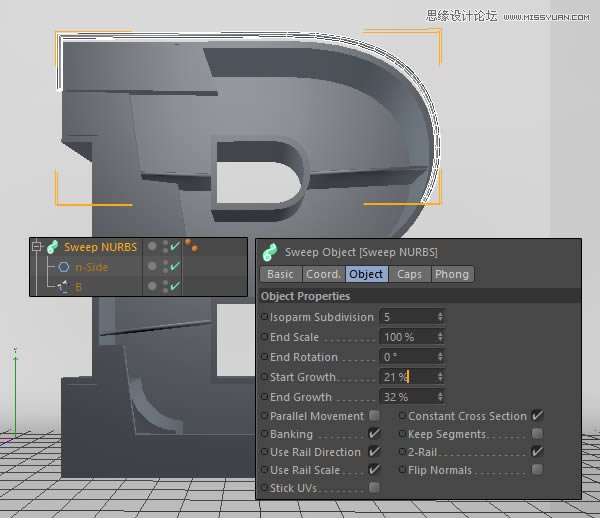
(17)继续添加细节,选择前面扫描得到的管子,在对象标签栏下,设置开始生长和结束生长的值,得到下图效果
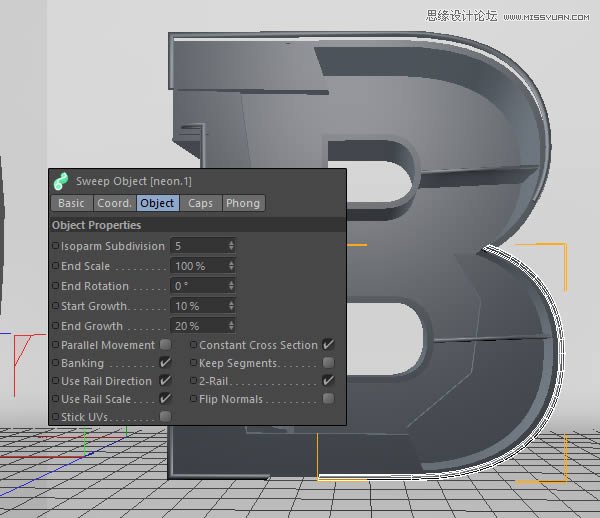
(18)复制扫描对象,并再次修改生长参数,得到下图效果
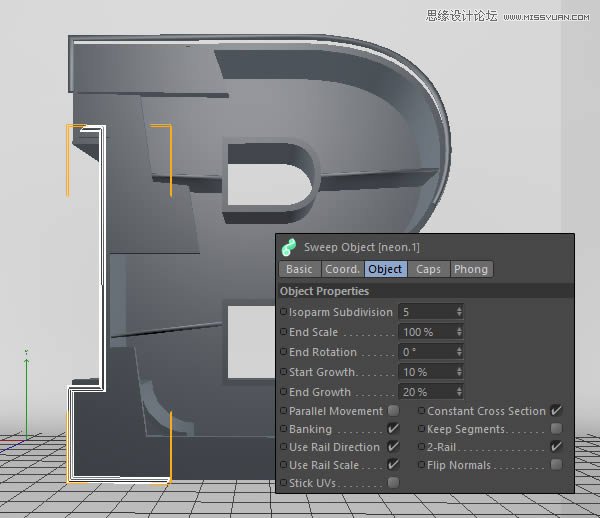
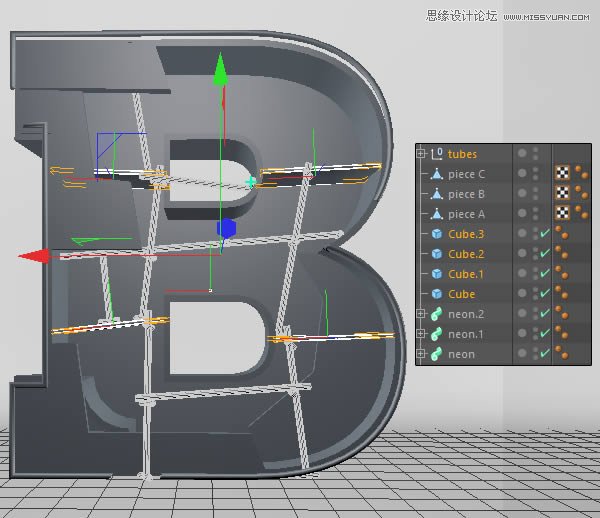
(19)再次重复,最后将三段管子分别命名为霓虹灯1、2、3
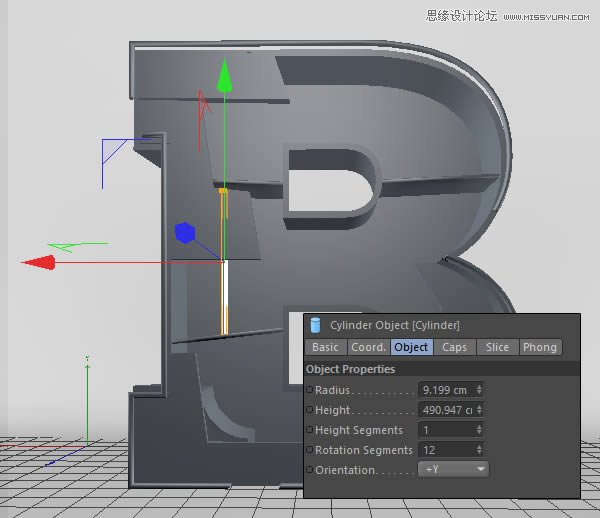
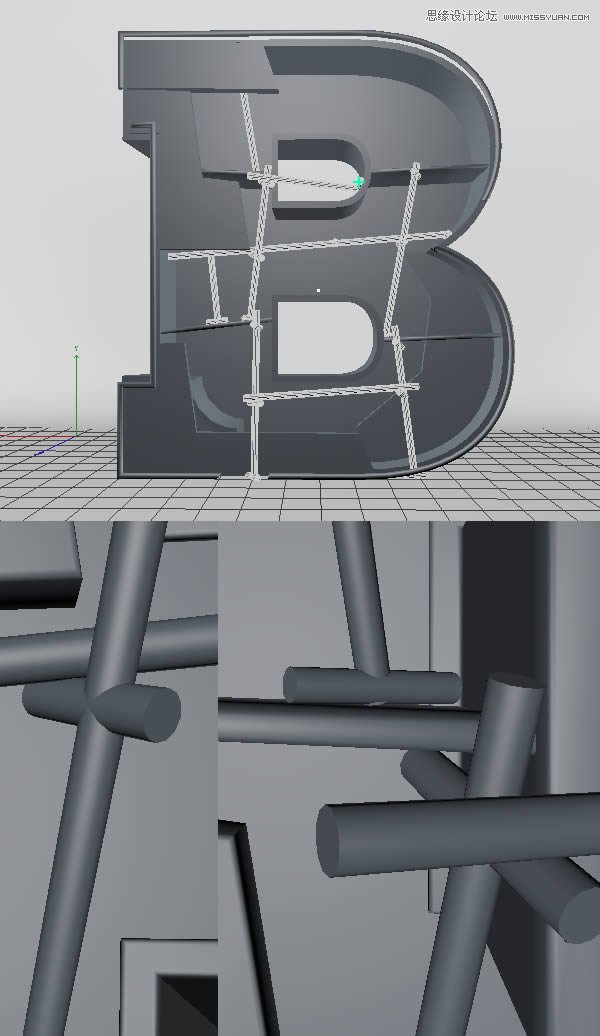
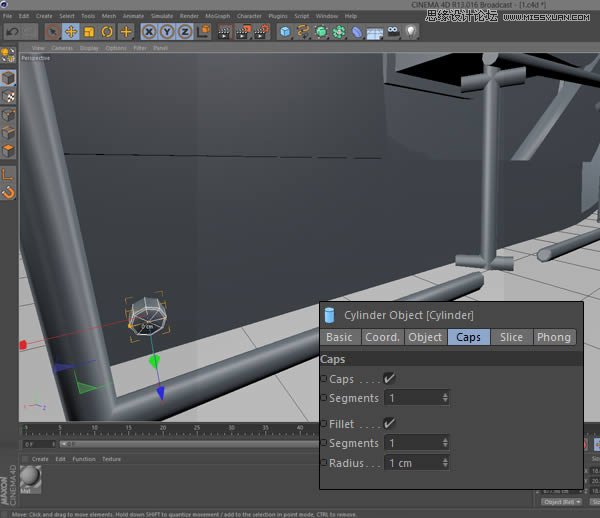
(20)创建圆柱体,设置参数如下
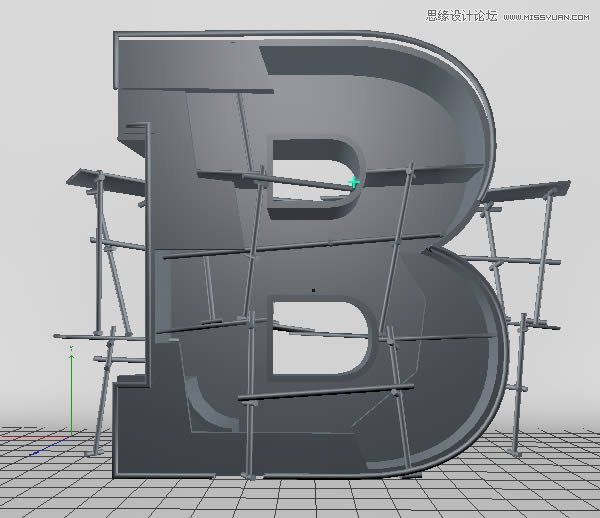
(21)不断复制钢管,发挥想象力,营造一种搭建的感觉
(22)为了节省时间,我们可以复制整个支架结构,用在其他位置
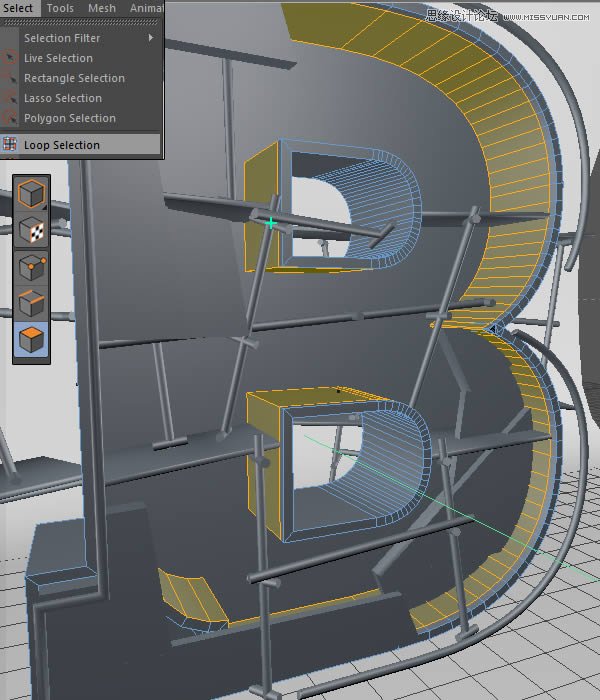
(23)回到B物体,执行选择>循环选择,右键选择挤出工具,拖动鼠标得到下图效果
(24)继续执行选择>循环选择,选中底部循环面
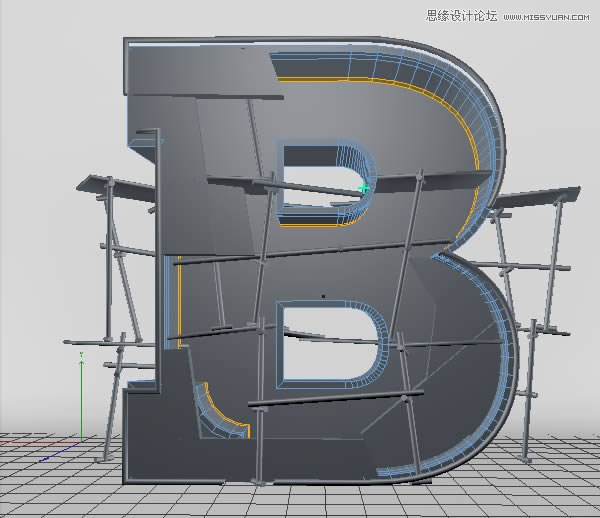
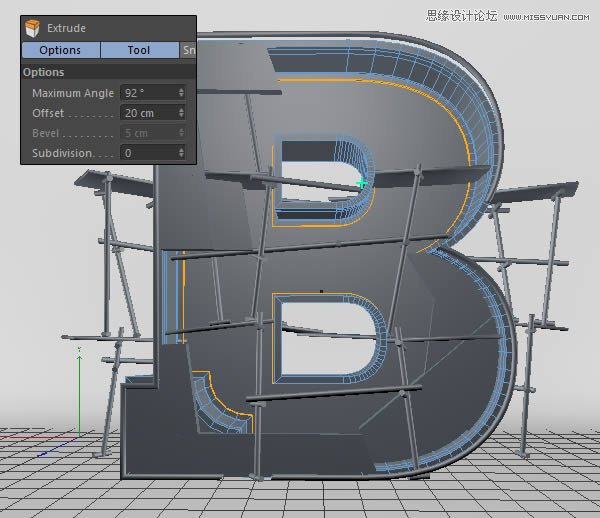
(25)右键选择挤出工具,设置挤出参数如下:
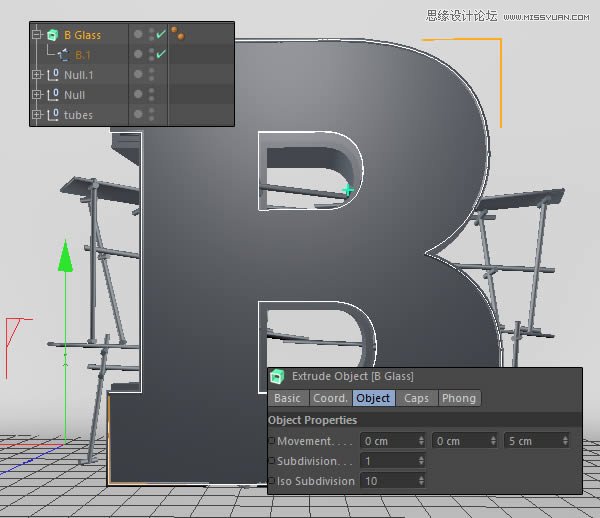
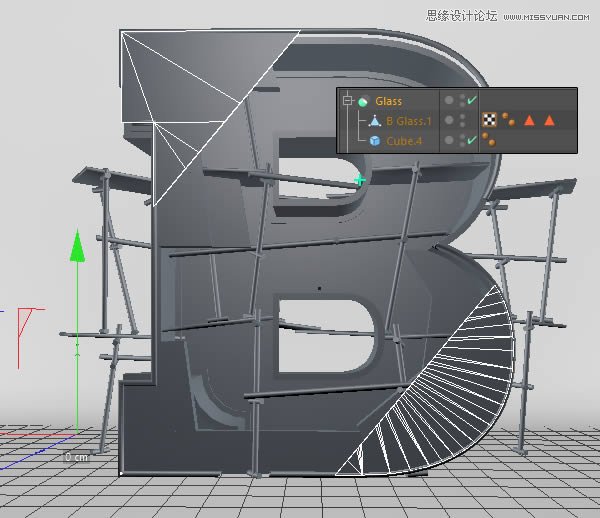
(26)下面创建玻璃面板,同样挤出B样条,不用太厚,5cm即可,并转换为可编辑对象,右键单击选择合并删除对象
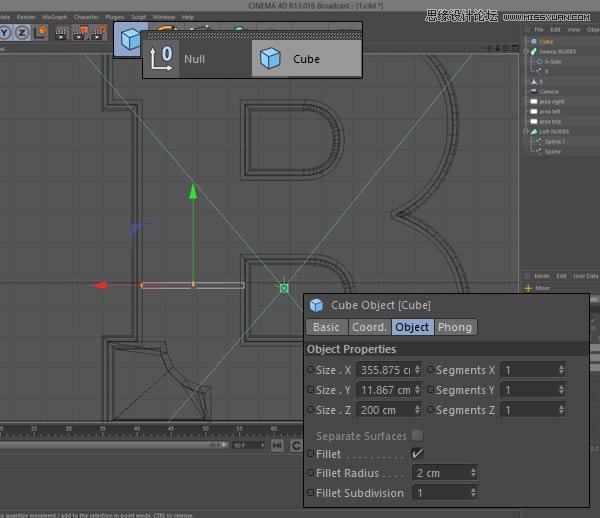
(27)创建一个立方体,改变宽带值和位置,效果如下
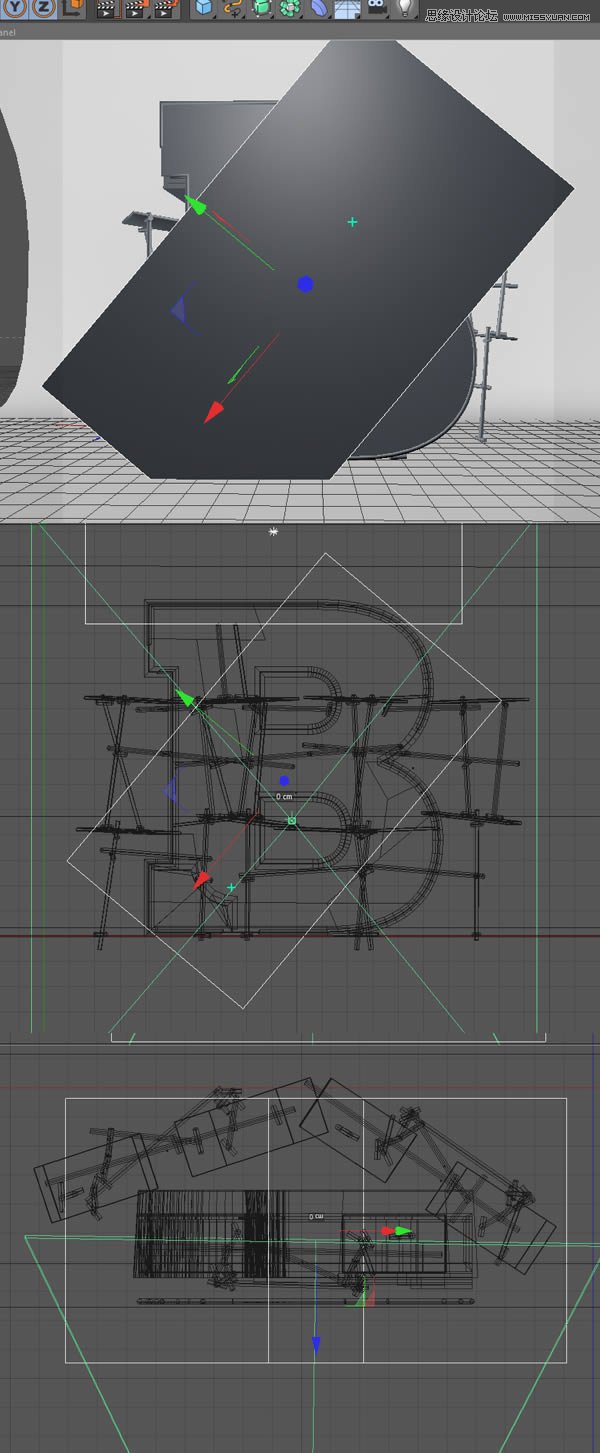
(28)对B物体和矩形面板施加布尔效果,减去中间,得到下图效果
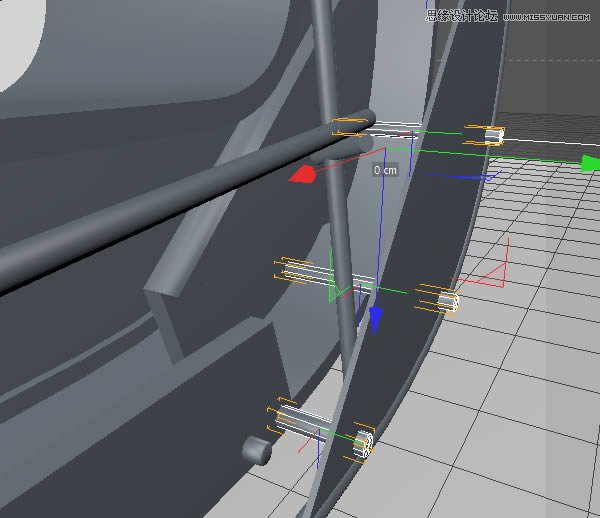
(29)创建螺栓模型,参数设置如下
(30)复制螺栓,到木板周围
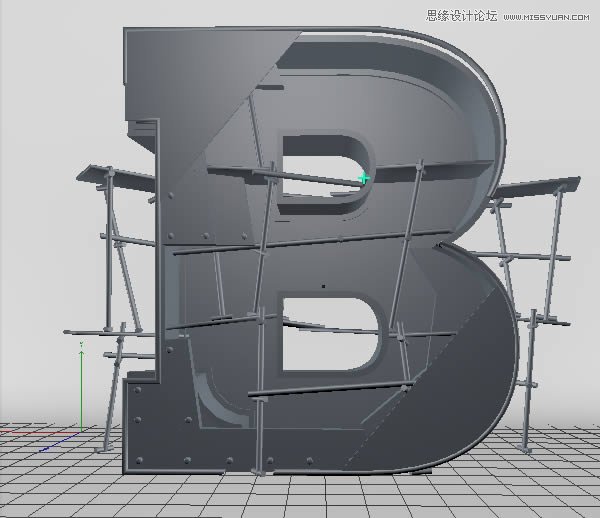
(31)部分螺栓可适当伸长,使其真实可信