本教程主要使用Photoshop巧用素材和混合模式制作星空猫咪效果,这两个效果主要就是用图层混合模式来完成,效果非常的强大,
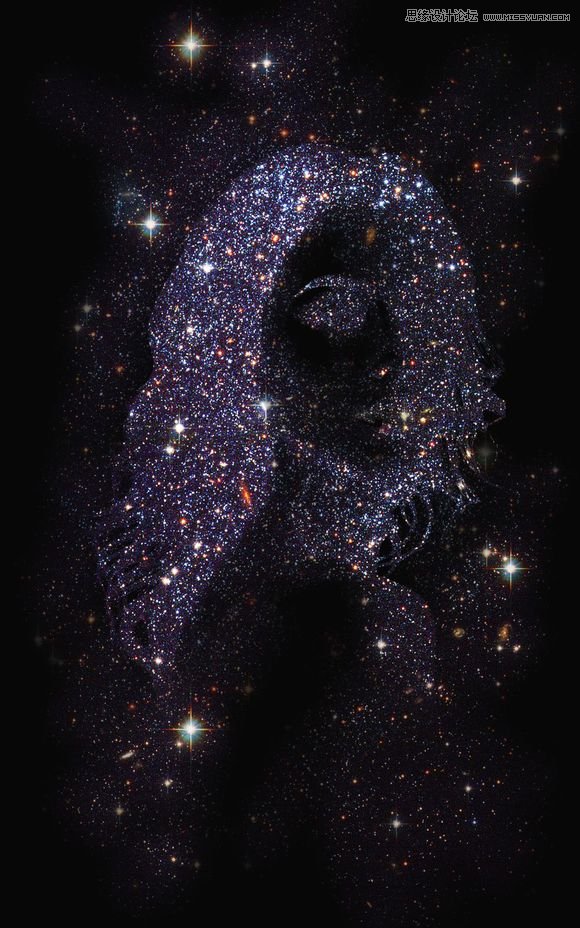
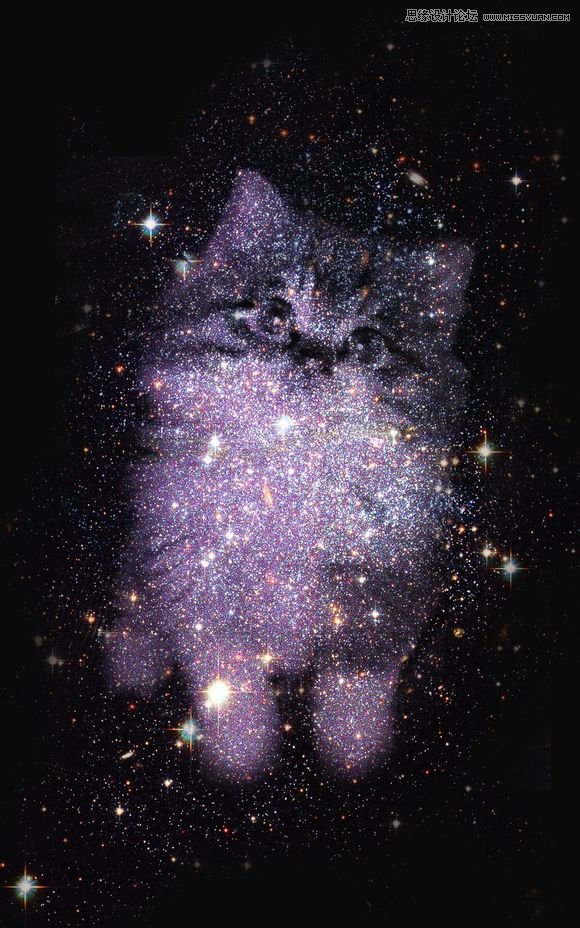
先看看效果图
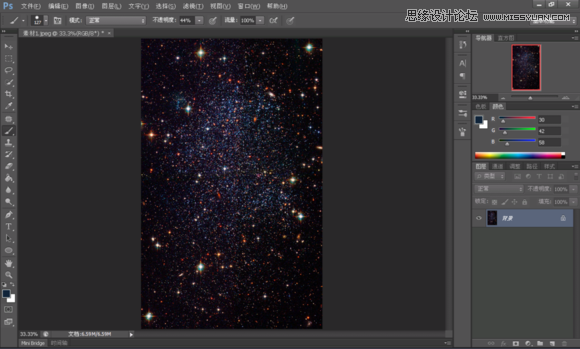
首先,打开你的Photoshop,然后打开星空素材,由于版式问题我们需要把图片先逆时针旋转90度
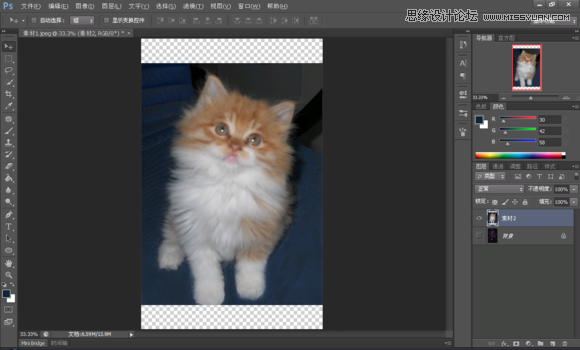
置入提供的猫咪图片素材,右键小帅猫图层栅格化,然后我们隐藏背景星空
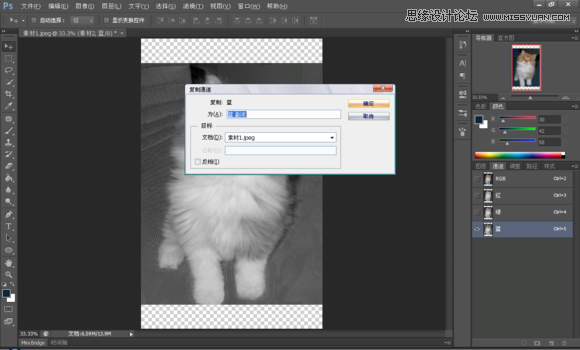
接着进入提取高光的环节。为什么说这是新手教程就是因为这个最关键的环节着实没什么技术难度,和抠图差不多。。。。点击通道,我们点击然后复制差别最大的蓝通道得到蓝副本
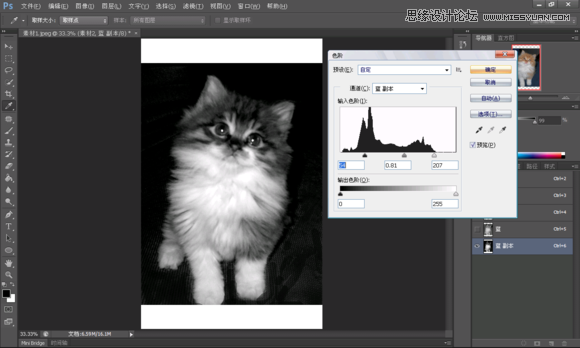
隐藏其他通道,点击蓝副本,Ctrl+t调整色阶,得到一个反差效果最好的小猫
调整完了之后,我们按住ctrl点击蓝副本,得到高光部分注意这时候上下两边是白的,所以一起被选中了,我们先不用管它
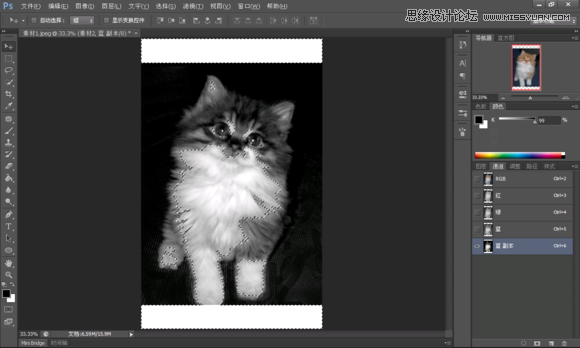
隐藏蓝副本。回到星空背景,隐藏小猫。得到如下选区
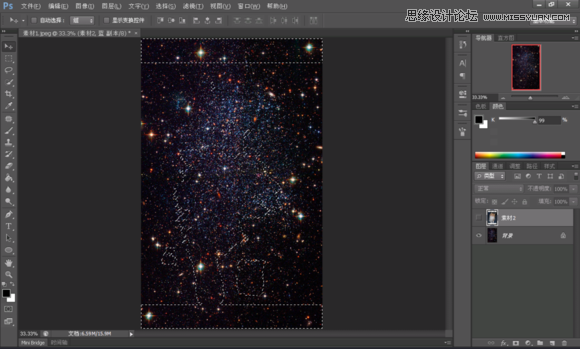
ctrl+cv复制粘贴星空选区,然后我们拉选框删掉上下两条多余的东西。。。出现这个比较那什么的效果(为了看清楚点我隐藏了背景)
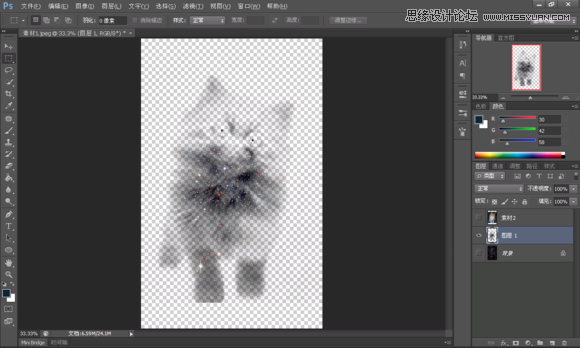
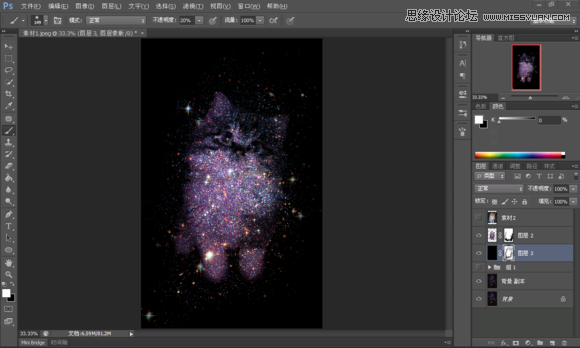
修改那个诡异的图层的混合模式为滤色(余下的工作是如此愉快。
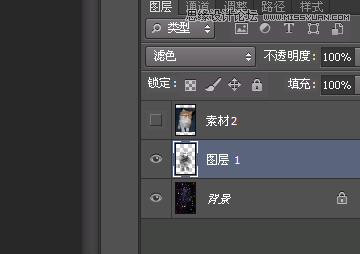
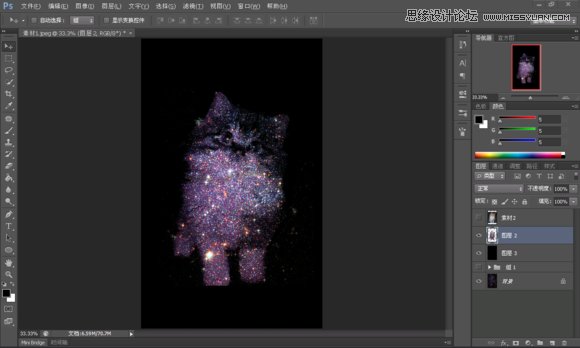
复制这个图层,直到觉得小猫已经足够明亮~我复制了5层,应该差不多
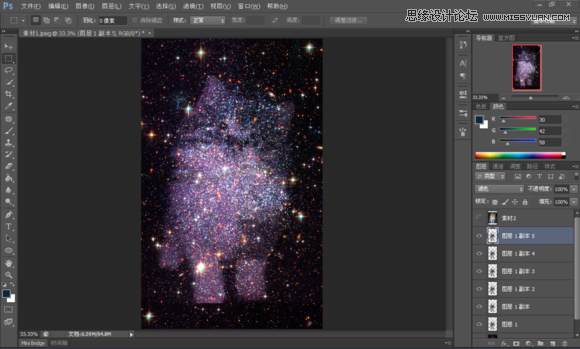
为了方便以后操作,隐藏背景,shift+ctrl+Alt+E盖印可见图层
新建图层,填充黑色。
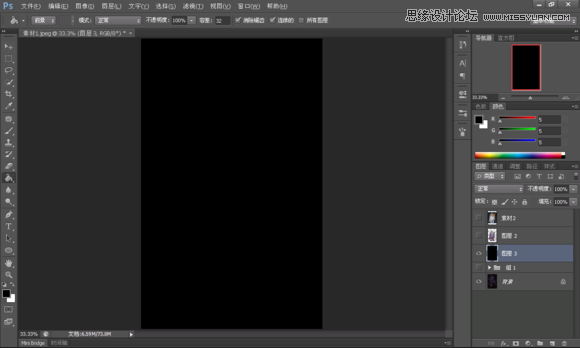
把小猫图层前的小眼睛打开,这时候的效果是这样的

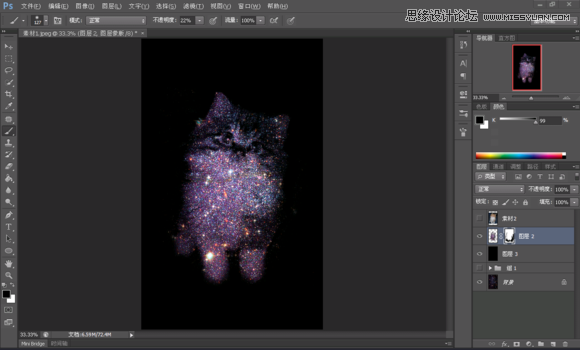
为了美观构图,我稍微调节了一下小猫的大小
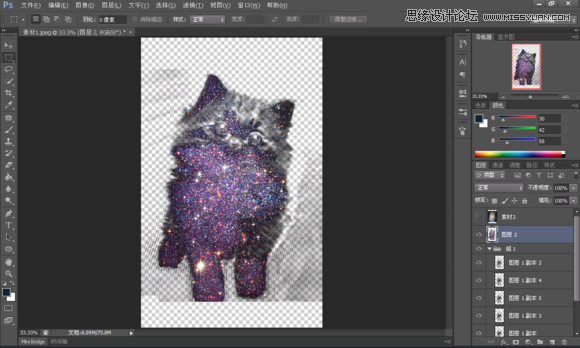
这时候可以看到由于提取高光不干净,有很多直直的边缘。添加蒙版,在蒙版上涂抹掉多余的部分,并为猫爪子修理一下边缘
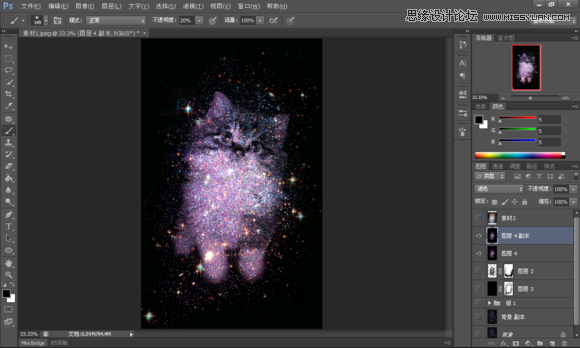
复制背景图层,改背景层2的混合模式为柔光
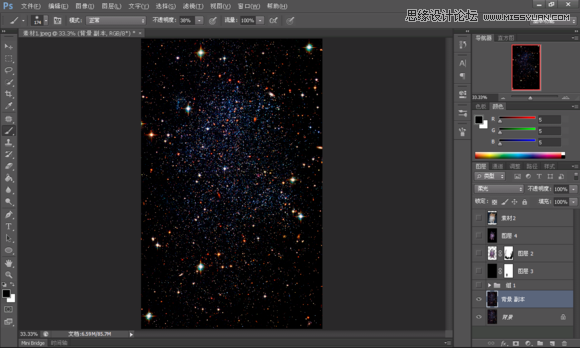
接着我们给刚才的纯黑色图层添加蒙版,根据自己的审美给小猫擦出一个星光晕开的效果~美美哒
这时候我发现整张星空小帅猫偏暗,于是作为补救,我再次盖印可见图层,改混合模式为滤色(混合模式就是这么强大~
存储图片,大功告成
同理,还可以尝试镇楼的美女效果。