

Photoshop解析后期妆容片的调整过程
发布时间:2015-06-06 来源:查字典编辑
摘要:本教程主要使用Photoshop详细解析后期妆容片的调整过程,在拿到一张图片时,不要着急去修饰图片,要进行思考和判断,如拿到一张大脸人像的图...
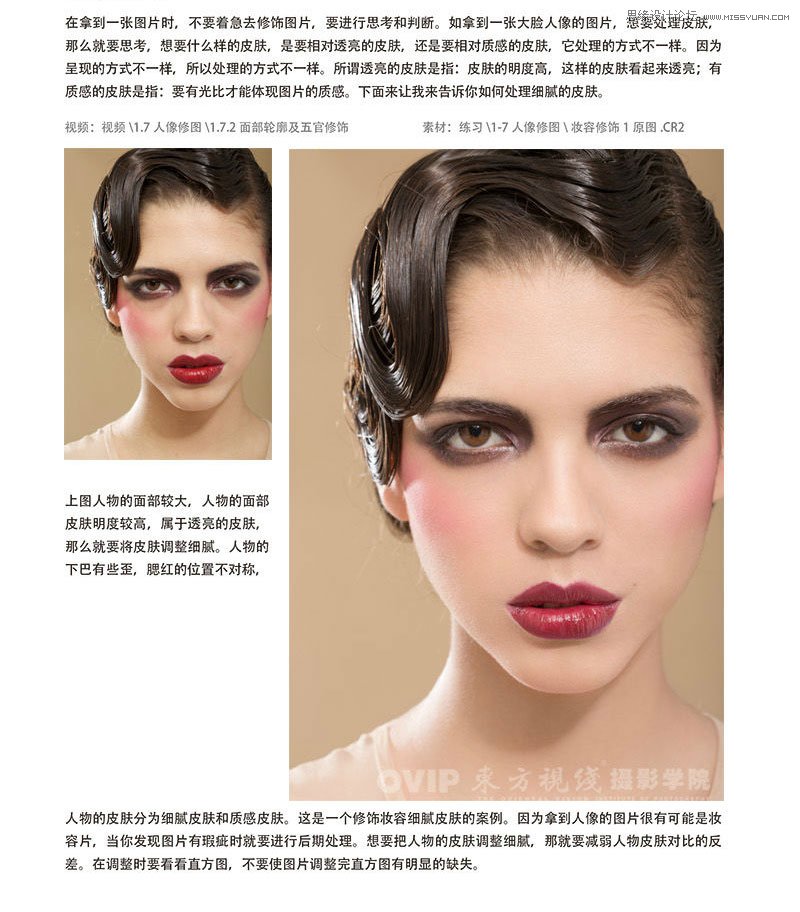
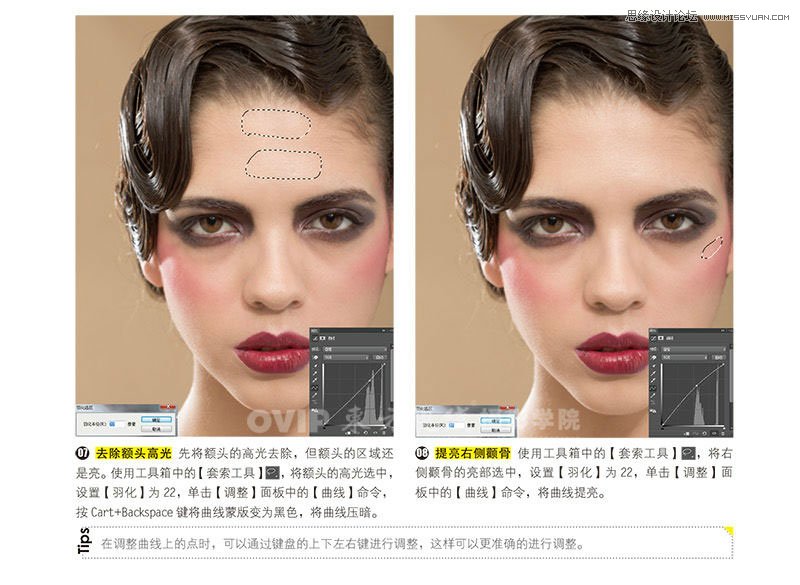
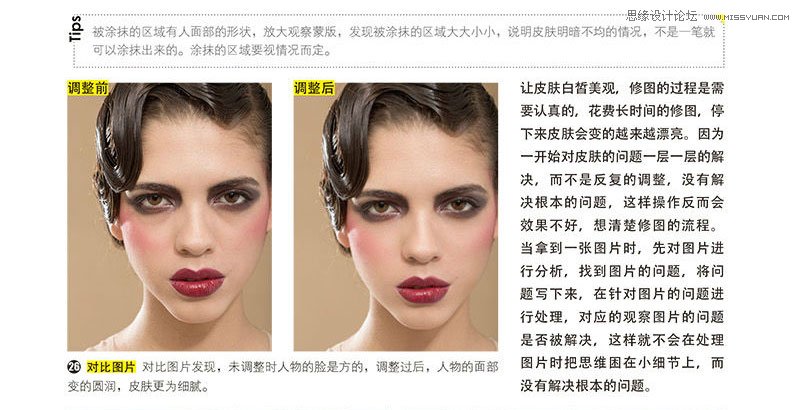
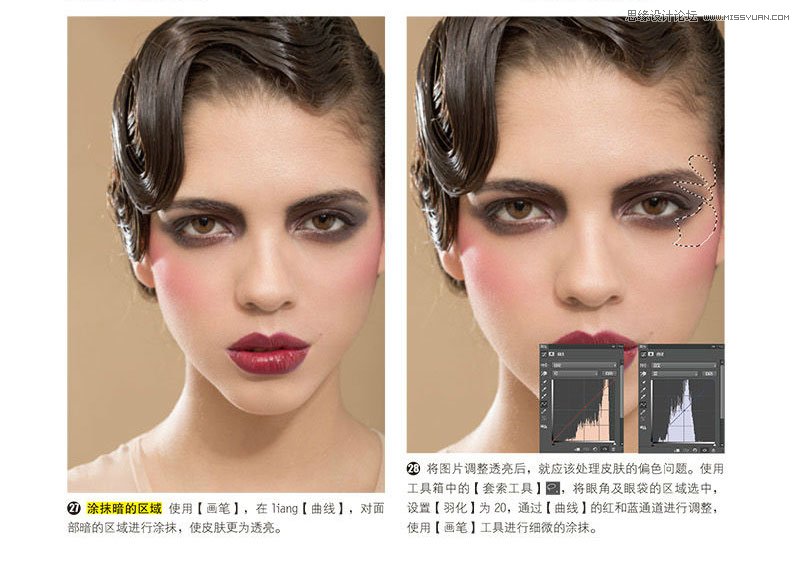
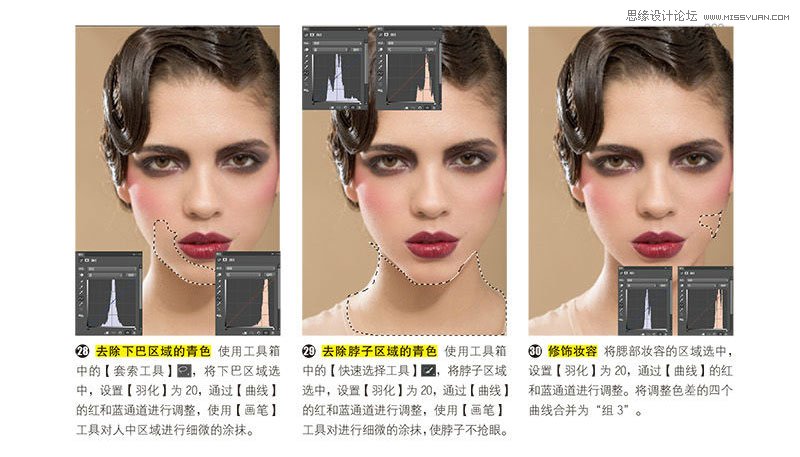
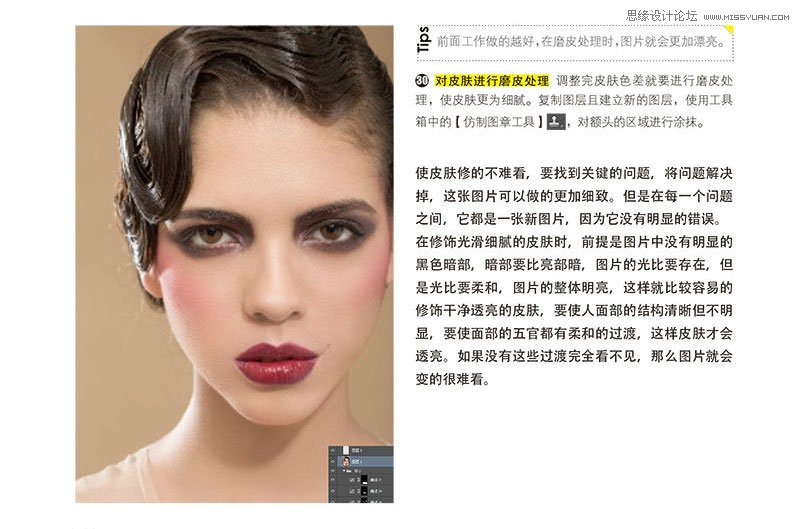
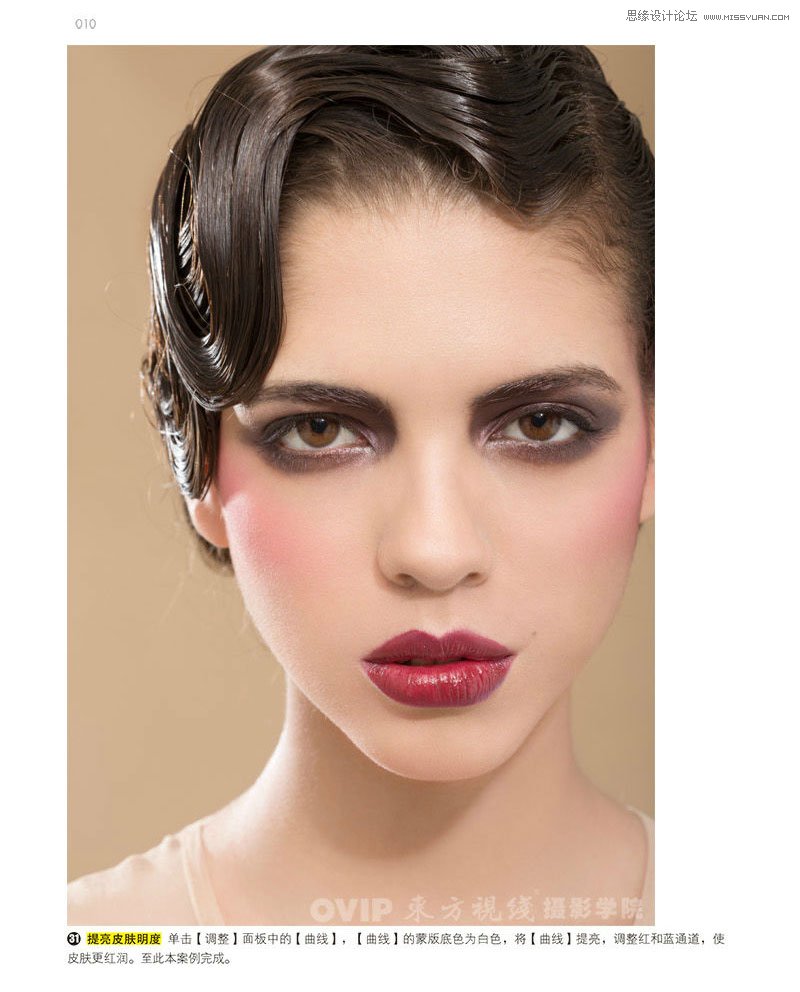
本教程主要使用Photoshop详细解析后期妆容片的调整过程,在拿到一张图片时,不要着急去修饰图片,要进行思考和判断,如拿到一张大脸人像的图片,想要处理皮肤那么就要思考,想要什么样的皮肤,要是相对透亮的皮肤,海事要相对质感的皮肤,它处理的方式不一样,因为呈现的放肆和不一样,所以处理的方式不一样,所谓透亮的皮肤是指,皮肤的明度高,这样的皮肤看起来透亮,有质感的皮肤是指,要有光比才能体现图片的质感,下面来让我来告诉你如何处理细腻的皮肤。


注:更多精彩教程请关注三联photoshop教程栏目,三联PS群:182958314欢迎你的加入